Are you ready to dig into a warm bowl of Homestyle Grits with Butter and Cheese? This delightful dish brings comfort food to a whole new level. With just a few simple ingredients, you can create creamy, cheesy grits that are perfect for any meal. Whether you're a seasoned cook or a kitchen newbie, my step-by-step guide makes it easy to whip up this tasty treat. Let’s dive in and make some magic happen!
Why I Love This Recipe
- Comforting Flavor: This creamy cheesy butter grits recipe offers a warm and comforting flavor that is perfect for any meal of the day.
- Quick and Easy: With a total time of just 30 minutes, this dish is simple to prepare, making it a great choice for busy weeknights.
- Versatile Dish: These grits can be served as a side or a main dish, and they pair beautifully with various toppings like green onions or crispy bacon.
- Cheesy Goodness: The addition of sharp cheddar cheese creates a rich and creamy texture that elevates the dish to a whole new level of deliciousness.
Ingredients
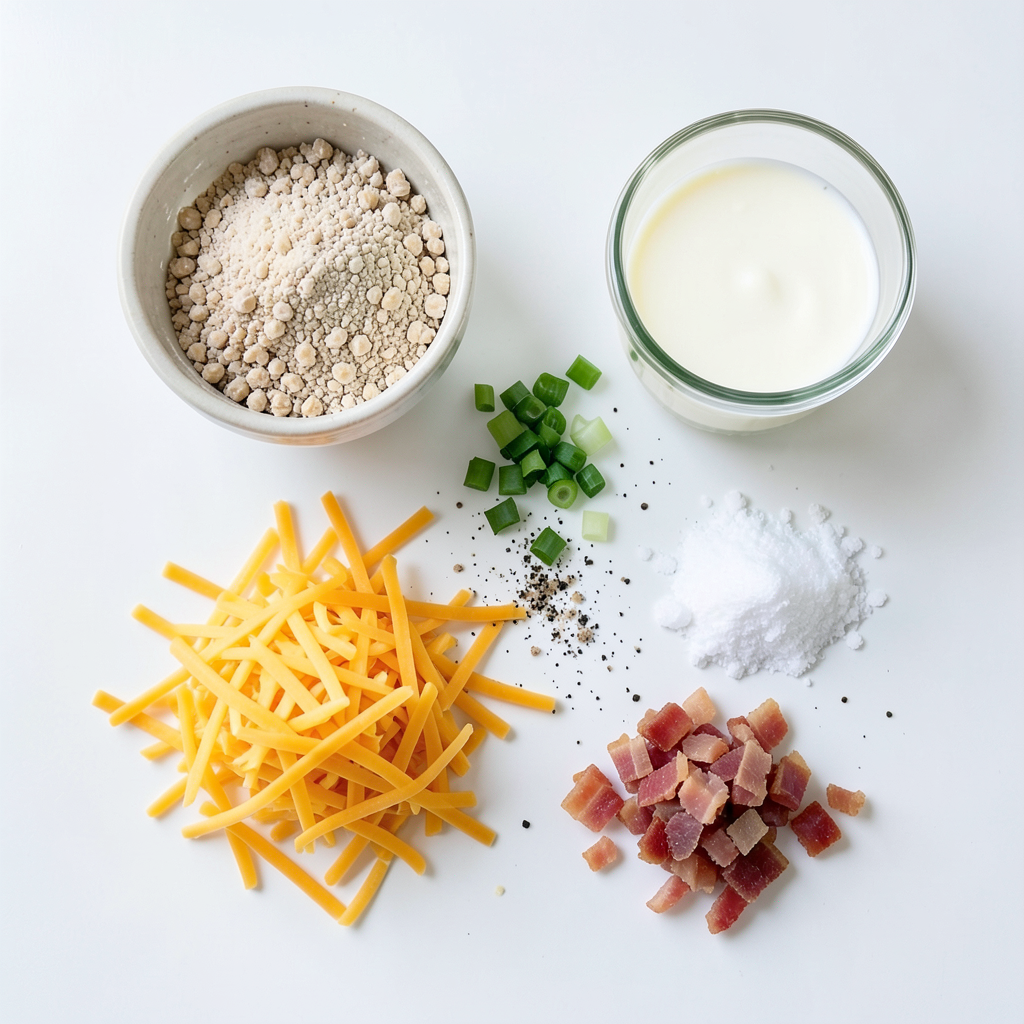
List of Ingredients
- 1 cup stone-ground grits
- 4 cups water (or chicken broth for added flavor)
- 1 cup whole milk
- 1/2 cup unsalted butter
- 1 cup sharp cheddar cheese, shredded
- Salt, to taste
- Freshly cracked black pepper, to taste
- Optional garnish: chopped green onions or crumbled bacon (if desired)
Alternative Ingredients for Flavor
You can use chicken broth instead of water. This adds depth and richness. For a different taste, try using a mix of cheeses. Gruyere or pepper jack can give a nice twist. Also, substitute unsalted butter with olive oil or vegan butter for a lighter option. Add herbs like thyme or rosemary for a fresh touch. You can even toss in sautéed mushrooms or spinach for extra nutrition.
Nutritional Information
One serving of homestyle grits contains about 300 calories. It has around 15 grams of fat, mostly from butter and cheese. The dish also offers 10 grams of protein, thanks to the cheese and milk. Grits provide fiber and essential vitamins too. You can add toppings like bacon or green onions to change the nutritional profile.
Step-by-Step Instructions
Preparation Steps Overview
Start by gathering your ingredients. You need one cup of stone-ground grits, four cups of water (or chicken broth), one cup of whole milk, half a cup of unsalted butter, and one cup of sharp cheddar cheese. Don’t forget salt and black pepper for taste. Optional toppings can be green onions or crumbled bacon.
Cooking Grits to Perfection
In a large pot, bring the water or broth to a boil over medium-high heat. Once boiling, slowly whisk in the grits. This step is important to avoid lumps. Reduce the heat to low and cover the pot. Let your grits simmer for about 20 to 25 minutes. Stir occasionally. You want them thick and creamy. After 20 minutes, check if the grits are tender. If they are, stir in the whole milk and cook for another five minutes. This makes them even creamier.
Adding Butter and Cheese
When your grits are ready, take the pot off the heat. Add the unsalted butter and stir until it melts completely. This is where the magic begins! Next, mix in the shredded cheddar cheese gradually. Stir until it is smooth and fully melted. Now, season your grits with salt and freshly cracked black pepper to taste. For a fun twist, top with chopped green onions or crispy bacon bits. Enjoy your creamy, cheesy grits!
Tips & Tricks
Ensuring Creamy Texture
To make your grits creamy, you need to stir well. Start by boiling your water or broth. When you add the grits, whisk slowly. This helps break up any lumps. Once added, lower the heat and cover the pot. Let the grits simmer for 20-25 minutes. Stir occasionally to keep them smooth. After they thicken, add whole milk. This will boost the creaminess even more.
Seasoning Suggestions
Seasoning is key in making your grits shine. Start with salt while cooking. Taste and add more if needed. Freshly cracked black pepper adds a nice kick. You can also use garlic powder for extra flavor. If you love a bit of heat, try adding cayenne pepper. For a twist, sprinkle in some cheese while cooking. This adds depth and richness.
Common Mistakes to Avoid
A few common mistakes can ruin your grits. First, don’t rush the cooking time. Grits need time to soften. If you cook them too quickly, they will turn out gritty. Second, avoid using too little liquid. Grits absorb a lot of water. If you use too little, they will be dry. Lastly, don’t forget to stir. Stirring helps prevent lumps and ensures even cooking.
Pro Tips
- Use Quality Grits: Opt for stone-ground grits for a creamier texture and richer flavor compared to instant grits.
- Enhance Flavor with Broth: Substitute water with chicken broth for an extra layer of flavor in your grits.
- Cheese Variations: Experiment with different cheeses like Gruyère or pepper jack for a unique twist on the classic recipe.
- Perfect Consistency: For a creamier finish, adjust the amount of milk based on your preference for thickness.
Variations
Different Cheese Options
You can change the cheese in your grits for new tastes. Besides sharp cheddar, try these:
- Creamy goat cheese for a tangy flavor.
- Smoky gouda for a rich, deep taste.
- Mild mozzarella for a stretchy texture.
- Spicy pepper jack for a kick of heat.
Each cheese brings its own charm, making each batch unique.
Flavor Enhancements
Add fun flavors to your grits to make them pop. Here are some ideas:
- Stir in roasted garlic for a savory touch.
- Add a dash of hot sauce for a spicy bite.
- Mix in sautéed mushrooms for an earthy flavor.
- Toss in fresh herbs like chives or parsley for brightness.
These enhancements can turn simple grits into a flavor explosion.
Dietary Substitutions
You can make this dish fit different diets with easy swaps. Consider these options:
- Use almond milk instead of whole milk for a dairy-free choice.
- Choose gluten-free grits if you need to avoid gluten.
- Replace butter with olive oil for a healthier fat option.
These substitutions let everyone enjoy homestyle grits, no matter their needs.
Storage Info
How to Store Leftover Grits
After you enjoy your grits, let them cool down. Place the leftover grits in an airtight container. Make sure to seal it well. You can keep them in the fridge for up to four days. If you plan to eat them soon, this is a great option.
Reheating Instructions
To reheat your grits, add a splash of water or milk. Place the grits in a pot over low heat. Stir them often to avoid sticking. If you prefer, you can use the microwave. Heat in short bursts and stir in between. This helps keep the texture creamy.
Freezing Grits for Future Meals
You can freeze your leftover grits too! Scoop them into freezer-safe bags or containers. Make sure to leave some space for expansion. Label the bags with the date. They can last in the freezer for up to three months. To enjoy, thaw them overnight in the fridge before reheating.
FAQs
What are the best types of grits to use?
I recommend stone-ground grits for the best flavor and texture. They have a coarser grind, which gives a nice bite. Instant grits cook faster but lack the rich taste. You can also try yellow grits for a sweeter flavor.
Can I make grits in advance?
Yes! You can cook grits and store them in the fridge. Make sure to let them cool before placing them in a container. They will keep for about three days. When ready to eat, just reheat them on the stove. Add a bit of water or milk to bring back creaminess.
How can I make vegan-friendly grits?
To make vegan grits, use vegetable broth instead of water. Swap out the butter for olive oil or vegan butter. For the cheese, try nutritional yeast or a vegan cheese alternative. This will keep the dish creamy and flavorful without dairy.
What can I serve with homestyle grits?
Grits pair well with many dishes. You can serve them with shrimp for a classic meal. Fried chicken or crispy bacon also makes a great match. For a lighter option, top them with sautéed greens or roasted vegetables.
Grits are simple yet versatile. This guide covered key ingredients, ways to cook, and tips for perfect texture. You learned various cheese options, seasoning advice, and how to avoid common pitfalls. Proper storage methods help keep grits fresh for future meals.
In the end, with a few tweaks, you can make tasty grits that suit any diet. Enjoy experimenting with flavors and make grits a staple in your kitchen!