Snowflake sugar cookies are a simple yet festive treat you’ll love to bake this holiday season! With their delicate design and sweet flavor, they add cheer to any gathering. I’ll guide you through easy steps, from choosing ingredients to creative decorating tips. Whether you’re a novice or a seasoned baker, you’ll find joy in making these delightful cookies. Let’s get started and make some magic in the kitchen!
Why I Love This Recipe
- Delicious Flavor: The combination of vanilla and almond extracts gives these cookies a delightful and unique flavor that is perfect for the holidays.
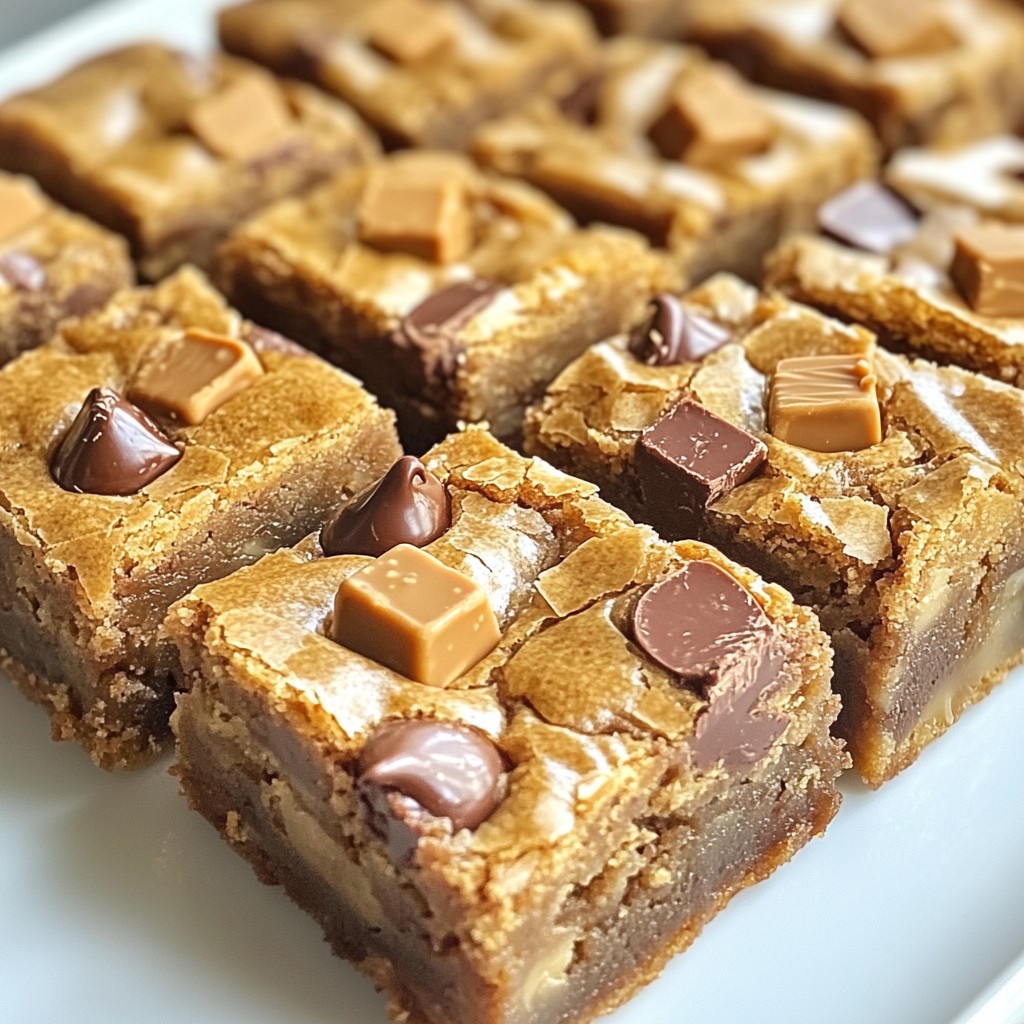
- Festive Presentation: The snowflake shape and edible glitter create a beautiful and festive treat that is sure to impress your guests.
- Easy to Customize: You can easily switch up the decorations or add different flavors to the icing, making this recipe versatile for any occasion.
- Fun to Make: Rolling out the dough and cutting out shapes is a fun activity for the whole family, creating lasting memories in the kitchen.
Ingredients
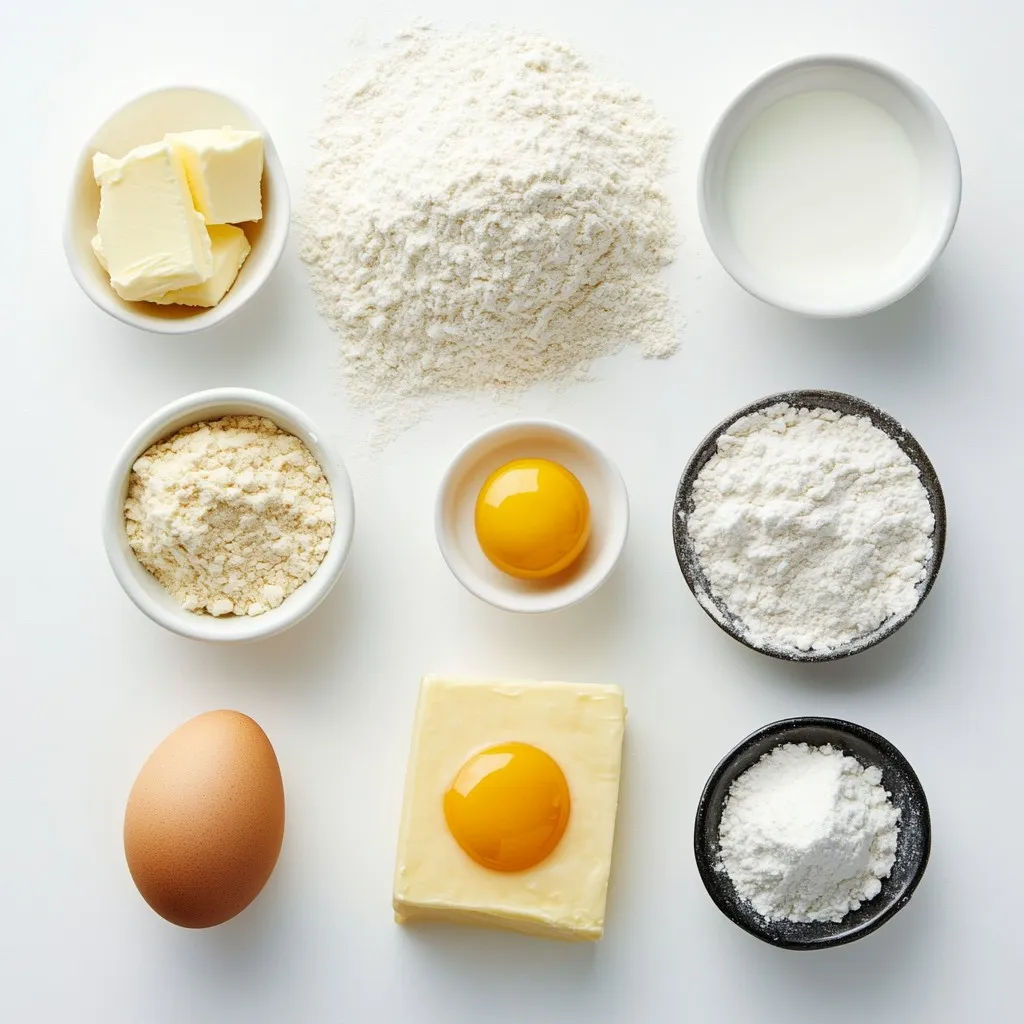
List of Ingredients
– 2 ¾ cups all-purpose flour
– 1 teaspoon baking powder
– ½ teaspoon baking soda
– ½ teaspoon salt
– 1 cup unsalted butter, softened
– 1 ½ cups granulated sugar
– 1 large egg
– 1 teaspoon vanilla extract
– 1 teaspoon almond extract
– 1 cup powdered sugar (for icing)
– 2 tablespoons milk (for icing)
– Edible glitter or sprinkles (for decoration)
Measurements and Substitutions
Use 2 ¾ cups of all-purpose flour for the base. If you need gluten-free cookies, replace it with a gluten-free flour blend. Baking powder helps the cookies rise, so stick to 1 teaspoon. For a lighter taste, you can use coconut oil instead of unsalted butter, but it may change the flavor. Granulated sugar adds sweetness, but you can swap half for brown sugar for a richer taste.
Optional Additions
Add zest from a lemon or orange for a fresh flavor boost. You could also mix in chopped nuts or chocolate chips for extra texture. If you want a different vibe, use peppermint extract instead of almond extract. This will give your cookies a fun holiday twist!
Step-by-Step Instructions
Preparing the Dough
To make the dough, start by mixing the dry ingredients. In a medium bowl, whisk together 2 ¾ cups of all-purpose flour, 1 teaspoon of baking powder, ½ teaspoon of baking soda, and ½ teaspoon of salt. This step ensures your cookies rise well. Set this bowl aside.
In a large bowl, beat 1 cup of softened unsalted butter with 1 ½ cups of granulated sugar. Mix until the mix is light and fluffy, about 3 to 4 minutes. This adds air to your dough, making it soft. Then, add 1 large egg, 1 teaspoon of vanilla extract, and 1 teaspoon of almond extract. Mix until everything blends well.
Gradually add the dry mix to the wet mix. Use low speed to combine until it’s just mixed. Be careful not to overmix. Overmixing can make the cookies tough. Divide the dough into two parts and flatten each into a disc. Wrap each disc in plastic wrap and chill in the fridge for at least 2 hours. Chilling helps the dough firm up for better cutting.
Rolling and Cutting the Cookies
After chilling, it’s time to roll the dough. Preheat your oven to 350°F (175°C). Line baking sheets with parchment paper. Dust your counter with flour. Take one disc of dough out of the fridge and roll it out to about ¼-inch thick.
Use a snowflake cookie cutter to cut out shapes. Place the cookies on the lined baking sheets. Leave about 1 inch between each cookie. This allows room for them to spread while baking. Repeat with the second disc of dough.
Baking and Cooling Process
Bake the cookies in your preheated oven for 8 to 10 minutes. They should be lightly golden around the edges. Once baked, take them out of the oven. Let them cool on the baking sheets for a few minutes. After that, move the cookies to wire racks to cool completely.
While the cookies cool, you can prepare the icing. In a small bowl, whisk together 1 cup of powdered sugar and 2 tablespoons of milk until smooth. If it’s too thick, add a bit more milk. Once the cookies cool, drizzle or spread the icing on top. Decorate with edible glitter or sprinkles to make them festive. Enjoy your snowflake sugar cookies!
Tips & Tricks
Achieving the Perfect Dough Consistency
To get the best dough, start with room temperature butter. It mixes better and makes your cookies soft. Combine the butter and sugar until light and fluffy. This step adds air, making them nice and tender. When adding the dry mix, do it slowly. Mix just until combined to avoid tough cookies. If your dough feels sticky, chilling it helps. Wrap it in plastic wrap and chill for at least two hours. This step is key for the right texture.
Icing Techniques for Beautiful Decor
Icing is where you can get creative! For a smooth finish, use powdered sugar and milk. Mix until you get a thick but spreadable texture. If you want to drizzle, add a bit more milk. Test the icing on a plate first. For a fun look, use a piping bag or a squeeze bottle. You can also use a knife for easy spreading. Once iced, sprinkle edible glitter or colorful sprinkles on top. This makes your cookies pop!
Storing and Freezing Cookies
To keep your cookies fresh, store them in an airtight container. Place parchment paper between layers to avoid sticking. If you want to freeze them, let the cookies cool completely first. Wrap each cookie in plastic wrap, then put them in a freezer bag. They can stay frozen for up to three months. When you’re ready to eat, thaw them in the fridge. Enjoy your snowy treats anytime!
Pro Tips
- Chill the Dough: Chilling the dough for at least 2 hours helps the cookies maintain their shape while baking and enhances the flavor.
- Don’t Overbake: Keep an eye on the cookies as they bake; they should be lightly golden around the edges but still soft in the center for the best texture.
- Use Quality Extracts: Using high-quality vanilla and almond extracts will significantly enhance the flavor of your cookies.
- Decorate with Care: For a professional look, let the icing set fully before stacking cookies, and use a variety of edible decorations for visual appeal.
Variations
Gluten-Free Snowflake Sugar Cookies
To make gluten-free snowflake sugar cookies, swap the all-purpose flour for a gluten-free blend. Look for one that works well for baking. This change keeps the cookies soft and tasty. Make sure to check for a blend with xanthan gum. This helps give the cookies the right texture.
Vegan Alternatives for the Recipe
For vegan snowflake cookies, replace the butter with a plant-based option, like coconut oil or vegan butter. Use a flax egg instead of a regular egg. Mix one tablespoon of ground flaxseed with three tablespoons of water. Let it sit for a few minutes to thicken before adding it to the dough. These swaps keep the cookies rich and yummy while being dairy-free.
Flavor Enhancements and Customizations
You can add fun flavors to your cookies! Try using different extracts like lemon or peppermint for a new twist. You can also toss in some spices, like cinnamon or nutmeg, for a warm, festive taste. Want a bit of crunch? Add chopped nuts or mini chocolate chips to the dough. These small changes make each batch unique and exciting!
Creative Decorating Ideas
Themed Decoration Concepts
Get creative with your snowflake sugar cookies! You can match your designs to your holiday theme. For a winter wonderland, use shades of blue and white. Create a cozy feel with warm colors like red and gold. You can even add little snowmen or holiday trees for fun. Cut out different shapes to mix it up. This adds interest and delight to your cookie platter.
Using Edible Glitter and Sprinkles
Edible glitter and sprinkles bring magic to your cookies. They catch the light and sparkle like real snowflakes! To use, first ice your cookies with the simple icing made from powdered sugar and milk. While the icing is still wet, sprinkle on your edible glitter or colored sprinkles. This ensures they stick well. Remember, a little goes a long way! Too much can hide your beautiful designs.
Tips for Intricate Icing Designs
Want to take your icing to the next level? Try using a piping bag for detailed designs. You can create lovely patterns like swirls, lines, or dots. Start with a thicker icing for outlines. For filling, use a thinner icing. If you make a mistake, use a toothpick to fix it. Practice makes perfect, so don’t worry if it isn’t just right the first time. Each cookie is unique, just like real snowflakes!
FAQs
How do I prevent the cookies from spreading?
To stop your cookies from spreading, chill the dough. After mixing, wrap it in plastic wrap. Place it in the fridge for at least two hours. This helps the butter firm up, keeping your cookies thick and cute. Also, avoid overmixing when adding dry ingredients. Overmixing can lead to a flat cookie.
Can I make the dough ahead of time?
Yes, you can make the dough ahead of time. Once you prepare the dough, divide it into two discs. Wrap each disc in plastic wrap. Store them in the fridge for up to three days. You can also freeze the dough. Just ensure you wrap it well. Thaw it in the fridge before rolling and cutting.
What is the best way to store decorated cookies?
Store your decorated cookies in an airtight container. Layer them with parchment paper if stacked. This keeps the icing safe and prevents smudging. Cookies stay fresh for about a week at room temperature. For longer storage, freeze them. Just ensure they are fully cooled and wrapped.
You learned how to make delicious snowflake sugar cookies from start to finish. We covered key ingredients, step-by-step instructions, and essential tips for perfect results. You saw how to customize recipes and decorate cookies in fun ways.
Now, get creative in your kitchen. Try different flavors or designs. Share your tasty treats with friends and family. Enjoy baking and make sweet memorie