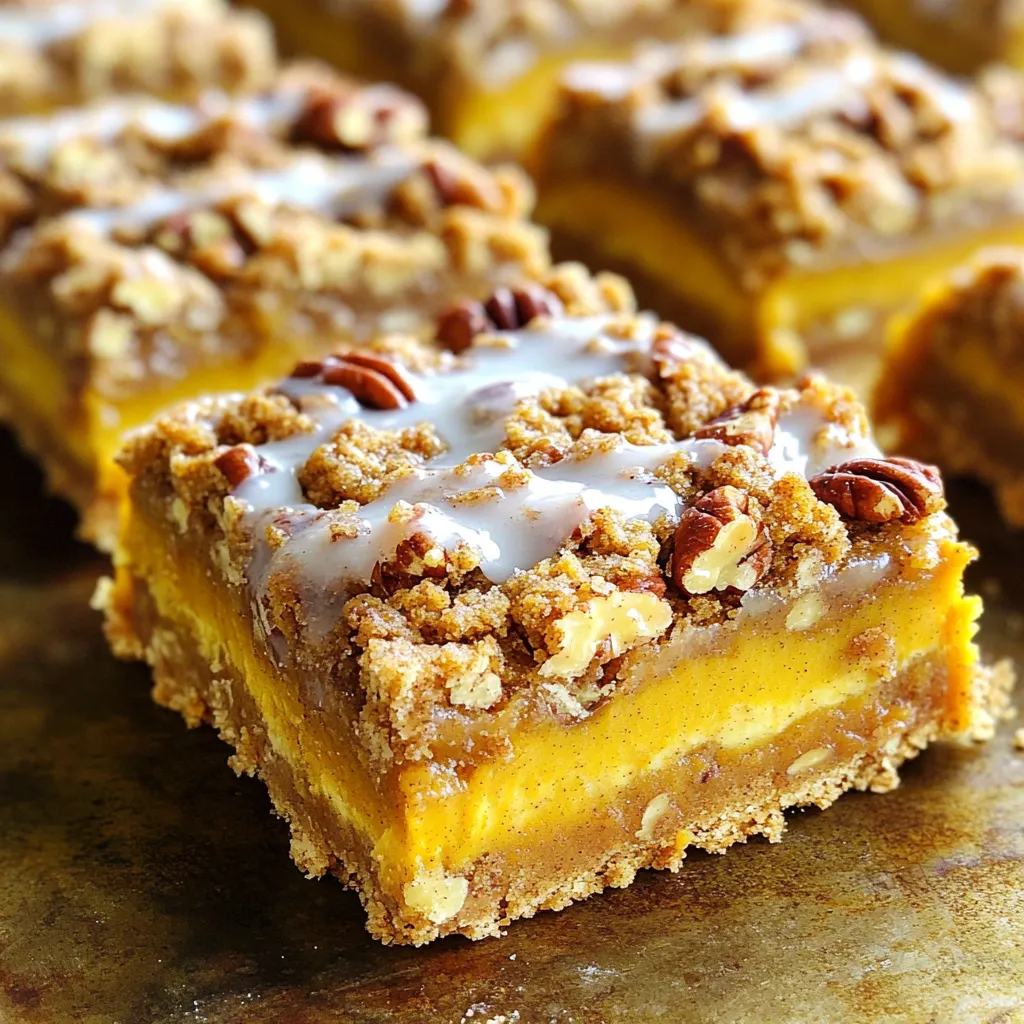
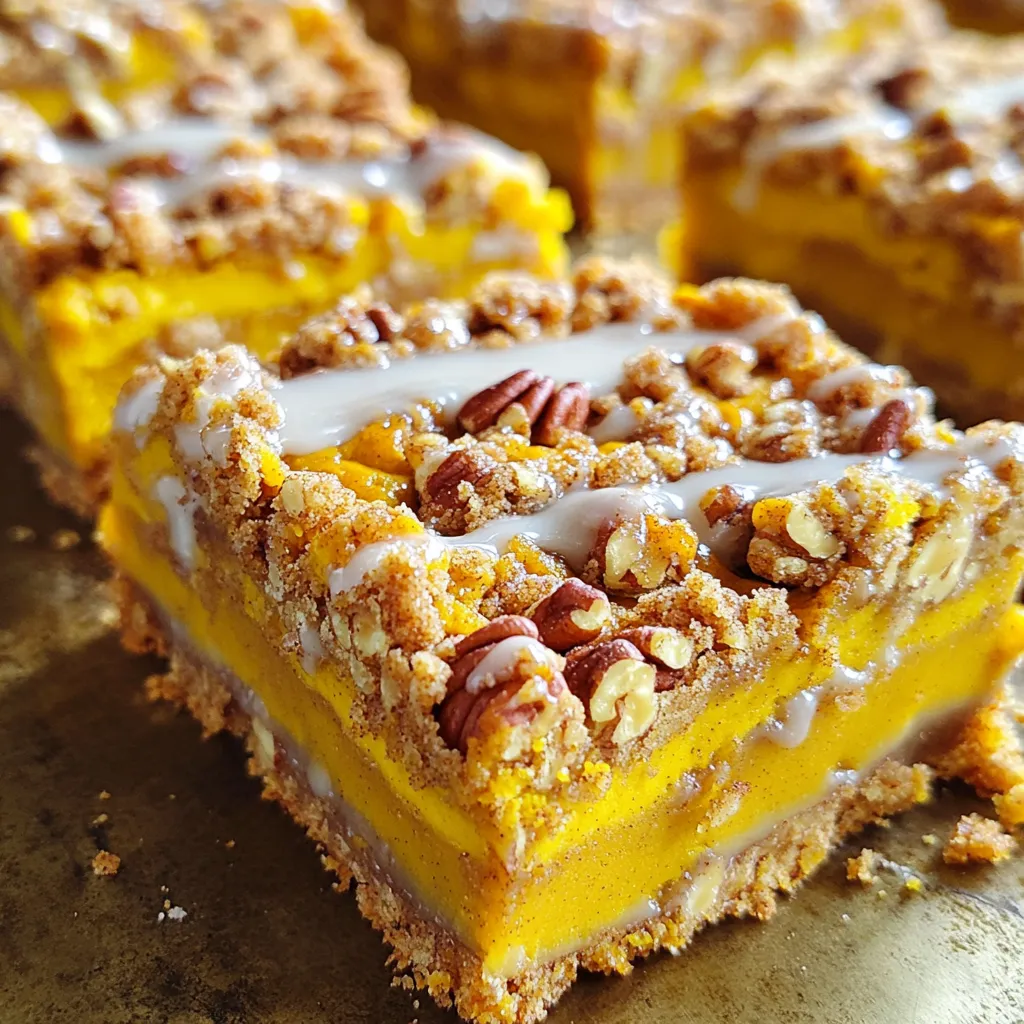
Fall is here, and it’s time to embrace the season with warmth and flavor! My Pumpkin Pecan Streusel Bars blend the rich taste of pumpkin with a crunchy pecan topping. They’re easy to make and perfect for any gathering. In this post, I’ll guide you through the steps to create these delicious bars, share tips for success, and offer fun variations. Let’s get baking and fill your kitchen with autumn delight!
Ingredients
Dry Ingredients
– 1 ½ cups all-purpose flour
– ½ cup old-fashioned oats
– ½ cup brown sugar, packed
– ½ teaspoon baking powder
– ½ teaspoon baking soda
– ¼ teaspoon salt
I start with the dry ingredients. Using all-purpose flour gives the bars structure. Old-fashioned oats add texture and a hearty feel. Brown sugar brings sweetness and moisture. Baking powder and baking soda are key to a nice rise. Salt balances the flavors perfectly.
Wet Ingredients
– ½ cup unsalted butter, melted
– 1 cup canned pure pumpkin
– ½ cup granulated sugar
– ½ teaspoon vanilla extract
– 2 large eggs
Next, I focus on the wet ingredients. Unsalted butter adds richness to the bars. Canned pure pumpkin is the star here, offering a creamy texture and great flavor. Granulated sugar sweetens the filling nicely. Vanilla extract enhances the overall taste. The eggs bind everything together for a stable structure.
Toppings
– 1 teaspoon pumpkin pie spice
– ½ cup pecans, chopped
– ½ cup powdered sugar (for glaze)
– 1 tablespoon milk (for glaze)
Finally, we have the toppings. Pumpkin pie spice adds that warm, cozy fall flavor. Chopped pecans give a nice crunch and nutty taste. For the glaze, I mix powdered sugar and milk until smooth. Drizzling this glaze on top makes the bars look beautiful and adds sweetness.
Step-by-Step Instructions
Preparing the Baking Pan
– Preheat your oven to 350°F (175°C). This helps the bars bake evenly.
– Grease an 8×8 inch baking pan. Line it with parchment paper. Leave some paper hanging over the edges. This makes it easy to lift the bars out later.
Making the Crust
– In a bowl, combine 1 ½ cups flour, ½ cup oats, ½ cup brown sugar, ½ teaspoon baking powder, ½ teaspoon baking soda, and ¼ teaspoon salt. Mix these dry ingredients well.
– Pour in ½ cup melted butter. Stir until it looks like coarse crumbs. Set aside 1 cup of this mixture for the streusel topping.
– Press the rest into the bottom of your pan. This forms the crust. Bake it for 15 minutes or until it is lightly golden.
Preparing the Pumpkin Filling
– In another bowl, whisk together 1 cup of canned pumpkin, ½ cup granulated sugar, and 2 large eggs. Add ½ teaspoon vanilla extract and 1 teaspoon pumpkin pie spice. Mix until it is smooth and creamy.
Assembling and Baking the Bars
– Once the crust is baked, remove it from the oven. Pour the pumpkin mixture over the hot crust. Spread it out evenly.
– Take the reserved streusel mixture and sprinkle it on top. Then, add ½ cup chopped pecans. This adds a nice crunch.
– Bake for 25 to 30 minutes. The filling should be set, and the topping should be golden brown.
Cooling and Glazing
– Let the bars cool completely in the pan on a wire rack. This usually takes about 30 minutes.
– To make the glaze, whisk together ½ cup powdered sugar and 1 tablespoon milk. Drizzle this over the cooled bars. This adds a sweet touch before serving.
Tips & Tricks
Achieving the Perfect Texture
To make great pumpkin pecan streusel bars, measure your ingredients carefully. If you add too much flour, your bars may be dry. Use the spoon and level method for flour. It helps avoid dense bars.
For mixing, combine the melted butter with the dry mix until it looks like coarse crumbs. This step is key. If it’s too wet, your crust will be soggy.
Common Mistakes to Avoid
One big mistake is overbaking the bars. Keep an eye on them during the last few minutes. You want the filling set but not dry. A toothpick should come out clean but with a few moist crumbs.
Spread the pumpkin filling evenly over the crust. This helps it bake well. If you do not spread it evenly, the bars may bake unevenly.
Serving Suggestions
Serve these bars warm with a scoop of ice cream or a dollop of whipped cream. The cold cream pairs well with the warm pumpkin flavors.
For gatherings, cut the bars into neat squares. Arrange them on a pretty platter. This makes them look more inviting and fun to eat.
Variations
Flavor Variations
You can switch up the flavors in your Pumpkin Pecan Streusel Bars easily. Adding chocolate or butterscotch chips can make them even more special. Just fold in half a cup of your favorite chips into the pumpkin filling. This adds sweetness and richness.
If you want to change the nuts, try using walnuts or almonds instead of pecans. Each nut brings a unique taste and crunch. Experiment with different nuts to find your favorite blend!
Dietary Alternatives
If you need a gluten-free option, swap the all-purpose flour for a gluten-free blend. Many brands offer great substitutes that work well in baking.
For a vegan version, replace the eggs with flax eggs. Mix one tablespoon of ground flaxseed with three tablespoons of water. Let it sit for a few minutes to thicken. Use plant-based milk instead of regular milk for the glaze.
Seasonal Twists
Using fresh pumpkin instead of canned can elevate your bars. To do this, roast a small pumpkin, scoop out the flesh, and puree it until smooth. This will give your bars a fresh, vibrant flavor.
Adding spices like cinnamon or nutmeg can enhance the warmth of the bars. Just add about half a teaspoon of each to the pumpkin filling. This will create a cozy, inviting taste that captures the essence of fall.
Storage Info
Storing Unfrosted Bars
You can store your pumpkin pecan streusel bars at room temperature or in the fridge. For room temperature, place them in an airtight container. This keeps them fresh for about three days. If you want them to last longer, the fridge is better. They can stay good in there for up to a week. Use a glass or plastic container with a lid. This helps keep moisture out and flavor in.
Freezing Instructions
To freeze the bars, first let them cool completely. Cut them into squares, then wrap each piece in plastic wrap. After that, place them in a freezer-safe bag or container. Be sure to remove as much air as you can. They will stay fresh for about three months in the freezer. When you are ready to eat, you can thaw them in the fridge overnight. Or, you can leave them out at room temperature for a few hours.
Shelf Life
Chilled bars last about one week in the fridge. Frozen bars can last up to three months. Always check for signs of spoilage before eating. If you see mold or an off smell, it’s best to throw them away. Keeping track of the dates helps you enjoy them at their best!
FAQs
Can I use fresh pumpkin instead of canned?
Yes, you can use fresh pumpkin. Start by selecting a small sugar pumpkin. Cut it in half and remove the seeds. Roast the halves cut-side down on a baking sheet at 400°F for about 45 minutes. Once cool, scoop out the soft flesh and blend it until smooth. This fresh pumpkin puree will give your bars a vibrant flavor.
How do I know when the bars are done baking?
Look for a few signs to know your bars are ready. The filling should be set and not jiggle when you shake the pan. The streusel topping should be golden brown. You can also insert a toothpick into the center. If it comes out clean, your bars are done.
Can I substitute the pecans for another nut?
Absolutely! If you prefer, you can use walnuts or almonds. Chopped hazelnuts also work well. Just ensure you toast the nuts for extra flavor. This small step will enhance the taste of your bars.
What should I do if my glaze is too thick?
If your glaze is thick, simply add more milk. Start with a teaspoon and mix well. Keep adding until you reach your desired consistency. A smoother glaze will drizzle nicely over your cooled bars.
These pumpkin bars combine simple ingredients and easy steps. We covered dry and wet components, plus toppings. I shared tips for perfect texture and common mistakes to avoid. You can also explore tasty variations and storage tips.
Enjoy these bars warm or with ice cream, making them a hit at gatherings. I hope you try them and find joy in baking. With practice, you’ll master these delicious treats!