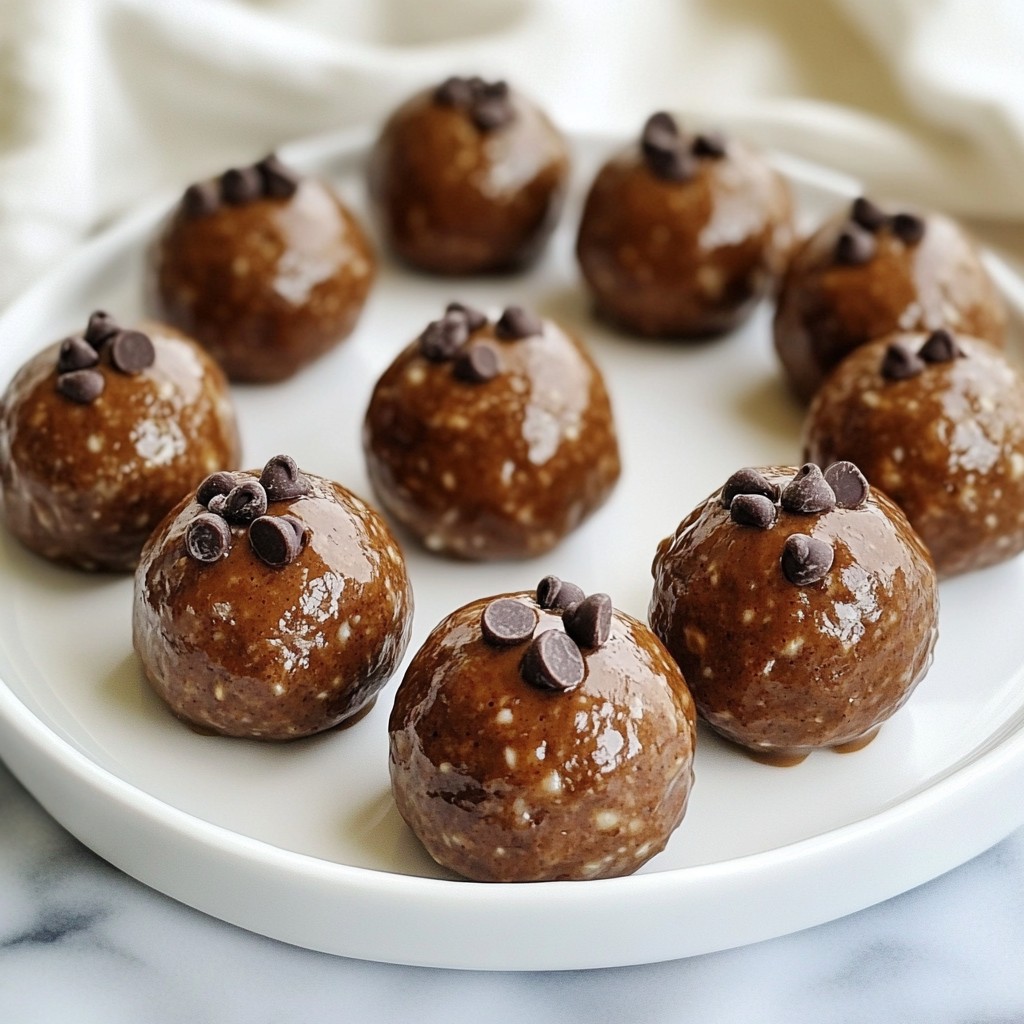
Looking for a quick, tasty, and healthy snack? You’re in the right place! These Peanut Butter Chocolate Protein Balls pack a nutrient punch with simple ingredients like oats, chocolate protein powder, and mini chocolate chips. Perfect for a post-workout boost or a midday pick-me-up, they are easy to make and even easier to enjoy. Let’s dive into the delicious details on how to whip them up!
Why I Love This Recipe
- Healthy Snack Option: These protein balls are packed with nutritious ingredients, making them a perfect guilt-free treat.
- Quick and Easy to Make: With just a few simple steps, you can whip these up in no time.
- Versatile Ingredients: You can easily swap out nut butters or sweeteners based on your preferences.
- Great for Meal Prep: These protein balls can be made ahead of time and stored for a week, making them a convenient snack.
Ingredients
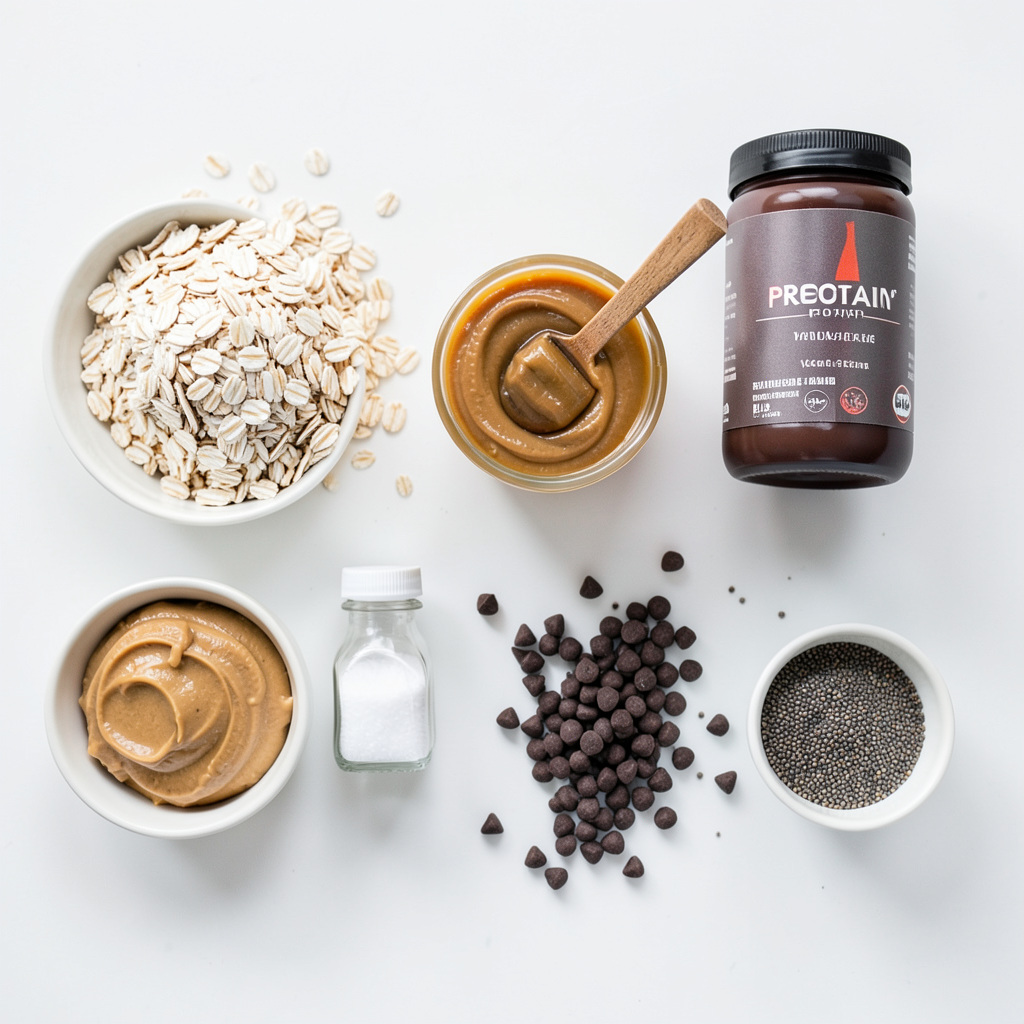
Detailed Ingredient List
- 1 cup rolled oats
- ½ cup peanut butter (or almond butter)
- ¼ cup honey or maple syrup
- ¼ cup chocolate protein powder
- ¼ cup mini chocolate chips
- 2 tablespoons chia seeds
- 1 teaspoon vanilla extract
- Pinch of salt
Peanut Butter Chocolate Protein Balls are packed with nutrition. Each ingredient serves a purpose. Let’s break it down.
Rolled oats provide fiber and help you feel full. They also add texture. Oats are great for energy too.
Peanut butter (or almond butter) is rich in protein and healthy fats. It gives these balls a creamy texture and a rich taste.
Honey or maple syrup is your sweetener. They add flavor and bind the mix. Both options are natural and delicious.
Chocolate protein powder boosts your protein intake. This helps with muscle recovery and keeps you satisfied.
Mini chocolate chips add sweetness and joy to each bite. You can use dark chocolate for a healthier option.
Chia seeds are tiny seeds full of nutrients. They add fiber and omega-3s. They help thicken the mixture too.
Vanilla extract enhances the flavor. It gives a warm and inviting taste to each bite.
Finally, a pinch of salt balances sweetness. It brings out all the flavors nicely.
Now, let’s dive into the nutritional information!
Step-by-Step Instructions
Preparation Overview
Prep time is quick, just 10 minutes. The total time to make these protein balls is about 40 minutes. You will get 12 to 15 protein balls from this recipe.
Mixing the Dry Ingredients
Start by taking a large mixing bowl. Add 1 cup of rolled oats, ¼ cup of chocolate protein powder, 2 tablespoons of chia seeds, and a pinch of salt. Use a spoon to mix these dry ingredients well. Make sure they are fully blended before moving on.
Preparing the Wet Ingredients
In another bowl, add ½ cup of peanut butter, ¼ cup of honey (or maple syrup), and 1 teaspoon of vanilla extract. Whisk these ingredients together until the mixture is smooth and well combined. This step is key for a tasty blend.
Combining Ingredients
Pour the peanut butter mixture into the bowl of dry ingredients. Stir everything together using a spoon or your hands. The goal is to combine them until the texture is sticky but holds together well. If it’s too dry, add a touch more peanut butter.
Forming the Protein Balls
Once mixed, use your hands to shape the mixture into small balls. Aim for about 1 inch in diameter. You should get around 12 to 15 balls from this recipe. Make sure they are compact and hold their shape well.
Cooling and Storing
Place the formed protein balls on a parchment-lined baking sheet or plate. Refrigerate them for at least 30 minutes. This helps them set and firm up. Once they are cool and firm, store the protein balls in an airtight container in the fridge. They will last for up to a week.
Tips & Tricks
Tips for Perfect Texture
To get the perfect stickiness in your protein balls, ensure you mix the wet and dry ingredients well. When you combine the peanut butter, honey, and vanilla, whisk until it's smooth. This helps create a good base. After mixing, the dough should feel sticky but hold together well. If it’s too dry, add a bit more peanut butter or honey.
When binding your ingredients, make sure to fold in the mini chocolate chips gently. This keeps them evenly distributed without breaking them apart. If you notice the mixture is too crumbly, a dash of water or more nut butter can help.
Serving Suggestions
These protein balls pair great with sliced bananas or fresh berries. They make a fun snack before workouts or as a sweet treat any time of day. You can also serve them with yogurt. Just dip or crumble them on top for added crunch and flavor.
For a quick breakfast, enjoy them with oatmeal or as part of a smoothie bowl. They add a nice bite and boost of energy.
Common Mistakes to Avoid
One common mistake is overmixing or undermixing the ingredients. If you mix too much, the balls can turn too soft. If you don't mix enough, they might fall apart. Aim for a balance where you can still see the oats and chia seeds.
Another mistake is not allowing enough time in the fridge. Refrigeration helps the protein balls firm up. If you skip this step, they may not hold their shape when you try to eat them. Aim for at least 30 minutes in the fridge to set.
Pro Tips
- Use Fresh Ingredients: Ensure your oats and nut butter are fresh for the best flavor and texture.
- Customize Your Protein: Feel free to experiment with different protein powders or nut butters to suit your taste preferences.
- Chill for Firmness: Don’t skip the refrigeration step; chilling helps the protein balls hold their shape and improves texture.
- Storage Tips: Keep these protein balls in an airtight container to maintain freshness and avoid moisture.
Variations
Flavor Variations
You can easily change the flavor of these protein balls. Adding nuts or seeds can make them crunchier. Try walnuts, almonds, or sunflower seeds. Each nut adds its unique taste and texture. You can also swap out the chocolate protein powder. Use vanilla or even a berry-flavored protein powder for a new twist.
Dietary Modifications
If you want to make these protein balls vegan-friendly, switch honey for maple syrup. This keeps them sweet and plant-based. For gluten-free options, ensure you use certified gluten-free oats. This way, everyone can enjoy these tasty bites.
Seasonal Add-ins
Seasonal ingredients can add fun to your snacks. In fall, add pumpkin spice for a warm, cozy flavor. It pairs perfectly with the chocolate. When choosing between chocolate chips and dried fruits, think about your taste. Chocolate chips make them sweeter, while dried fruits add a chewy, fruity touch.
Storage Info
Best Practices for Storing
To keep your peanut butter chocolate protein balls fresh, use an airtight container. Glass or plastic containers work well. Make sure the lid seals tightly. This helps to prevent moisture and air from spoiling your snack. You can also use wax paper to separate layers if you stack the balls.
Shelf Life
These protein balls can last up to one week in the fridge. When stored correctly, they stay tasty and safe to eat. Check for any changes in smell or texture before you enjoy them. If they look or smell odd, it’s best to throw them away.
Freezing Options
If you want to store them longer, freezing is a great choice. Place the protein balls in a single layer on a baking sheet. Freeze them for about an hour. After they are firm, transfer them to a freezer-safe bag or container. They can last for up to three months in the freezer. When you're ready to eat, let them thaw in the fridge overnight.
FAQs
What can I use instead of peanut butter?
You can use almond butter or sunflower seed butter. Each option gives a unique flavor. Almond butter has a light taste, while sunflower seed butter is nut-free and creamy.
Can I make these protein balls without protein powder?
Yes, you can skip the protein powder. Use an extra ¼ cup of oats instead. This keeps the texture similar but reduces protein content.
How do I make these protein balls vegan?
To make them vegan, replace honey with maple syrup. Use almond butter instead of peanut butter. These changes keep the taste great and fit a vegan diet.
Are peanut butter chocolate protein balls healthy?
Yes, they are healthy! They provide protein, fiber, and healthy fats. Each ball has oats, chia seeds, and nut butter, which offer good nutrition.
This article covered how to make tasty protein balls using simple ingredients. You learned about the key components, mixing techniques, and storage tips. Don’t forget to check out variations to keep your snacks exciting. I hope these protein balls become a staple in your kitchen. They are easy, healthy, and fun to make. Enjoy your delicious snacks and share them with friends for added joy!