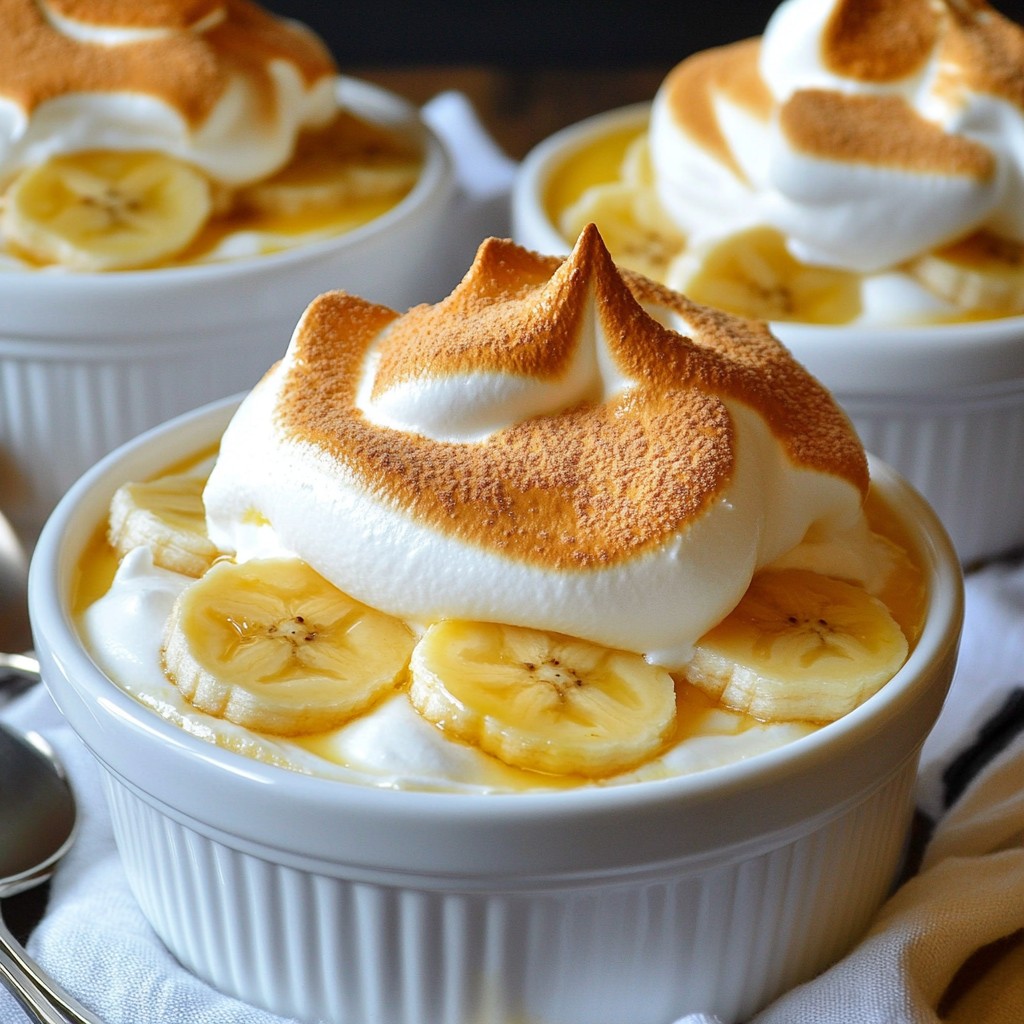
Are you ready to enjoy a treat that takes you right back to your grandma’s kitchen? In this post, I’ll share my delightful recipe for Old-Fashioned Southern Banana Pudding. You'll learn how to craft a creamy custard, layer it perfectly, and top it off with a golden meringue. Whether you’re a seasoned cook or a beginner, this classic dessert will impress everyone. Let’s dive into the sweet world of banana pudding together!
Why I Love This Recipe
- Comforting Flavor: This classic dessert brings warmth and nostalgia, making it the perfect treat for family gatherings.
- Simple Ingredients: Most of the ingredients are pantry staples, so it’s easy to whip up anytime you crave something sweet.
- Impressive Presentation: The layers of bananas, wafers, and fluffy meringue create a beautiful dessert that looks as good as it tastes.
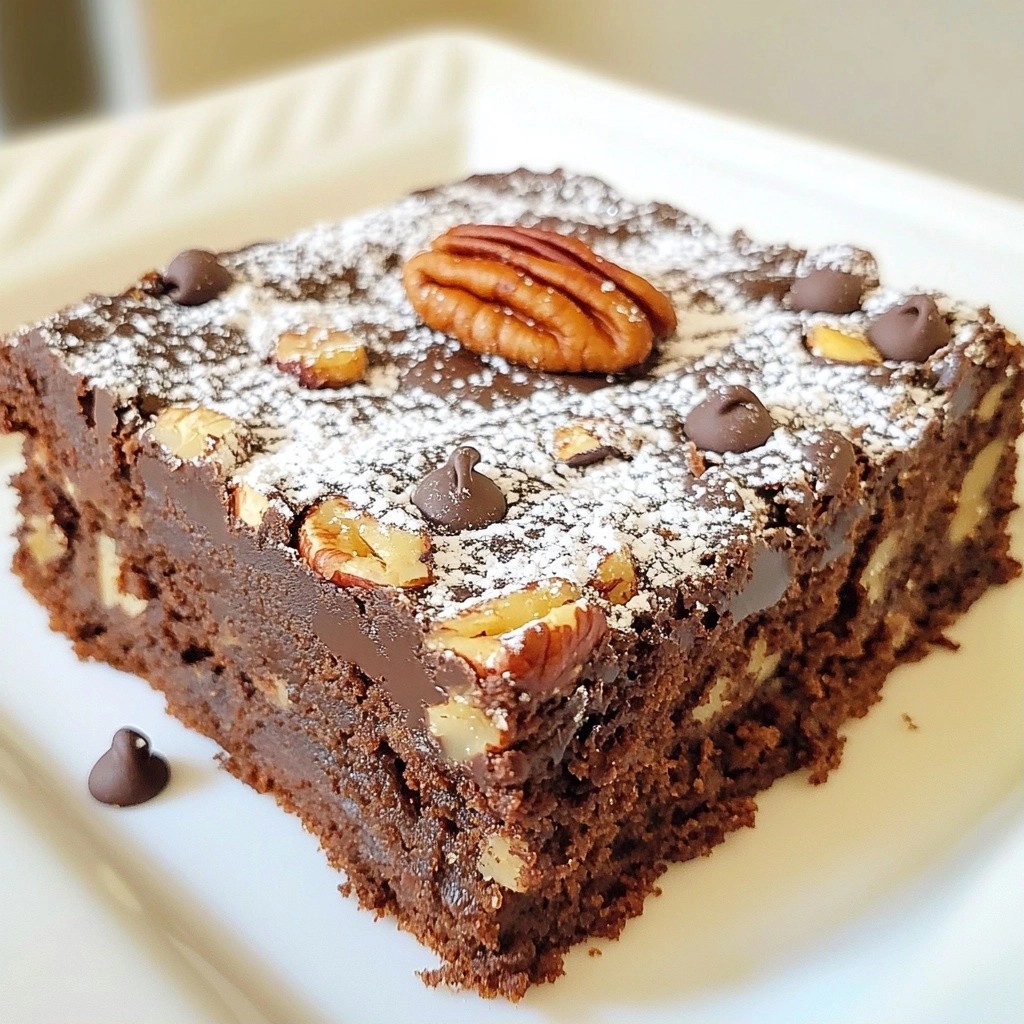
- Customizable: Feel free to add your twist with different flavors or toppings, like chocolate chips or nuts, to make it your own!
Ingredients
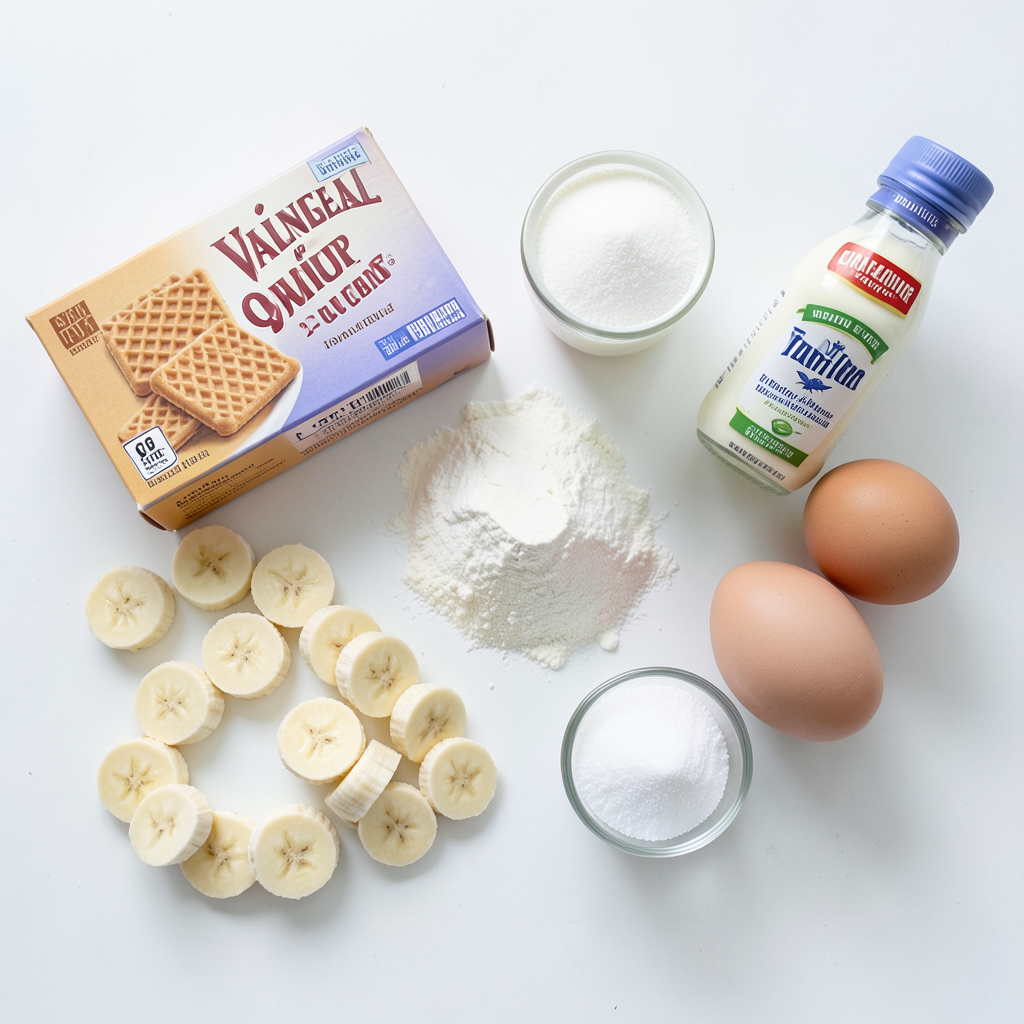
List of Ingredients
- 4 ripe bananas, sliced
- 1 box (12 oz) vanilla wafers
- 1 cup granulated sugar
- 1/3 cup all-purpose flour
- 1/4 teaspoon salt
- 3 cups whole milk
- 3 large eggs, separated
- 1 tablespoon vanilla extract
- 1/4 teaspoon cream of tartar
- Optional: Whipped cream for topping
Ingredient Tips for Best Results
- Use ripe bananas for the best sweetness and flavor.
- Choose fresh eggs for a better meringue.
- Whole milk gives a rich, creamy texture.
- Store vanilla wafers in a cool place to keep them crisp.
Possible Substitutions
- Almond milk can replace whole milk for a dairy-free version.
- Coconut cream can substitute for heavy cream in the meringue.
- For a gluten-free option, use gluten-free vanilla wafers.
- You can swap sugar for a natural sweetener like honey or agave syrup.
Step-by-Step Instructions
Prepping the Custard Base
To start, gather your ingredients. You need sugar, flour, salt, milk, and egg yolks. In a medium saucepan, whisk the sugar, flour, and salt. Next, slowly add the milk while whisking. This helps avoid lumps. Cook this mixture over medium heat. Stir it often until it thickens and bubbles a bit. This should take about 5 to 10 minutes.
In a separate bowl, beat the egg yolks lightly. To temper them, add a few spoonfuls of the hot milk mix while whisking. This step warms the yolks. Now, pour the yolk mix back into the saucepan. Cook it for another 2 to 3 minutes until it thickens more. Don’t forget to stir in vanilla extract. Remove the pan from heat and set it aside.
Layering the Pudding
Now, it's time to layer your pudding. Grab a 9x13 inch baking dish. Start by adding half of the vanilla wafers on the bottom. Next, add half of the banana slices. Pour half of the custard over the bananas. Repeat these layers with the rest of the wafers, banana slices, and custard. You want nice, even layers for taste and looks.
Creating the Meringue Topping
For the meringue, use a clean bowl. Beat the egg whites with cream of tartar until you see stiff peaks. This means the egg whites hold shape. Once ready, spread the meringue evenly over the pudding. Make sure to seal the edges well. This helps prevent weeping.
Bake your pudding in the preheated oven for about 10 to 12 minutes. You want the meringue to turn golden brown. After baking, let it cool to room temperature. Refrigerate the pudding for at least 4 hours, or overnight for the best flavor. Enjoy your delicious creation!
Tips & Tricks
Achieving the Perfect Consistency
To get the right texture in your banana pudding, watch the cooking time closely. You want the custard to thicken but not become too thick. Stir frequently to avoid lumps. When you see it bubble, you know you are close. The egg yolks will add richness and creaminess, so make sure to temper them carefully. This helps them blend well without scrambling.
Common Mistakes to Avoid
Avoid using overly ripe bananas. They can make your pudding mushy. Also, don’t skip the meringue sealing step. If the edges are not sealed, the meringue can weep, leaving your pudding watery. Be sure to beat your egg whites until they form stiff peaks. This gives your topping a nice height and texture. Lastly, remember to cool the pudding before refrigerating. This helps it set properly.
Serving Suggestions
Serve your banana pudding in individual cups for a fun touch. Top with whipped cream and a slice of banana for flair. This makes it look fancy and inviting. You can also sprinkle some crushed vanilla wafers on top for added crunch. If you want a twist, try adding a dash of cinnamon or nutmeg to the custard for extra flavor.
Pro Tips
- Use Ripe Bananas: For the best flavor and sweetness, ensure your bananas are fully ripe with brown spots.
- Prevent Soggy Wafers: For a firmer texture, consider toasting the vanilla wafers in the oven for a few minutes before layering.
- Chill Before Serving: Letting the pudding chill overnight allows the flavors to meld and improves the overall texture.
- Perfect Meringue: Ensure your mixing bowl is completely clean and dry before whipping the egg whites for a stable meringue.
Variations
Alternative Flavor Additions
You can add fun flavors to your banana pudding. Try using chocolate wafers instead of vanilla. This gives a rich, chocolatey twist. You can also mix in peanut butter for a nutty flavor. Just swirl it into the custard before layering. Another option is to add a few drops of almond extract. It pairs well with bananas.
Healthier Ingredient Swaps
To make a healthier pudding, consider using low-fat milk instead of whole milk. You can also swap granulated sugar for honey or maple syrup. This will cut calories and add a unique flavor. If you want to avoid eggs, use a vegan egg replacer. It works well in the custard.
Making a No-Bake Version
For a no-bake version, you can skip the oven entirely. Prepare the custard on the stove, then let it cool. Layer the vanilla wafers and bananas in a dish. Pour the cooled custard over the layers. Instead of meringue, top with whipped cream right before serving. This makes it quick and easy!
Storage Info
Best Storage Practices
To store your banana pudding, place it in an airtight container. This keeps the pudding fresh and prevents it from drying out. If you make it in a glass dish, cover it tightly with plastic wrap or foil. Make sure the wrap touches the surface of the pudding to avoid any air exposure. Always store the pudding in the fridge to keep it cool and safe.
How Long Does it Last?
When stored correctly, your banana pudding can last for about 3 to 4 days in the fridge. The bananas may start to brown after a day or two, but the pudding will still taste good. If you want to keep it longer, consider eating it within the first couple of days for the best flavor and texture.
Reheating Meringue Topping
If you want to enjoy your banana pudding warm, you can reheat it. Place the pudding in the oven at 350°F (175°C) for about 10 minutes. This will warm the pudding without melting the meringue topping. However, the meringue may lose some of its texture, so it’s best to enjoy the pudding chilled, fresh out of the fridge.
FAQs
Can I use other fruits in my banana pudding?
Yes, you can! Feel free to add fruits like strawberries, peaches, or blueberries. Each fruit brings its own unique flavor. Just remember to slice them thinly so they layer well. Mixing fruits adds color and a twist to the classic taste.
How do I prevent the bananas from browning?
To keep bananas fresh, use a few tricks. First, coat the slices in lemon juice. This simple step slows down browning. You can also layer them just before serving to keep them looking bright. If you store the pudding, cover it tightly to limit air contact.
What to do if the meringue weeps?
If your meringue weeps, it means moisture escapes. To avoid this, seal the meringue edges well to the dish. Make sure to bake it until golden brown. If it still weeps, you can whip it again with a bit of sugar to stabilize. Enjoy your banana pudding without worry!
This blog post covered the main parts of making banana pudding. We explored the best ingredients and tips for a tasty custard. I shared the steps to layer your pudding and create that perfect meringue topping. You learned ways to fix common mistakes and how to store your dish correctly. Remember, you can always play with flavors or try a no-bake version. Enjoy making banana pudding your way!