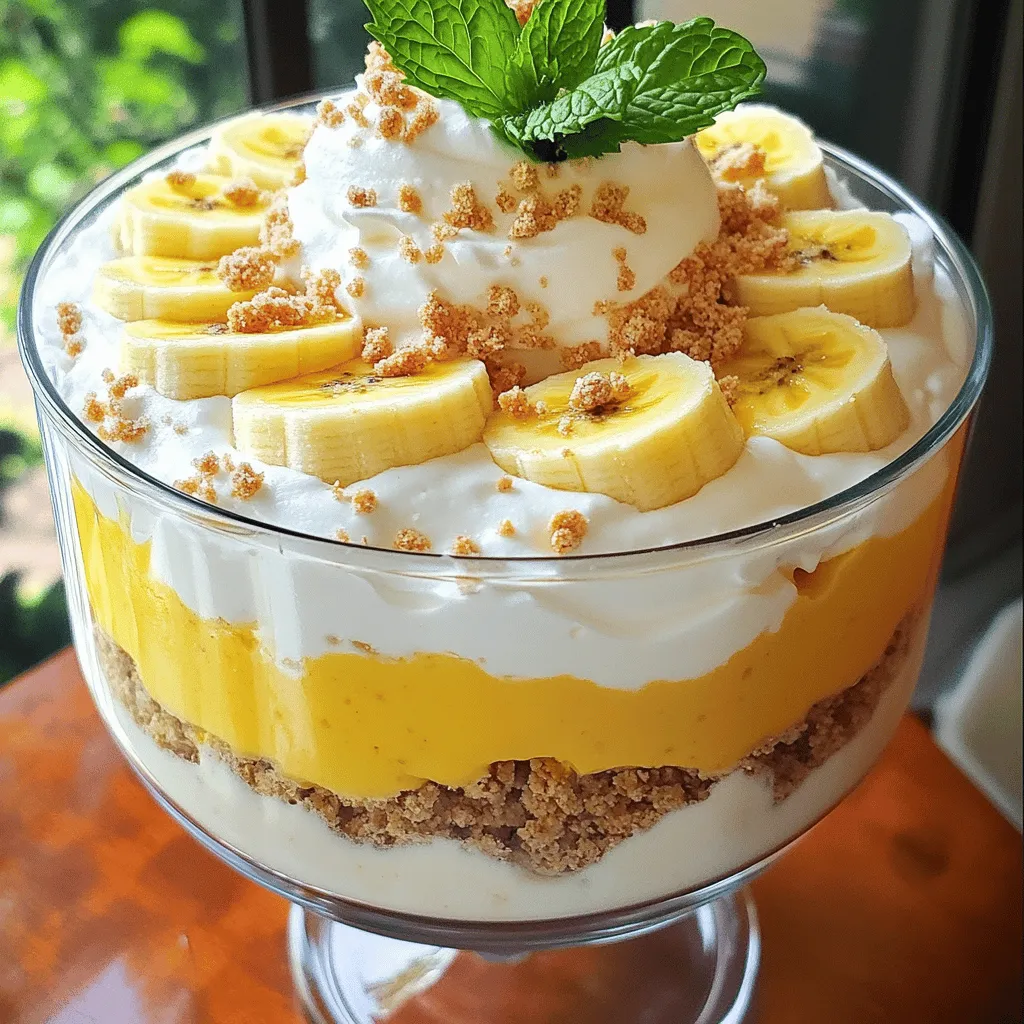
Are you ready to make banana pudding that will impress everyone? This recipe, “Not Yo Mama’s Banana Pudding,” is a layered delight that redefines what this classic dessert can be! With fresh bananas, creamy layers, and a touch of fun, you’ll find yourself craving it all year round. Trust me, once you try this version, you won’t want to go back. Let’s dive into the ingredients and steps to create this irresistible treat!
Ingredients
Main Ingredients
– 4 ripe bananas, sliced
– 1 cup heavy whipping cream
– 1 cup sweetened condensed milk
– 1 package (3.4 oz) instant vanilla pudding mix
Optional Ingredients
– ½ teaspoon cinnamon (optional)
– Fresh mint leaves (for garnish)
Suggested Tools
– Mixing bowls
– Electric mixer
– 9×13 inch dish or trifle bowl
The main ingredients form the base of Not Yo Mama’s Banana Pudding. The ripe bananas bring natural sweetness and a soft texture. Heavy whipping cream adds a rich, creamy layer that elevates the dish. Sweetened condensed milk provides an extra touch of sweetness and richness. Instant vanilla pudding mix thickens the layers and enhances the vanilla flavor.
The optional cinnamon can give a warm spice to the pudding. Fresh mint leaves make a lovely garnish, adding color and freshness.
To make this treat, gather your tools. Mixing bowls are key for combining your ingredients. An electric mixer helps whip the cream to the perfect consistency. A 9×13 inch dish or trifle bowl shows off those beautiful layers, making your dessert look as good as it tastes.
I find that having all the ingredients ready makes the process smooth and fun. Each layer of flavor combines to create a dessert that is truly irresistible.
Step-by-Step Instructions
Prep the Pudding Mixture
– Combine sweetened condensed milk, cold milk, and pudding mix.
– Whisk together until smooth and well blended.
– Allow the mixture to set for 5 minutes.
This step is key to a thick and creamy pudding. You want it to be just right before layering.
Whip the Cream
– Use an electric mixer to whip heavy cream until stiff peaks form.
– Gently fold in vanilla extract and optional cinnamon.
Whipping the cream well makes your pudding light and fluffy. The vanilla adds a nice flavor, while cinnamon gives a warm touch.
Assemble the Layers
– Start with crushed Nilla wafers, then sliced bananas, then pudding mixture.
– Repeat layering and finish with crushed Nilla wafers on top.
Layering is where the magic happens! The wafers add crunch, while bananas and pudding provide sweetness. Follow these steps closely for the best results.
Let this treat chill in the fridge for at least 2 hours before serving. This time allows the flavors to blend and the layers to set. Enjoy your Not Yo Mama’s Banana Pudding!
Tips & Tricks
Achieving the Perfect Whipped Cream
Using cold cream is key to making great whipped cream. Cold cream whips better and holds its shape. Before you start, chill your mixing bowl and beaters too. This small step helps the cream whip faster. When whipping, keep an eye on the cream. You want stiff peaks, not butter. Stop mixing once you see peaks hold their shape. Overwhipping can ruin your cream.
Enhancing Flavor Profiles
You can easily add other flavors to your banana pudding. Try stirring in some cocoa powder for a chocolate twist. A drizzle of caramel can also add a nice touch. If you want more spice, add a dash of nutmeg or cinnamon. Taste as you go to find what works best for you. Adjusting sweet levels can also make a big difference. Add a bit more sweetened condensed milk if you like it sweeter.
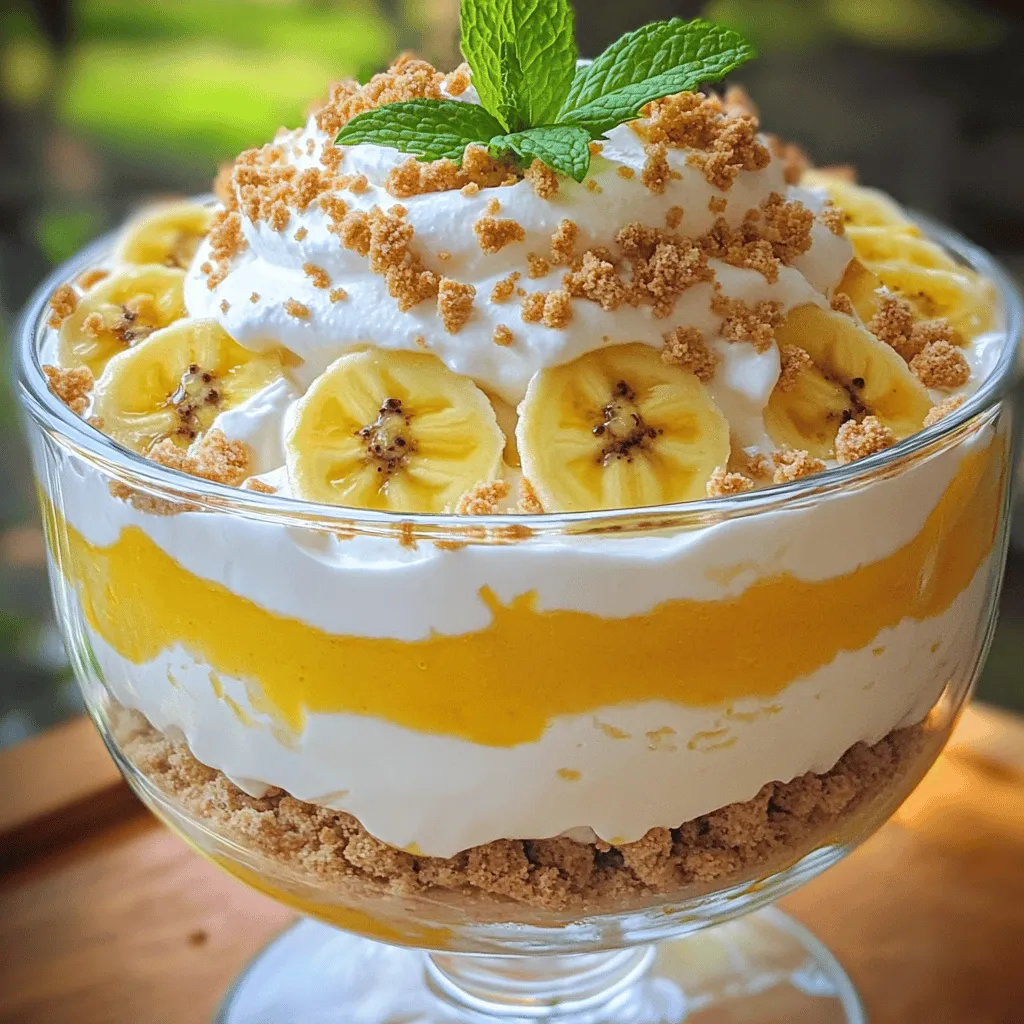
Presentation Techniques
How you serve your banana pudding can make it more fun. Individual cups look fancy and are easy to grab. Use clear cups to show off those beautiful layers. A trifle bowl creates a stunning display for gatherings. Always top your pudding with crushed Nilla wafers for a crunchy finish. A fresh mint leaf adds a pop of color too. For an extra touch, place a banana slice on top of each serving. Let your creativity shine when plating!
Variations
Flavor Alternatives
You can switch things up in Not Yo Mama’s banana pudding. One fun twist is to make chocolate banana pudding. For this, simply add cocoa powder or use chocolate pudding mix. This change adds a rich taste that chocolate lovers will enjoy.
If you want a vegan option, you can easily substitute ingredients. Use coconut cream for the whipped cream. Almond or oat milk works well instead of regular milk. For a sweet base, try using maple syrup or agave instead of sweetened condensed milk. These swaps keep the flavor and make it dairy-free.
Texture Modifications
Adding different textures can bring life to your banana pudding. You might try adding chopped nuts or granola for a nice crunch. Pecans or walnuts blend well with bananas. Granola adds chewiness, making each bite more exciting.
You can also change the cookies. Instead of Nilla wafers, use chocolate wafers or gingersnap cookies. Each type of cookie gives a new flavor. This can create a fun surprise for your taste buds.
International Twists
Why not explore international flavors? Adding tropical fruits like mango or pineapple can give a fresh twist. These fruits pair well with bananas, making the dessert more vibrant.
You can also find inspiration from around the globe. Try adding coconut for a tropical feel or dulce de leche for a rich caramel taste. These options enhance the flavor and make your pudding feel special.
Storage Info
Refrigeration Guidelines
To keep your Not Yo Mama’s Banana Pudding fresh, store leftovers in an airtight container. This will prevent it from absorbing any odors in your fridge. It’s best to chill the pudding for at least two hours before serving. Chilling allows the flavors to blend better and gives it a nice, creamy texture. If you can, let it sit overnight; the taste improves with time!
Freezing Suggestions
Yes, you can freeze Not Yo Mama’s Banana Pudding, but it’s not ideal. Freezing can change the texture of the bananas and cream. If you must freeze it, do so in a freezer-safe container. To thaw, move it to the fridge overnight. Serve it cold, but be aware that the texture may differ from fresh pudding.
Shelf Life
In the fridge, your pudding will last about three days. After that, the bananas may brown, and the texture will change. Look for signs of spoilage, like an off smell or watery liquid on top. If you spot these, it’s best to toss it. Keeping an eye on it will help you enjoy this treat at its best!
FAQs
Can I use fresh whipped cream instead of instant pudding?
Yes, you can use fresh whipped cream in place of instant pudding. Fresh whipped cream adds a light, airy texture. It also gives a rich, creamy taste that is hard to beat. However, you need to ensure it blends well with the pudding mixture. If you decide to use fresh whipped cream, make sure to whip it to stiff peaks. This helps maintain structure and keeps your dessert from being too runny.
What if I don’t have Nilla wafers?
If you don’t have Nilla wafers, don’t worry! You can use other cookies. Vanilla wafers are sweet and crumbly, but substitutes can work too. Try using shortbread cookies or graham crackers. For a fun twist, consider using chocolate cookies for a richer flavor. Just crush them up as you would Nilla wafers, and layer them in your dish.
Can I make this in advance?
Yes, you can make Not Yo Mama’s Banana Pudding in advance. This dessert tastes even better after sitting in the fridge. To keep it fresh, cover it well with plastic wrap. Chill it for at least two hours, but letting it sit overnight is best. This allows the flavors to mix nicely. Just remember to add toppings just before serving to keep them crisp.
What can I add to make it even more indulgent?
To make this dessert even more decadent, consider adding chocolate shavings or a drizzle of caramel sauce. You could also stir in a splash of flavored extract, like almond or coconut, for an extra layer of taste. Chopped nuts can add a nice crunch, too. Be creative! Your banana pudding can be as unique as you want.
This blog post shared a simple guide to making a tasty banana pudding. We explored the main ingredients, prepping steps, and handy tools. You can bring your own flair with flavor options and toppings. Store your pudding right to keep it fresh, and learn about the shelf life. Remember, small changes can give you a unique twist. Enjoy the creamy goodness and have fun experimenting! Your banana pudding will stand out at any gathering!