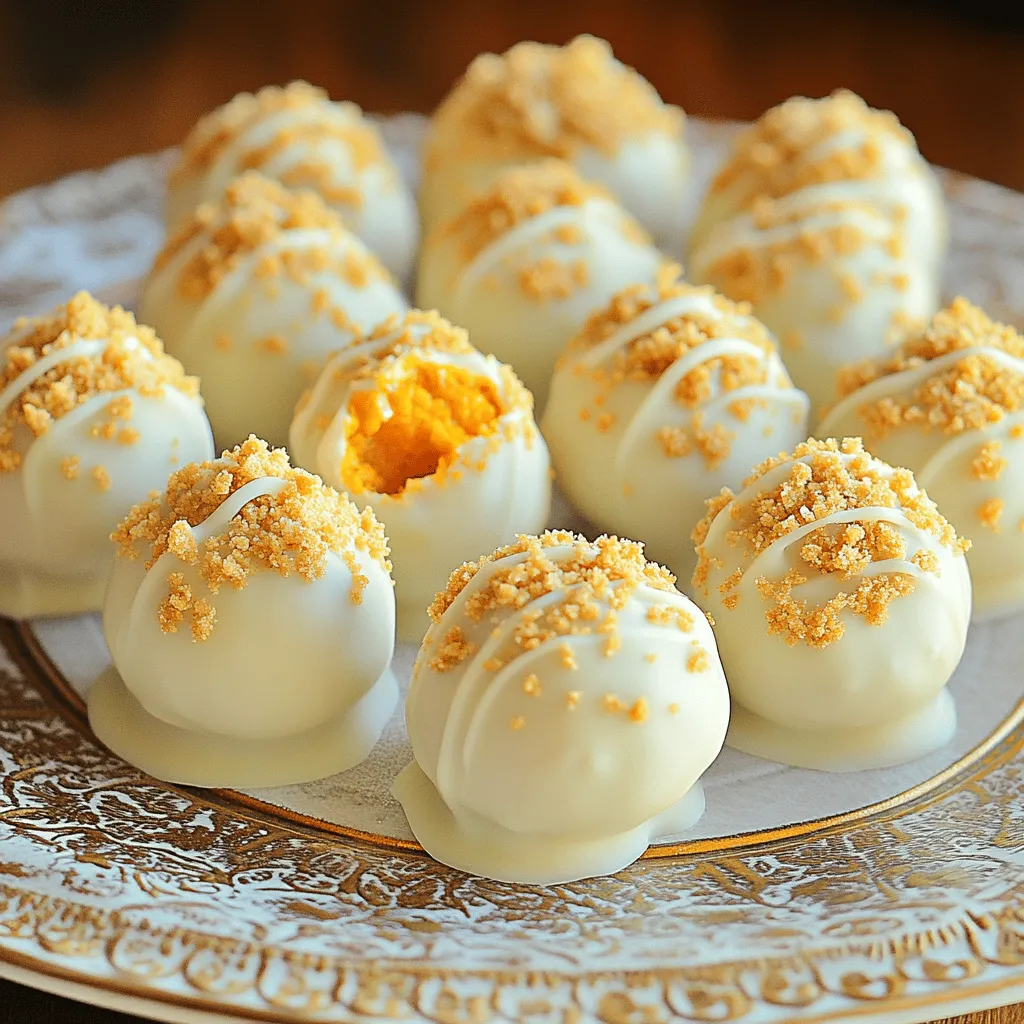
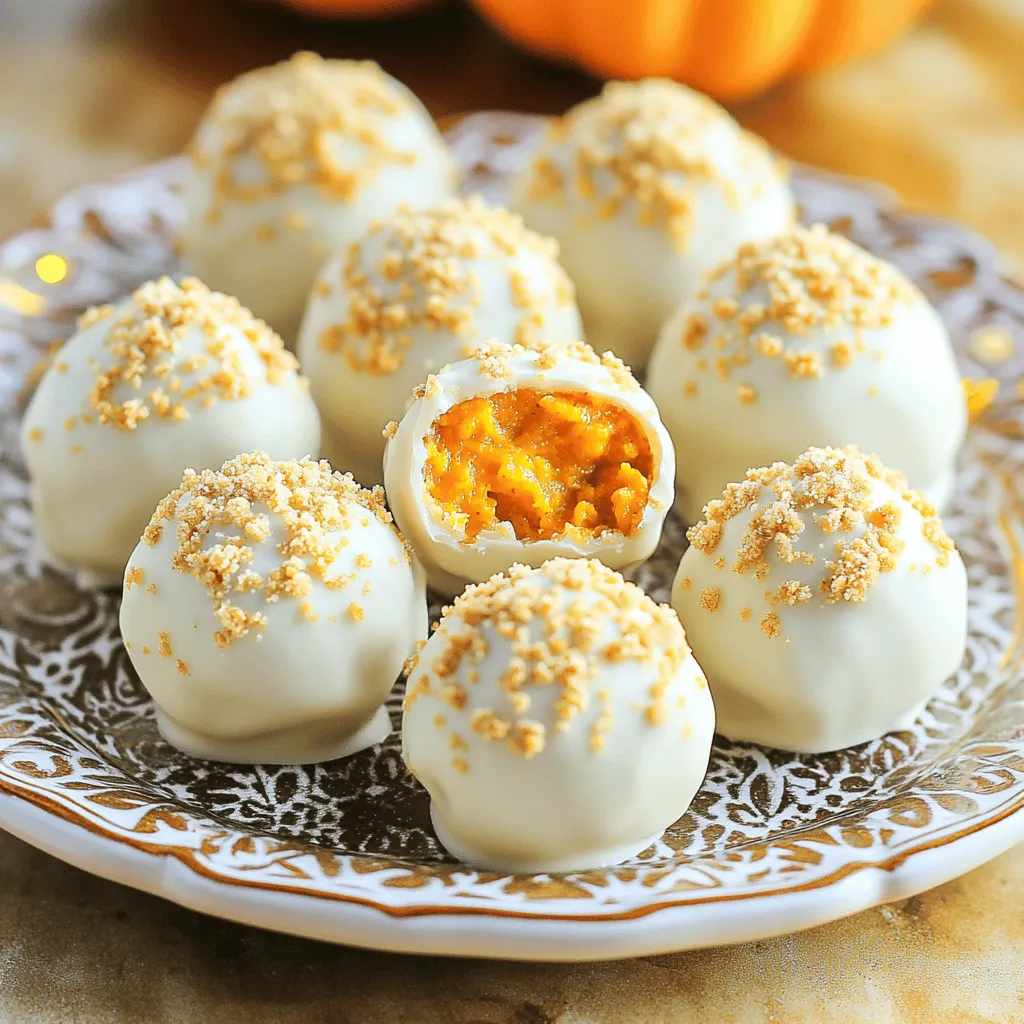
Get ready to impress your friends with an easy treat: No-Bake White Chocolate Pumpkin Pie Truffles! These simple bites mix creamy pumpkin with sweet white chocolate and crunchy graham crackers. You only need a few ingredients, and the process is quick. Perfect for any season or occasion, you will love how fun and easy they are to make. Let’s dive into creating this delightful treat!
Ingredients
List of Ingredients
– 1 cup canned pumpkin puree
– 1 cup crushed graham crackers
– 1 cup powdered sugar
– 1 teaspoon pumpkin pie spice
– 1/2 teaspoon vanilla extract
– 1 cup white chocolate chips
– 1 tablespoon coconut oil
– Extra graham cracker crumbs for rolling
To make no-bake white chocolate pumpkin pie truffles, gather your ingredients. You will need canned pumpkin puree for that rich, smooth base. Next, crushed graham crackers add a nice crunch and flavor. Powdered sugar sweetens the mixture and helps bind it together.
Don’t forget the pumpkin pie spice! It brings warmth to the truffles. A touch of vanilla extract enhances the sweet notes. For the coating, you will use white chocolate chips and a bit of coconut oil to make it creamy and shiny.
Finally, have extra graham cracker crumbs ready. You will roll the truffles in these for a fun texture. Each ingredient plays a key role in making these truffles delicious. Enjoy the process of mixing and rolling these delightful treats!
Step-by-Step Instructions
Mixing the Ingredients
In a big bowl, combine these five items:
– 1 cup canned pumpkin puree
– 1 cup crushed graham crackers
– 1 cup powdered sugar
– 1 teaspoon pumpkin pie spice
– 1/2 teaspoon vanilla extract
Use a spatula or your hands to mix well. The dough should be thick and sticky. It should feel easy to shape into balls. If it seems too wet, add more graham cracker crumbs.
Rolling the Truffles
Now, scoop the mixture into small balls. Each ball should be about 1 tablespoon in size. Roll them gently in your hands until they are smooth. Place the balls on a parchment-lined baking sheet. Make sure they are spaced apart so they do not stick together.
Chilling and Coating
Next, chill the truffles in the fridge for about 30 minutes. This will help them firm up. While they chill, melt the white chocolate. In a microwave-safe bowl, add:
– 1 cup white chocolate chips
– 1 tablespoon coconut oil
Heat in the microwave in 30-second bursts. Stir between each burst until smooth.
Once the truffles are firm, dip each one into the melted chocolate. Use a fork to help coat them evenly. After dipping, roll the truffles in extra graham cracker crumbs. Place them back on the parchment paper. Return them to the fridge for another 30 minutes to set the chocolate.
Tips & Tricks
Perfecting the Truffles
To get the perfect truffle, focus on the dough. It should be thick and easy to shape. If your dough feels too sticky, add a bit more crushed graham crackers. If it’s too dry, a splash of pumpkin puree can help. When rolling the truffles, use your palms to create smooth balls. This keeps them looking nice and helps them hold together.
Melting White Chocolate
Melting white chocolate can be tricky. Heat it slowly in the microwave. Use a microwave-safe bowl and add coconut oil to help it melt evenly. Heat in 30-second bursts, stirring in between each time. This prevents clumps and stops the chocolate from burning. Smooth melted chocolate makes a big difference in how your truffles look.
Presentation Tips
Presentation can make your truffles shine. Place them on a decorative plate for a festive look. Sprinkle some extra graham cracker crumbs around the truffles for color and texture. For added flair, drizzle leftover melted white chocolate on top. This makes each truffle look special and inviting.
Variations
Flavor Customizations
You can change the flavor of your truffles easily. Add spices like cinnamon or nutmeg for warmth. A splash of almond or orange extract offers a twist. Mixing in finely chopped nuts or dried fruit can enhance both texture and taste.
Substituting Ingredients
If you prefer dairy-free, swap white chocolate chips for dairy-free ones. You can use coconut cream instead of heavy cream. For coatings, use crushed nuts or even shredded coconut. These changes keep the truffles tasty and fun.
Holiday-themed Twists
Make your truffles festive for different holidays. For Halloween, add a touch of orange food coloring to the white chocolate. During Christmas, sprinkle crushed peppermint on top. In the spring, swap pumpkin for crushed strawberries for a fresh taste. Each season brings new flavors to enjoy.
Storage Info
Best Storage Practices
To keep your no-bake white chocolate pumpkin pie truffles fresh, store them in an airtight container. Glass or plastic containers work well. Line the bottom with parchment paper to prevent sticking. Make sure to keep them in a cool area or in the fridge. Avoid placing them near strong-smelling foods. This helps preserve their lovely pumpkin flavor.
Shelf Life
These truffles last about one week in the fridge. If you freeze them, they can stay good for about three months. Just make sure they are tightly sealed. This keeps the truffles safe from freezer burn and preserves their taste.
Freezing Truffles
Freezing these truffles is easy. Follow these steps:
1. Prepare for Freezing: After the truffles have set, place them on a baking sheet lined with parchment paper.
2. Pre-Freeze: Put the baking sheet in the freezer for about one hour. This helps them firm up.
3. Store in a Container: Once firm, transfer the truffles to a freezer-safe container or a zip-top bag.
4. Label and Date: Write the date on the container or bag. This helps you track how long they have been frozen.
5. Thawing: When you want to enjoy them, take out the truffles and leave them in the fridge for a few hours to thaw. Enjoy your tasty treat!
FAQs
Can I use fresh pumpkin instead of canned?
Yes, you can use fresh pumpkin. However, there are some pros and cons. Fresh pumpkin has a great taste. It can be more nutritious than canned. But, it requires more work. You need to cook and puree it first. Canned pumpkin is easy and quick. It has a consistent flavor and texture. If you choose fresh, ensure it is well-cooked and smooth.
How do I know when the truffles are set?
You’ll know the truffles are set when they feel firm to the touch. They should not be squishy. If you press gently, they should hold their shape. After chilling, check for a slight resistance. The white chocolate coating should also feel solid. This means they are ready to enjoy!
Can I make these truffles ahead of time?
Yes, you can make these truffles in advance. They are great for planning ahead! Prepare and roll the truffles, then chill them. You can store them in an airtight container. Keep them in the fridge for up to a week. You can also freeze them for longer storage. Just thaw them in the fridge before serving.
These pumpkin truffles are easy to make and fun to share. We covered the key ingredients, simple steps, and helpful tips. You can customize flavors and ensure your truffles look great. Store them properly for long-lasting treats. Remember, using fresh pumpkin is fine, but canned is easier. With these tricks, you’re set to impress at any gathering. Enjoy making and tasting these delightful bites!