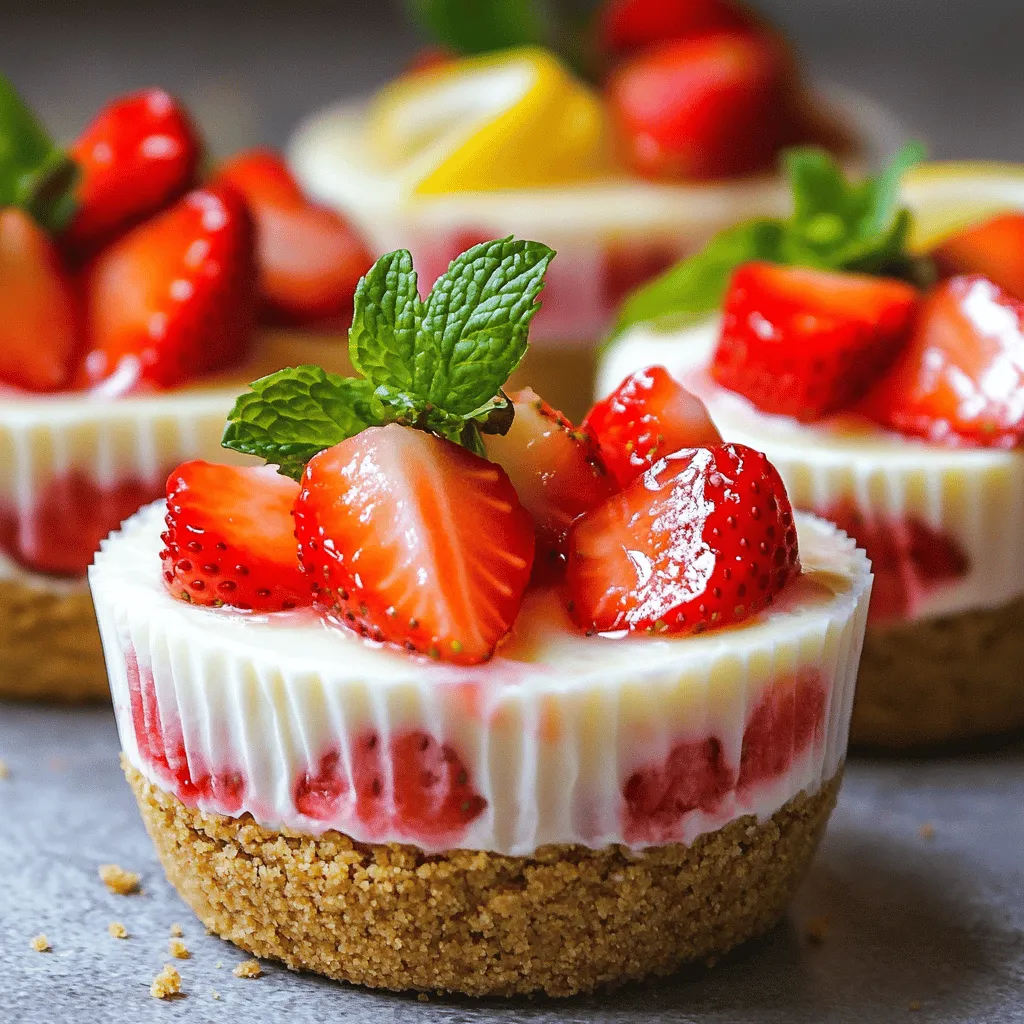
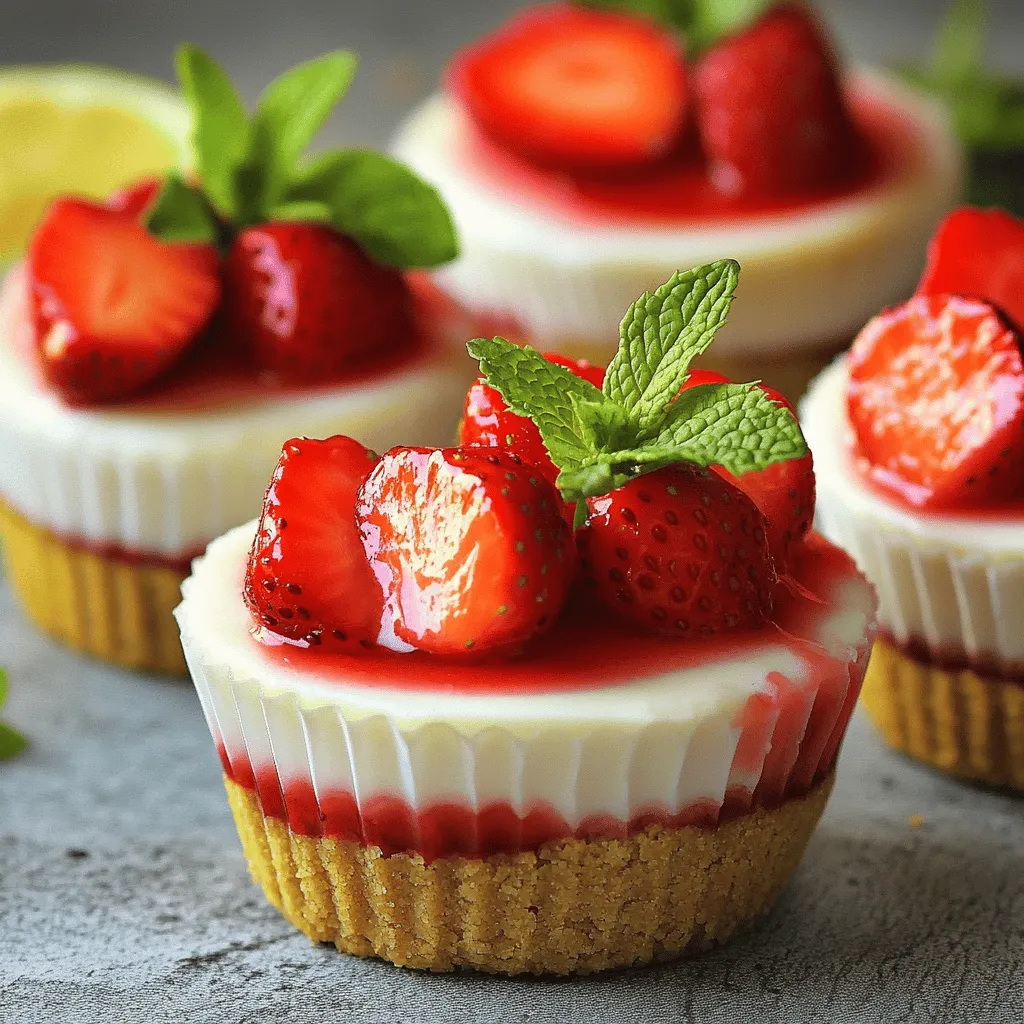
Craving a sweet treat without the oven? You’re in luck! My No-Bake Strawberry Cheesecakes are the perfect solution. They are easy to whip up and bursting with fruity flavor. In this guide, I’ll walk you through the simple ingredients, step-by-step instructions, and pro tips to make your cheesecake a hit. Let’s dive into this delightful dessert that everyone will love!
Ingredients
List of Ingredients for No-Bake Strawberry Cheesecakes
To make these lovely no-bake strawberry cheesecakes, you need the following:
– 1 cup graham cracker crumbs
– 1/4 cup unsalted butter, melted
– 2 cups cream cheese, softened
– 1 cup powdered sugar
– 1 teaspoon vanilla extract
– 1 cup heavy whipping cream
– 1 1/2 cups fresh strawberries, hulled and sliced
– 2 tablespoons lemon juice
– Fresh mint leaves (for garnish)
Optional Ingredients for Customization
You can add a personal touch to your cheesecakes. Here are some options:
– Chocolate chips for a rich flavor
– Different berries like blueberries or raspberries
– A splash of almond extract for a nutty taste
– A pinch of salt to balance sweetness
Key Ingredient Notes and Substitutions
Each ingredient plays a key role in flavor and texture. Here are some notes:
– Graham cracker crumbs: These form the base. You can use digestive biscuits if needed.
– Cream cheese: This gives the cheesecake its rich texture. Neufchâtel cheese works too for a lighter option.
– Heavy whipping cream: Use this for a fluffy texture. If you prefer, you can substitute with coconut cream for a dairy-free version.
– Fresh strawberries: Using fresh berries gives the best flavor. If they are out of season, frozen strawberries can work, but drain excess moisture.
– Lemon juice: This brightens the flavor. You can swap it with lime juice for a twist.
Gather these ingredients and get ready to create a delicious treat.
Step-by-Step Instructions
Preparation of the Graham Cracker Crust
First, gather your ingredients for the graham cracker crust. You need graham cracker crumbs and melted butter. In a medium bowl, mix the crumbs and butter together. Make sure all the crumbs are coated. Once mixed, press the crust into the bottom of dessert cups or a springform pan. This step gives your cheesecake a firm base. After pressing, chill the crust in the refrigerator while you prepare the filling. Chilling helps it set nicely.
Making the Cheesecake Filling
Now, let’s make the creamy filling. Start with softened cream cheese in a large bowl. Beat it with an electric mixer until smooth. Next, add powdered sugar and vanilla extract to the cream cheese. Mix until well combined. In another bowl, whip heavy cream until it forms stiff peaks. This step gives the filling a light texture. Gently fold the whipped cream into the cream cheese mixture. Be careful not to deflate it. Toss sliced strawberries with lemon juice in a separate bowl. This adds zing to the flavor. Fold the strawberries into the cheesecake mixture, leaving some chunks for extra texture.
Assembling and Chilling the Cheesecakes
After your filling is ready, it’s time to assemble the cheesecakes. Spoon the mixture over the chilled crusts in your cups or pan. Smooth the tops with a spatula for a neat look. Cover each dessert with plastic wrap. Now, place them back in the fridge. Let them chill for at least four hours, or until set. This step is key for a perfect texture. Before serving, garnish with fresh strawberry slices and a mint sprig. Enjoy your delightful no-bake strawberry cheesecakes!
Tips & Tricks
Tips for Perfectly Whipped Cream
To make great whipped cream, start with very cold cream. Use heavy whipping cream for the best results. Beat the cream on medium speed until soft peaks form. This takes about 2-3 minutes. Add sugar and vanilla when the cream is soft. Keep beating until stiff peaks form. Be careful not to over-whip. Over-whipped cream can turn buttery.
How to Achieve the Right Cheesecake Consistency
The key to a smooth cheesecake is mixing well. Start with softened cream cheese. Beat it until it is creamy and lump-free. When adding powdered sugar, mix slowly at first. This helps avoid sugar clouds in your kitchen. Fold in the whipped cream gently. This keeps your cheesecake light and fluffy. If you want a denser cheesecake, add less whipped cream.
Tricks for Easy Removal from Dessert Cups or Pan
To remove cheesecakes from cups, use a small spatula. Slide it along the edges first. For springform pans, run a knife around the edge before unbuckling. If using cups, chill the cheesecakes well. This helps them set firmly. You can also use parchment paper to line the bottom of the pan. This makes lifting out the cheesecake easier.
Variations
Different Fruit Combinations for Cheesecakes
You can change the fruit in your no-bake cheesecake. Try using blueberries, raspberries, or peaches. Each fruit gives a new taste and look. For a tropical twist, use mango or pineapple. Just remember to adjust the lemon juice to fit the fruit’s flavor. Mixing fruits can also work well. Combine strawberries with kiwi for a fun twist!
Vegan and Dairy-Free Alternatives
If you want a vegan option, swap cream cheese for cashew cream or coconut cream. You can blend soaked cashews with a bit of almond milk to make a smooth mix. Use maple syrup instead of powdered sugar for sweetness. For the crust, use dairy-free butter or coconut oil. This way, everyone can enjoy a sweet treat!
Flavor Add-Ins and Spice Suggestions
You can make your cheesecake even better with simple add-ins. Try adding a bit of almond extract for a nutty taste. You can also mix in a teaspoon of cocoa powder for a chocolate version. For spices, a dash of cinnamon or nutmeg adds warmth. These small tweaks can make your cheesecake unique and exciting!
Storage Info
Best Practices for Storing No-Bake Cheesecakes
To keep your no-bake strawberry cheesecakes fresh, store them in the fridge. Use an airtight container to prevent them from absorbing any odors. If you stack them, place parchment paper between layers. This keeps the toppings intact and prevents sticking. Always cover the cheesecakes with plastic wrap if you don’t have a container.
How Long They Last in the Fridge
No-bake strawberry cheesecakes can last up to five days in the fridge. However, they taste best within the first three days. After that, the strawberries may lose their freshness. Check for any signs of spoilage like off smells or discoloration. If you see these, it’s time to toss them.
Freezing Instructions and Thawing Tips
You can freeze no-bake cheesecakes for longer storage. Wrap each cheesecake tightly in plastic wrap and then in foil. This helps prevent freezer burn. They can last up to two months in the freezer. To thaw, place the cheesecakes in the fridge overnight before serving. This method keeps the texture smooth and creamy. Enjoy a delicious treat anytime with these simple steps!
FAQs
Can I use frozen strawberries instead of fresh ones?
Yes, you can use frozen strawberries. Just thaw them first. Drain extra juice to avoid a soggy cheesecake. Frozen strawberries are great when fresh ones are out of season. They still taste sweet and delicious in your no-bake cheesecake.
How do I make a gluten-free version of this recipe?
To make a gluten-free version, swap regular graham crackers for gluten-free ones. You can also use almond flour or crushed gluten-free cookies for the crust. This way, you can enjoy this treat without gluten.
What can I substitute for cream cheese?
You can use Greek yogurt or mascarpone cheese as a cream cheese substitute. Both options provide a creamy texture and great taste. If you want a dairy-free option, try cashew cream or coconut cream instead. These swaps still make a tasty cheesecake.
This blog post covered how to make delicious no-bake strawberry cheesecakes. We talked about the key ingredients, optional tweaks, and the steps to prepare the crust and filling. I shared tips for perfect whipped cream and easy assembly. You can customize your cheesecake with different fruits or flavors too. Remember to follow proper storage to enjoy them longer. Use this guide to create tasty treats for any occasion, and let your creativity shine! Enjoy your cheesecake-making adventure!