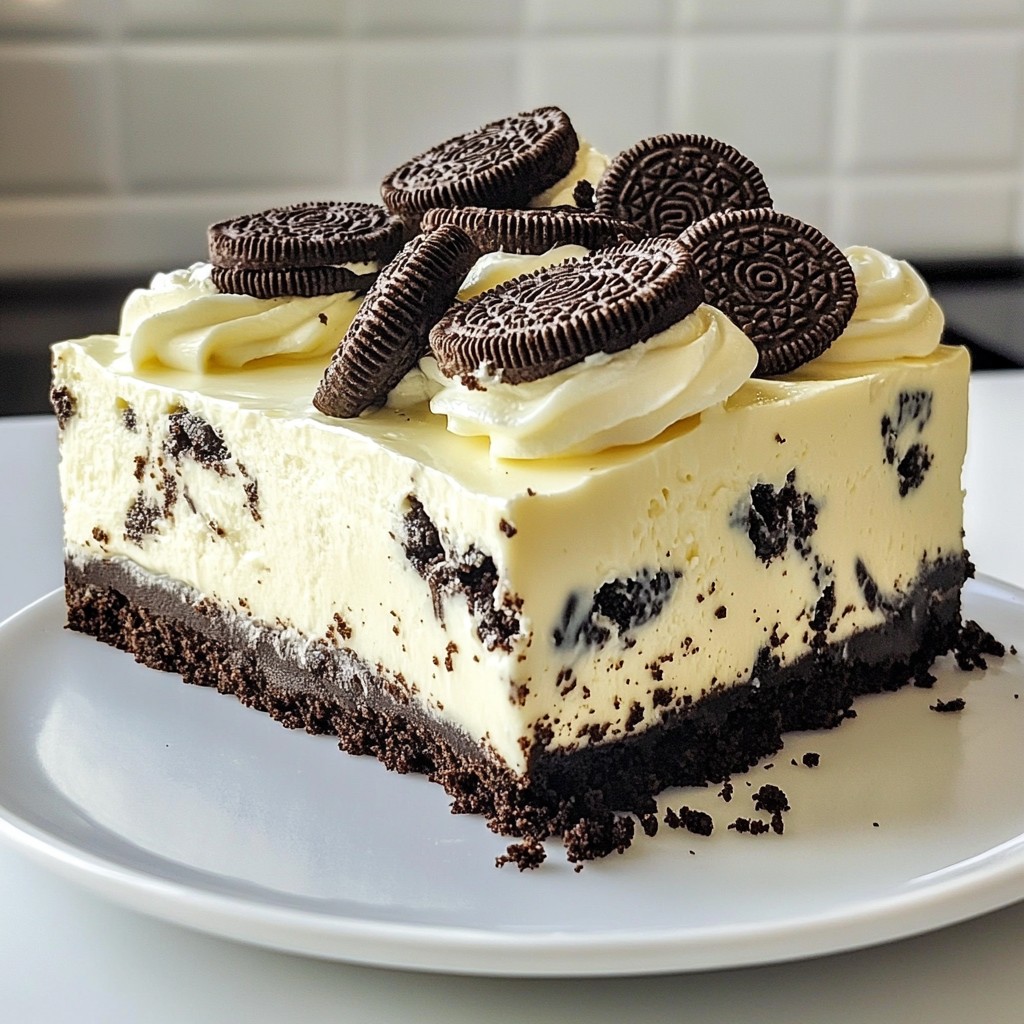
If you love Oreos and creamy desserts, you’re in for a treat! This No-Bake Oreo Cheesecake is simple, quick, and oh-so-delicious. With just a few key ingredients like Oreo cookies, cream cheese, and heavy cream, you'll whip up a dessert that impresses everyone. Plus, no baking means less mess—perfect for busy days or last-minute gatherings. Let’s dive into this easy recipe and get started!
Why I Love This Recipe
- Decadent Flavor: This cheesecake combines the rich, creamy taste of traditional cheesecake with the delightful crunch of Oreo cookies, creating a dessert that is both indulgent and satisfying.
- No-Bake Convenience: This recipe requires no baking, which means you can save time and avoid heating up the kitchen, making it perfect for warm days or quick gatherings.
- Customizable: You can easily adapt this recipe by adding your favorite toppings, such as chocolate sauce or fresh fruit, to suit your taste preferences or impress your guests.
- Perfect for Any Occasion: Whether it's a birthday, holiday, or just a casual get-together, this Oreo Bliss No-Bake Cheesecake is sure to impress and satisfy everyone at the table.
Ingredients
Main Ingredients
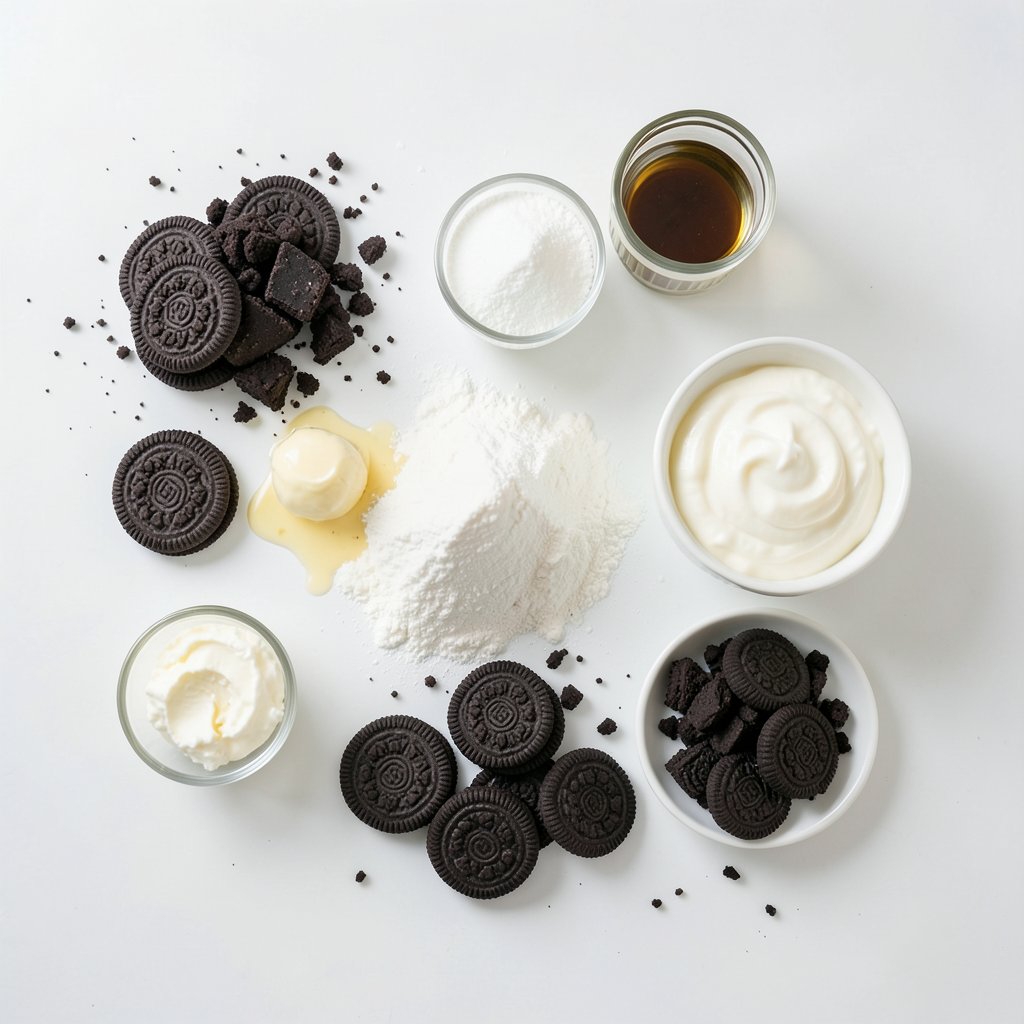
- 24 Oreo cookies, crushed
- 1/2 cup unsalted butter, melted
- 16 oz cream cheese, softened
- 1/2 cup powdered sugar
- 1 teaspoon vanilla extract
- 2 cups heavy whipping cream
- 12 Oreo cookies, roughly chopped (for filling)
To make this cheesecake, I love using Oreo cookies. They create a rich flavor and a great texture. The cream cheese adds a smoothness that balances the sweetness. Heavy whipping cream is the secret to making the cheesecake light and fluffy. Don’t forget the butter! It helps bind the crust together and adds richness. The powdered sugar sweetens the filling just right, while vanilla extract gives it a lovely aroma.
Optional Garnishes
- Additional Oreo cookies
- Chocolate sauce or whipped cream for serving
For a fun touch, I like to add extra Oreo cookies on top of the cheesecake. They not only look great but also boost the Oreo flavor. A drizzle of chocolate sauce or a bit of whipped cream makes it even better. These garnishes turn a simple dessert into a showstopper.
Step-by-Step Instructions
Preparing the Oreo Crust
To make the crust, start with 24 Oreo cookies. Using a food processor or a bag and rolling pin, crush the cookies until they are fine crumbs. This should take just a minute or two. Next, melt 1/2 cup of unsalted butter in a microwave. Combine the crushed Oreos with the melted butter in a medium bowl. Mix until the crumbs look like wet sand.
Now, take a 9-inch springform pan. Press the Oreo mixture firmly into the bottom of the pan. Use the back of a measuring cup to make it compact. Place the pan in the freezer while you prepare the filling.
Making the Cheesecake Filling
For the filling, take 16 ounces of softened cream cheese. In a large mixing bowl, beat the cream cheese with an electric mixer on medium speed. Continue beating until the cream cheese is smooth and creamy. This step is key for a nice texture.
Gradually add 1/2 cup of powdered sugar and 1 teaspoon of vanilla extract. Beat again until everything is well-combined and fluffy. This should take about 2-3 minutes.
Combining Ingredients
In a separate bowl, pour in 2 cups of heavy whipping cream. Whip it until stiff peaks form. This means when you lift the whisk, the cream should stand tall without falling. Gently fold the whipped cream into the cream cheese mixture. Make sure no streaks remain.
Now, chop 12 Oreo cookies roughly and fold them into the mixture. This adds great texture and flavor.
Assembling the Cheesecake
Take the crust out of the freezer. Carefully pour the cheesecake filling over the crust. Use a spatula to smooth it out evenly. Next, cover the cheesecake with plastic wrap. Refrigerate it for at least 4 hours, but overnight is better. This helps it set perfectly.
Once set, remove the cheesecake from the springform pan. For the final touch, garnish with additional Oreo cookies on top. Enjoy your delicious no-bake Oreo cheesecake!
Tips & Tricks
Achieving the Perfect Texture
To make a great no-bake Oreo cheesecake, start with soft cream cheese. Cold cream cheese won’t mix well. Let it sit at room temperature for about 30 minutes. This step makes a creamy base.
Next, whip the heavy cream until it reaches stiff peaks. This means the cream should stand tall and not fall over. Fold it gently into the cream cheese mix. Be careful not to deflate the whipped cream. This folding keeps the cheesecake light and fluffy.
Serving Suggestions
Once your cheesecake is set, slice it neatly. Use a sharp knife and dip it in warm water before cutting. This helps make clean slices. For a beautiful presentation, place each slice on a dessert plate.
You can add a drizzle of chocolate sauce or a dollop of whipped cream on the side. Top with crumbled Oreo cookies for a fun touch. This simple decoration makes your cheesecake look even more inviting.
Common Mistakes to Avoid
One common mistake is over-mixing the cheesecake filling. Mixing too much can make it dense and heavy. Stop mixing as soon as everything is combined.
Another key point is to allow enough time for the cheesecake to chill. It should set in the fridge for at least four hours. For best taste, chill it overnight. This helps the flavors meld together and gives a better texture.
Pro Tips
- Chill Your Bowl: Place your mixing bowl and beaters in the refrigerator for a few minutes before whipping the cream. This will help the cream whip up faster and achieve better volume.
- Use Room Temperature Cream Cheese: Make sure your cream cheese is at room temperature before mixing. This ensures a smooth and creamy texture without lumps.
- Experiment with Flavors: Feel free to add a splash of peppermint extract or a swirl of chocolate ganache to the filling for a unique twist on the classic Oreo cheesecake.
- Let It Set Overnight: For the best flavor and texture, refrigerate the cheesecake overnight. This allows the flavors to meld and the cheesecake to firm up perfectly.
Variations
Flavor Additions
You can change the taste of your cheesecake easily. Try Mint Oreo cookies for a fresh twist. Just swap regular Oreos for Mint Oreos in the crust and filling. This gives a cool and minty flavor that is perfect for dessert lovers.
Another fun idea is a Peanut Butter Swirl. After mixing the cheesecake, take some creamy peanut butter and gently swirl it into the filling. This adds a rich, nutty flavor that pairs well with the chocolatey Oreos.
Dietary Adjustments
If you need a gluten-free version, use gluten-free Oreo cookies for the crust and filling. This keeps the cheesecake tasty while being safe for those with gluten issues. You can find these cookies in most stores.
For a vegan cheesecake, replace the cream cheese with a vegan alternative made from nuts or tofu. Use coconut cream instead of heavy cream. This keeps the creamy texture but makes it plant-based.
Other Mix-Ins
Mix in extra candy or chocolate pieces for fun surprises. Think about adding crushed Reese's cups or chocolate chips into the filling. They add great texture and flavor.
For a fruity twist, try adding fruit toppings. Fresh strawberries, raspberries, or bananas can brighten up your cheesecake. You can place them on top before serving for a nice touch.
Storage Info
Refrigeration Guidelines
To store your no-bake Oreo cheesecake, cover it tightly. Use plastic wrap or aluminum foil. This keeps it fresh and prevents it from absorbing odors in the fridge. Place the cheesecake in the refrigerator right after it sets. It’s best to store it in the springform pan until you are ready to serve.
Freezing Instructions
You can freeze the cheesecake to enjoy later. First, let it chill completely. Once set, remove it from the pan. Wrap each slice in plastic wrap. For a whole cheesecake, wrap it tightly as well. You can also use a freezer-safe container. This way, it stays fresh and tasty.
Shelf Life
In the fridge, your cheesecake lasts for about 5 days. If you freeze it, it can stay good for up to 2 months. Just remember to thaw it in the fridge overnight before serving. This helps keep its creamy texture and flavor intact.
FAQs
How long does it take for the no-bake cheesecake to set?
The no-bake cheesecake needs at least 4 hours to set. For best results, chill it overnight. This makes the texture creamy and firm. The longer you chill, the better the flavors blend together.
Can I use light cream cheese?
You can use light cream cheese, but it changes the texture and flavor. Light cream cheese can make the cheesecake less rich. It may not be as creamy as full-fat cream cheese. If you like a lighter feel, it’s a good choice.
What can I use instead of heavy whipping cream?
If you want a lighter version, you can use whipped topping. You can also try coconut cream for a dairy-free option. Keep in mind that these choices will change the taste and texture a bit.
In this post, we explored how to make a delicious no-bake Oreo cheesecake. We covered key ingredients like Oreo cookies, cream cheese, and heavy whipping cream. You learned the step-by-step process for making the crust and filling, along with useful tips to avoid common mistakes.
Remember, you can get creative with flavors and garnishes. Whether you want to add mint, peanut butter, or fresh fruit, the options are endless. Enjoy your cheesecake, and make it your own!