Are you ready to indulge in a sweet treat that’s easy to make? You’ll love these No-Bake Chocolate Covered Oreo Bars! With just a few simple ingredients, you can create a delicious dessert that will impress your friends and family. In this guide, I’ll show you step-by-step how to mix, layer, and top your way to chocolate bliss. Let’s get started on this tasty adventure!
Ingredients
Main Components
– 24 Oreo cookies, crushed
– ½ cup unsalted butter, melted
– 1 cup cream cheese, softened
Additional Ingredients
– ½ cup powdered sugar
– 1 teaspoon vanilla extract
– 1 cup semi-sweet chocolate chips
– 1 tablespoon coconut oil (optional)
– Extra crushed Oreos or chocolate sprinkles for topping
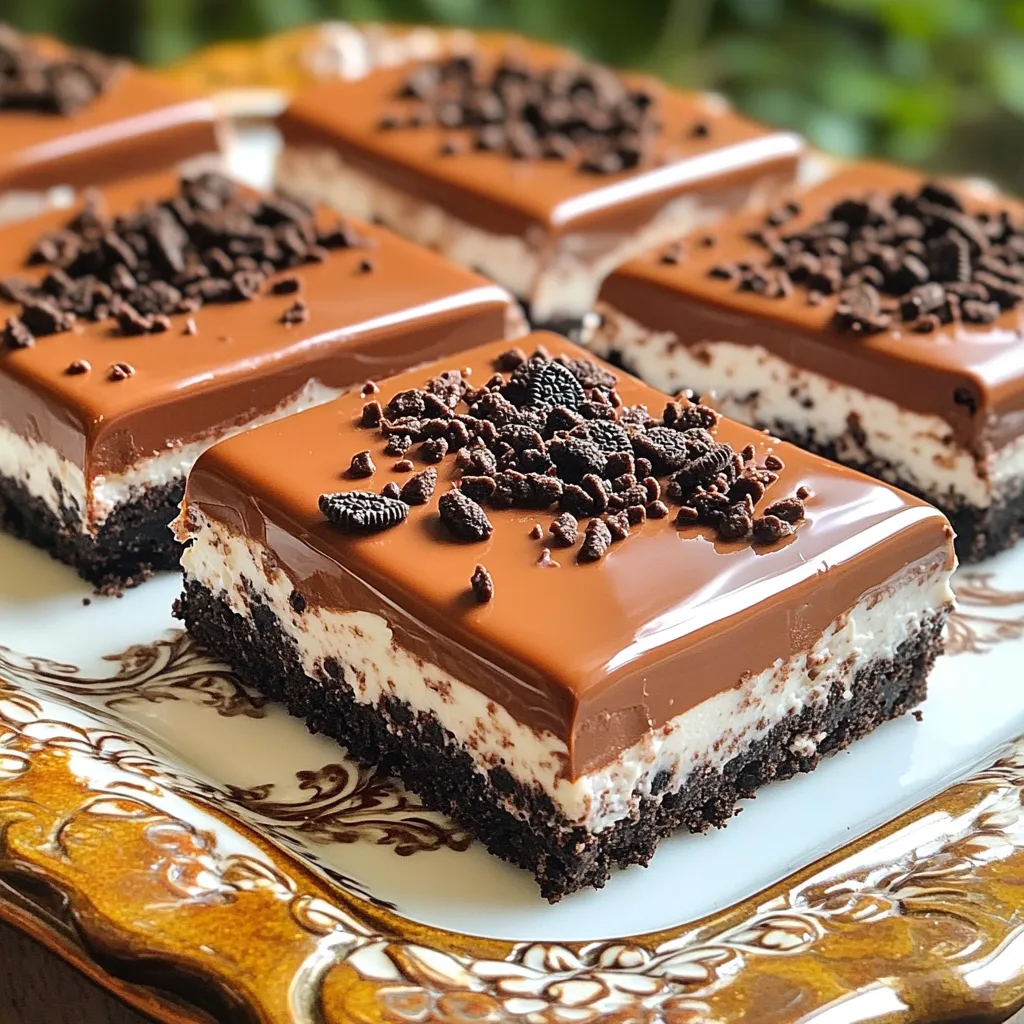
To make No-Bake Chocolate Covered Oreo Bars, you need a few key ingredients. The main components are Oreo cookies, butter, and cream cheese. The crushed Oreos form a tasty crust. The melted butter helps bind the crumbs together. The cream cheese adds a rich, creamy layer that makes these bars special.
In addition to the main components, you have some additional ingredients that elevate the flavor. The powdered sugar adds sweetness, while the vanilla extract gives a nice aroma. Semi-sweet chocolate chips are crucial for the topping, giving a smooth finish. If you want a shinier look, add coconut oil to the melted chocolate. Finally, crushed Oreos or chocolate sprinkles make for a delightful topping.
This simple list of ingredients allows you to create a treat that is both fun and easy to make. You can find most of these items in your pantry or local store. Feel free to mix in your favorite flavors or toppings to make it your own. Enjoy the process and the delicious outcome!
Step-by-Step Instructions
Preparation of the Crust
First, take 24 crushed Oreo cookies and put them in a medium bowl. Then, add ½ cup of melted butter to the cookies. Mix until the crumbs are coated well. Now, take a 9-inch square baking dish. Press the mixture firmly into the bottom of the dish. Use your hands or the back of a measuring cup for even pressure. This makes a great base for our bars.
Making the Cream Cheese Layer
In another bowl, add 1 cup of softened cream cheese. Beat it until it is smooth. Next, add ½ cup of powdered sugar and 1 teaspoon of vanilla extract. Mix everything together until well combined. This layer will add a creamy taste to your bars.
Chocolate Topping
Now, let’s melt the topping. Take 1 cup of semi-sweet chocolate chips and 1 tablespoon of coconut oil. Place them in a microwave-safe bowl. Melt them in 30-second intervals. Stir in between until the chocolate is smooth. Once melted, pour the chocolate over the cream cheese layer. Use a spatula to spread it evenly.
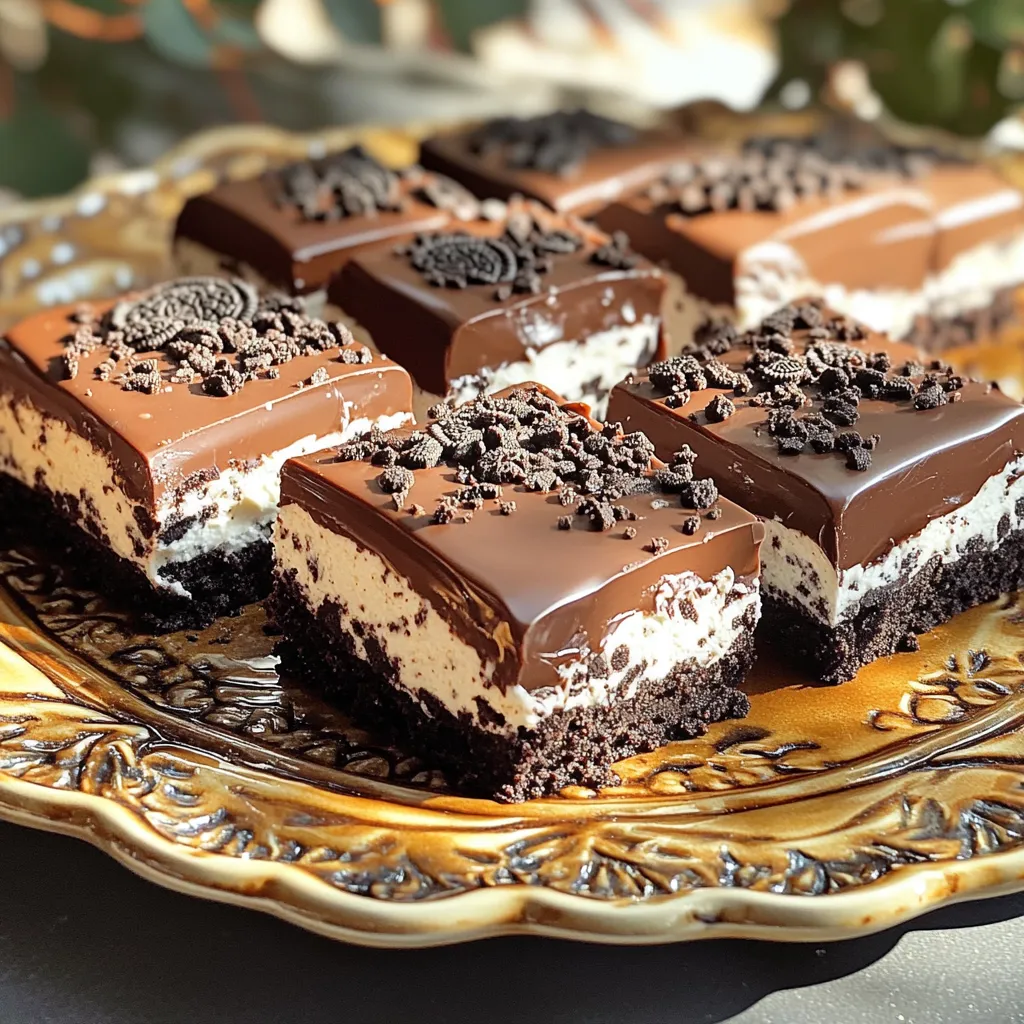
Final Assembly
For the final touch, sprinkle extra crushed Oreos or chocolate sprinkles on top of the melted chocolate. Now, refrigerate the bars for at least 2 hours. This helps the chocolate set. After chilling, cut the bars into squares or rectangles. They are now ready to serve and enjoy!
Tips & Tricks
Achieving the Perfect Texture
To get the best texture, start with the cream cheese. Make sure it is very soft. I let it sit out for about 30 minutes. This helps it blend well. If it is too cold, the mixture will be lumpy.
When melting the chocolate, use a microwave-safe bowl. Heat the chocolate chips and coconut oil in 30-second bursts. Stir well after each burst. This helps the chocolate melt smoothly. If you heat it too long, it can burn.
Serving Suggestions
For a great presentation, serve the bars on a fancy platter. You can drizzle some melted chocolate on top. This adds a nice touch. Consider adding extra crushed Oreos or colorful sprinkles for fun.
Pair these bars with a glass of milk or coffee. They also go well with a scoop of vanilla ice cream. The cold ice cream balances the rich flavors of the bars.
Common Mistakes to Avoid
One common mistake is overmixing the cream cheese layer. Mix just until smooth. If you mix too long, it can become too soft.
Another mistake is not refrigerating the bars long enough. They need at least two hours to set. If you cut them too soon, the layers may not hold together well.
Variations
Flavor Variations
You can easily change the flavor of these bars. Try adding peanut butter to the cream cheese mix. This gives a rich and nutty taste. If you love mint, add some mint extract. Just a teaspoon can make a big difference. You can also play with chocolate types. Use dark chocolate for a richer flavor or white chocolate for a sweeter touch. Mixing flavors keeps it fun!
Ingredient Swaps
If you need a gluten-free treat, use gluten-free Oreos. They taste so good that no one will know. You can also swap out cream cheese for Greek yogurt. This makes the bars lighter and adds a tangy taste. Adjust the sweetness by using less powdered sugar if you choose yogurt. These swaps make the recipe more flexible for anyone.
Storage Info
Proper Storage Techniques
To keep your No-Bake Chocolate Covered Oreo Bars fresh, store them in the refrigerator. Place the bars in an airtight container. This helps protect them from odors and keeps them moist. If you want to freeze the bars, cut them into squares first. Wrap each piece in plastic wrap, then place them in a freezer bag. This method prevents freezer burn and makes it easy to grab one when you crave a sweet treat.
Shelf Life
These bars stay fresh in the fridge for about five days. When stored properly in the freezer, they can last for up to three months. Watch for signs of spoilage like a change in color or a strange smell. If you notice these signs, it’s best to toss the bars. Enjoy your treats while they are still at their best!
FAQs
Can I use other cookies instead of Oreos?
Yes, you can! Try using any cookie you love. Here are some great options:
– Chocolate sandwich cookies
– Vanilla wafer cookies
– Graham crackers for a different flavor
– Gluten-free cookies if needed
These swaps can give your bars a fun twist.
How do I make these bars dairy-free?
To make these bars dairy-free, switch out a few ingredients:
– Use dairy-free cream cheese. Brands like Tofutti or Kite Hill work well.
– Replace butter with coconut oil or a dairy-free spread.
– Use dairy-free chocolate chips for the topping.
These changes keep the bars creamy and tasty without dairy.
What’s the best way to cut the bars?
Cutting the bars cleanly is key for a nice look. Here are my tips:
– Use a sharp knife to avoid squishing the bars.
– For neat slices, warm the knife in hot water, then dry it.
– Cut the bars when they are fully set. This helps keep them firm.
These tips will help you serve perfect pieces.
How long do these bars take to set?
These bars need about 2 hours in the fridge to set. Make sure the chocolate is hard before cutting. If you want them extra firm, leave them in for a bit longer. Patience pays off for a great treat!
This blog post covered how to make delicious Oreo dessert bars with simple steps. You learned about each ingredient and the fun ways to customize your bars. Remember to soften the cream cheese and melt the chocolate carefully for the best results. Store your bars correctly to keep them fresh longer. Enjoy making these tasty treats, and don’t hesitate to explore your own flavor ideas! These bars can be a hit at any gathering. Enjoy every bite!