Are you ready to whip up a dessert that will impress everyone? My Easy Apple Crisp is not just delicious; it’s fun to make! With a few simple ingredients and clear steps, you can create a warm, mouthwatering treat. I’ll guide you on picking the best apples and share tips for that perfect crisp texture. Dive in, and let’s make dessert magic together!
Ingredients
List of Essential Ingredients
To make a great apple crisp, you need some basic items. Here’s what you will need:
– 4 large apples (preferably Granny Smith or Honeycrisp), peeled and sliced
– 1 tablespoon lemon juice
– 1 cup rolled oats
– 1/2 cup all-purpose flour
– 1/2 cup brown sugar
– 1/4 teaspoon salt
– 1 teaspoon ground cinnamon
– 1/4 teaspoon nutmeg
– 1/2 cup unsalted butter, melted
– 1/2 cup chopped walnuts or pecans (optional)
– Vanilla ice cream or whipped cream for serving (optional)
Ingredient Notes and Substitutes
Each ingredient plays a key role in the flavor and texture of this dessert. You can mix some items for different tastes:
– Apples: You can use any tart apple. Braeburn or Fuji are good choices too.
– Lemon Juice: This keeps apples fresh. You can swap it for orange juice if needed.
– Oats: Old-fashioned oats add chewiness. Quick oats work but may yield a softer topping.
– Flour: Use whole wheat flour for a nuttier flavor. Gluten-free flour blends also work.
– Nuts: You can skip nuts or use almonds if you want a different crunch.
Tips for Choosing the Best Apples
Choosing the right apples is very important for a great apple crisp. Here are some tips:
– Look for firmness: Avoid soft apples. They won’t hold up during baking.
– Choose tart varieties: Tart apples like Granny Smith give a nice contrast to the sweet topping.
– Consider freshness: Fresh apples taste better. Visit local markets for the best picks.
– Mix apples: Using a mix of sweet and tart apples adds depth to the flavor.
This section helps you gather the right ingredients for your easy apple crisp.
Step-by-Step Instructions
Preparation Steps
First, gather all your ingredients. You’ll need four large apples. I suggest using Granny Smith or Honeycrisp. Their tartness makes the crisp taste great. Peel and slice the apples into thin pieces. Next, in a large bowl, toss the apple slices with one tablespoon of lemon juice. This step keeps the apples from turning brown. After that, grease a 9×13-inch baking dish. Now, place the apple slices in the dish evenly.
Baking Directions
In another bowl, combine one cup of rolled oats, half a cup of all-purpose flour, half a cup of brown sugar, one-fourth teaspoon of salt, one teaspoon of cinnamon, and one-fourth teaspoon of nutmeg. Stir these dry ingredients well. Then, pour half a cup of melted unsalted butter into the dry mix. Stir until everything blends together. If you like extra crunch, add half a cup of chopped walnuts or pecans. Evenly sprinkle this mixture over the apples in your baking dish. Preheat your oven to 350°F (175°C) and bake for 30 to 35 minutes. Check if the top is golden brown and the apples are soft. If the top browns too quickly, cover it with aluminum foil.
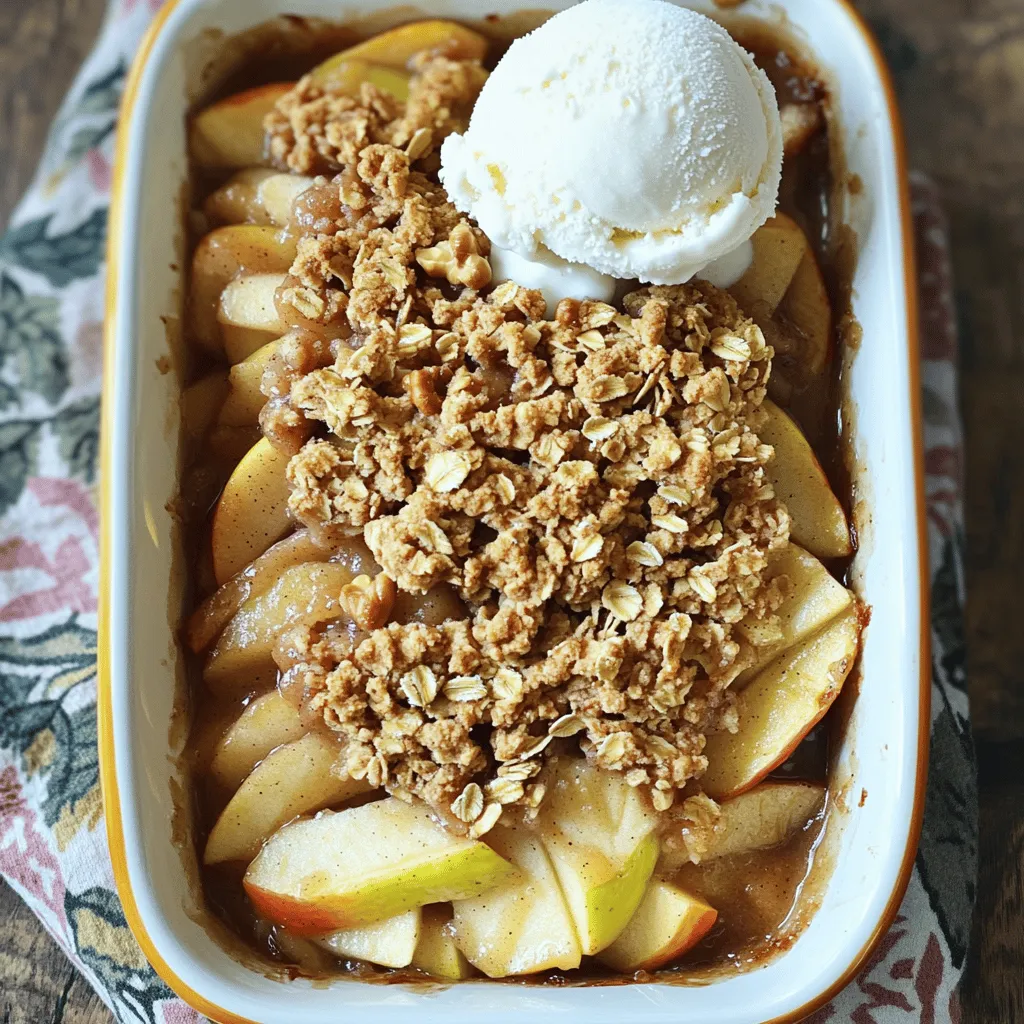
Serving Suggestions
Once baked, take the dish out of the oven. Let it cool for about 10 minutes. This cooling time helps the flavors settle. Serve the apple crisp warm. I love adding a scoop of vanilla ice cream or a dollop of whipped cream on top. It adds a nice touch!Enjoy your homemade dessert!
Tips & Tricks
How to Get the Perfect Crisp Texture
To achieve the perfect crisp, use a mix of apples. I recommend Granny Smith for tartness and Honeycrisp for sweetness. Slice the apples thinly. This ensures they cook evenly. Toss them with lemon juice right away. This keeps them fresh and bright. Add the oat mixture generously on top. Bake until the top is golden brown. If it browns too fast, cover it with foil.
Common Mistakes to Avoid
One common mistake is using too few apples. Always use enough to fill your dish well. Another mistake is not measuring the toppings. Too much flour can make the topping dense. Make sure to mix your dry ingredients well. This helps the flavors blend nicely. Lastly, don’t skip the cooling time. Let it rest for about ten minutes before serving. This helps the juices set.
Enhancements for Flavor
You can enhance the flavor with spices. Add more cinnamon or a pinch of ginger for warmth. Try including vanilla extract in the apple mixture. This adds depth to the flavor. For a nutty twist, add chopped walnuts or pecans. They give a nice crunch. If you want a sweeter touch, drizzle some caramel sauce on top. Serve with vanilla ice cream for a treat.
Variations
Gluten-Free Apple Crisp Adjustments
To make a gluten-free apple crisp, swap the all-purpose flour. Use almond flour or gluten-free oat flour. You can also check the oats. Ensure they are labeled gluten-free. This change keeps the crisp tasty without gluten. You still get the same great flavor and texture.
Adding Fruits or Nuts
You can mix in other fruits for a twist. Try berries, pears, or peaches. These fruits add sweetness and flavor. If you enjoy nuts, add walnuts or pecans. They give a nice crunch to the dish. Just mix them into the oat topping or sprinkle them on top.
Vegan Version of Easy Apple Crisp
To make this apple crisp vegan, use plant-based butter. Coconut oil also works as a great substitute. Instead of butter, use maple syrup or agave for sweetness. This keeps it rich and tasty without any animal products. Your vegan friends will love this dessert too!
Storage Info
Best Practices for Storing Leftovers
After enjoying your apple crisp, store the leftovers in an airtight container. This keeps them fresh. You can place the container in the fridge. Apple crisp stays tasty for about 3 to 4 days. If you want, cover it with plastic wrap before sealing. This extra layer helps keep the moisture in.
How to Reheat Apple Crisp
To reheat your apple crisp, preheat your oven to 350°F (175°C). Place the crisp in an oven-safe dish. Cover it with foil to prevent over-browning. Heat for about 15 to 20 minutes or until warm. If you’re in a hurry, you can use the microwave. Heat in short bursts of 30 seconds, checking often.
Freezing and Thawing Instructions
You can freeze apple crisp for later enjoyment. Prepare it as normal, then cool completely. Wrap it tightly in plastic wrap and foil. This helps prevent freezer burn. It can stay frozen for up to 3 months. To thaw, move it to the fridge overnight. After thawing, reheat it in the oven for the best taste.
FAQs
How long does easy apple crisp last?
Easy apple crisp stays fresh for about three to five days in the fridge. Make sure to cover it well to keep it from drying out. If you want to enjoy it later, you can freeze it too. Just wrap it tightly and it can last for up to three months.
Can I use frozen apples in this recipe?
Yes, you can use frozen apples, but they may change the texture. Thaw them first and drain any extra liquid. This will help your apple crisp stay crunchy.
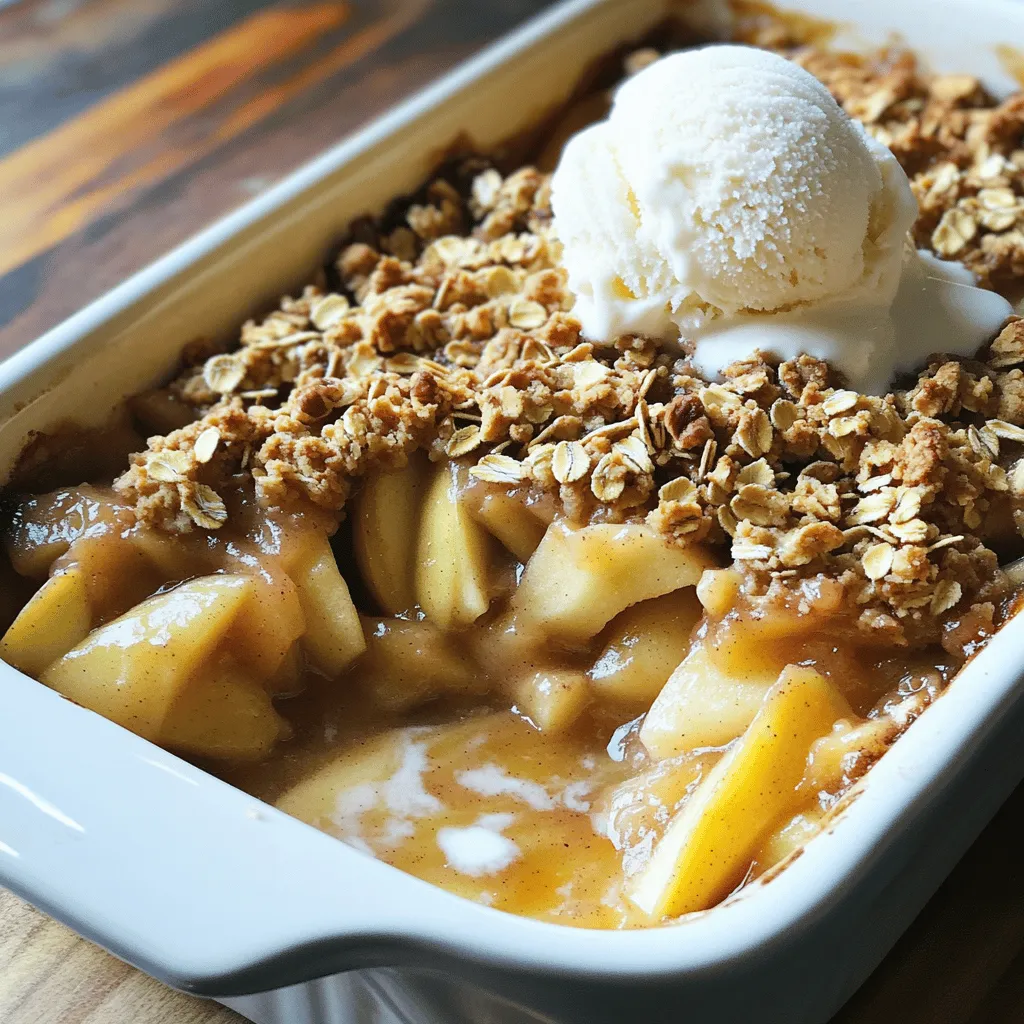
What is the best way to serve apple crisp?
I love serving apple crisp warm. Top it with a scoop of vanilla ice cream or a dollop of whipped cream. The cold cream pairs perfectly with the warm apples. It makes each bite even better!
Can I make apple crisp ahead of time?
Absolutely! You can prepare the apple crisp a day in advance. Just assemble it and cover it in the fridge. When you’re ready, bake it fresh. This way, you can enjoy the warm goodness without the last-minute rush.
To recap, we explored essential ingredients for perfect apple crisp, along with their substitutes. I shared step-by-step instructions for preparation, baking, and serving. We covered tips for a crisp texture and common mistakes to dodge. I also discussed variations like gluten-free options and the best storage methods.
In my final thoughts, apple crisp is a fun and tasty dish. With these tips, you can make it your own. Enjoy exploring flavors and creating your favorite version!