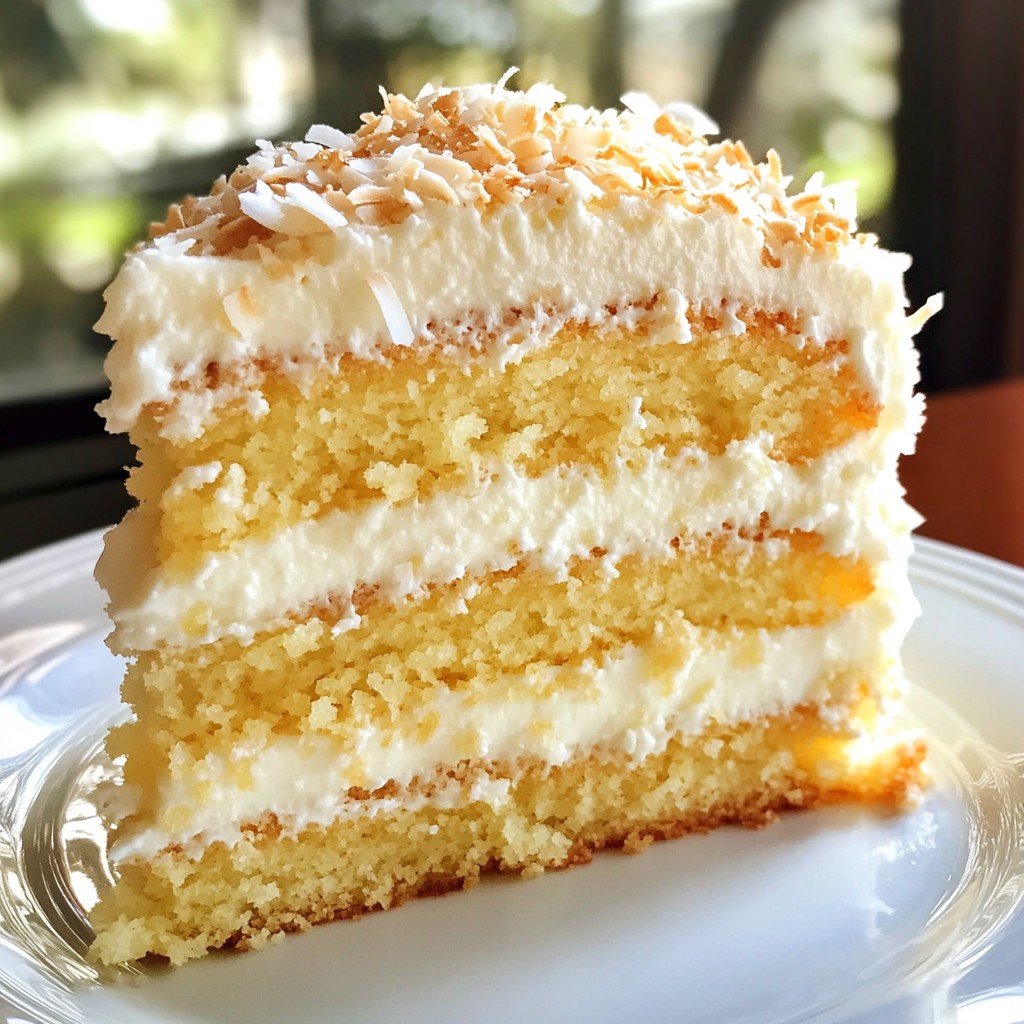
Welcome to a slice of Southern bliss! This Decadent Old-Fashioned Southern Coconut Cake is more than just a dessert; it’s a celebration of rich flavors and warm memories. With layers of moist cake and creamy frosting, it’s perfect for any gathering. Get ready to learn how to create this delightful treat from scratch. Your taste buds will thank you, and your guests will be begging for seconds! Let’s dive into this sweet adventure.
Why I Love This Recipe
- Decadent Flavor: This coconut cake is rich and moist, bursting with the tropical flavor of coconut in every bite.
- Classic Southern Charm: This recipe embodies the warmth and hospitality of Southern baking traditions, making it perfect for gatherings.
- Beautiful Presentation: The fluffy layers and coconut topping create an eye-catching dessert that is sure to impress your guests.
- Easy to Make: With straightforward steps, this cake is approachable for bakers of all skill levels, ensuring success every time.
Ingredients
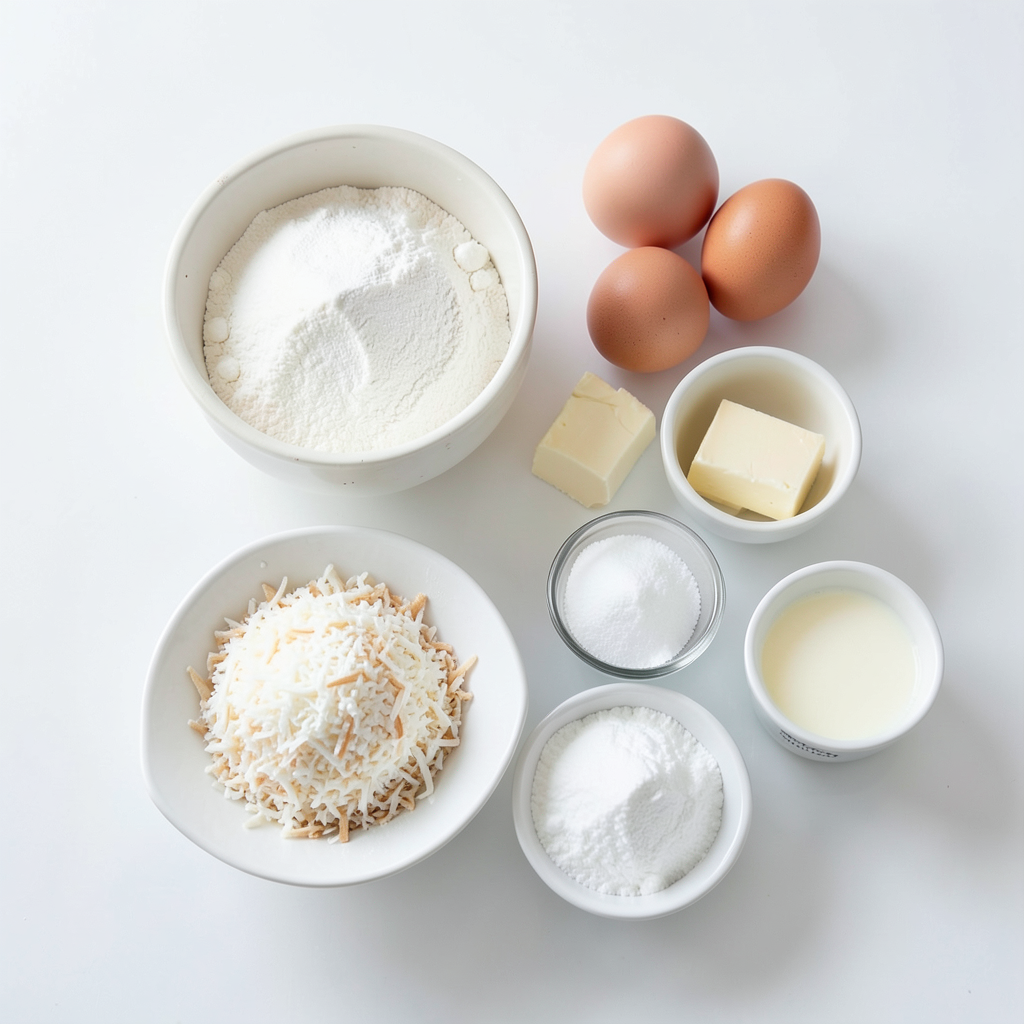
To make this delightful coconut cake, you need a few key ingredients. Each one plays a part in creating the rich flavor and soft texture. Here’s what you’ll need:
- 2 cups all-purpose flour
- 1 ½ cups granulated sugar
- 1 cup unsalted butter, softened
- 4 large eggs
- 1 cup buttermilk
- 1 tablespoon vanilla extract
- 1 ½ teaspoons baking powder
- 1 teaspoon baking soda
- ½ teaspoon salt
- 2 cups sweetened shredded coconut (plus extra for topping)
- 1 cup cream cheese, softened
- 4 cups powdered sugar
- 1 teaspoon coconut extract
- 1 tablespoon milk (if needed for frosting consistency)
Each ingredient contributes to a moist and flavorful cake. The unsalted butter adds richness, while the buttermilk keeps it soft. Sweetened shredded coconut brings that tropical taste we love. The cream cheese frosting gives a smooth, creamy finish. Don't skip the coconut extract; it boosts the coconut flavor in every bite.
Step-by-Step Instructions
Preheat the Oven
First, preheat your oven to 350°F (175°C). This step is key for even baking. While the oven heats, grease and flour three 9-inch round cake pans. I like to line the bottoms with parchment paper. This makes it easy to remove the cakes later.
Prepare the Batter
Next, grab a large mixing bowl. Cream together 1 cup of softened unsalted butter and 1 ½ cups of granulated sugar. Mix until the mixture is light and fluffy, about 5 minutes. This adds air and makes your cake rise nicely. Then, beat in 4 large eggs, one at a time. Make sure each egg is mixed in well before adding the next. Finally, stir in 1 tablespoon of vanilla extract for flavor.
Combine Dry Ingredients
In a separate bowl, whisk together 2 cups of all-purpose flour, 1 ½ teaspoons of baking powder, 1 teaspoon of baking soda, and ½ teaspoon of salt. Mixing these dry ingredients helps the cake rise and taste great.
Alternate Mixing
Now, it's time to mix the wet and dry ingredients. Gradually add the dry mix to the butter mixture. Alternate this with 1 cup of buttermilk, starting and ending with the flour mix. This helps keep the batter smooth. Mix until just combined. Be careful not to overmix; that can make the cake tough.
Fold in Coconut
Gently fold in 2 cups of sweetened shredded coconut. This adds the delicious coconut flavor and texture. Make sure the coconut is evenly distributed throughout the batter.
Bake the Cakes
Divide the batter evenly among the prepared pans. Smooth the tops to help them bake evenly. Bake for 25-30 minutes. To check if they are done, insert a toothpick into the center. If it comes out clean, they’re ready.
Cool the Cakes
After baking, let the cakes cool in the pans for 10 minutes. Then, turn them out onto a wire rack to cool completely. Cooling is important; you want to frost a cool cake.
Prepare the Frosting
While the cakes cool, let’s make the frosting. In a mixing bowl, beat 1 cup of softened cream cheese until smooth. Gradually add 4 cups of powdered sugar. Mix until it’s fully combined. Then, stir in 1 teaspoon of coconut extract. If you need a spreadable consistency, add 1 tablespoon of milk.
Assemble the Cake
Once the cakes are cool, place one layer on a serving platter. Spread a layer of cream cheese frosting on top. Add the second layer and repeat. Place the final layer on top.
Frost the Entire Cake
Now, frost the whole cake with the remaining frosting. Don’t forget to press extra shredded coconut onto the sides and top for decoration. This makes your cake look pretty and adds more coconut flavor.
Chill and Serve
Finally, refrigerate the cake for at least 30 minutes. This helps the frosting set and makes it easier to slice. After that, your Decadent Old-Fashioned Southern Coconut Cake is ready to serve! Enjoy every bite.
Tips & Tricks
Ensuring Moisture and Flavor
To keep your coconut cake moist and rich, use room temperature ingredients. This helps the butter and sugar mix well. Buttermilk adds moisture and tang, making each bite soft and fluffy. Don't rush the mixing. Cream the butter and sugar until fluffy. This step makes a big difference. Gently fold in the coconut at the end. This keeps it evenly spread throughout the batter.
Common Mistakes to Avoid
One common mistake is overmixing. This can make the cake tough. Mix just until you see no dry flour. Another mistake is skipping the cooling step. Letting the cakes cool completely is key for smooth frosting. Also, don’t forget to grease and flour your pans well. This prevents sticking and helps with easy removal.
Ideal Tools for Baking
Use three 9-inch round cake pans for even baking. Parchment paper on the bottom helps with release. A stand mixer saves time and effort, but a hand mixer works too. A rubber spatula is great for folding in the coconut. Lastly, a toothpick is perfect for checking the doneness of your cakes. If it comes out clean, your cakes are ready!
Pro Tips
- Room Temperature Ingredients: Ensure your butter, eggs, and cream cheese are at room temperature for a smoother batter and frosting.
- Don't Overmix: When combining the wet and dry ingredients, mix just until combined to keep the cake light and fluffy.
- Frosting Consistency: If your frosting is too thick, add a tablespoon of milk at a time until you reach the desired spreadable consistency.
- Chill Before Serving: Chilling the cake for at least 30 minutes after frosting helps the layers set and makes slicing easier.
Variations
Different Frosting Options
You can switch up the frosting for your coconut cake. A classic cream cheese frosting works well, but you can try others too. Here are some ideas:
- Buttercream Frosting: Use unsalted butter and powdered sugar. Add coconut extract for coconut flavor.
- Whipped Cream: Light and fluffy, whipped cream adds a nice touch.
- Chocolate Ganache: For a rich contrast, pour warm chocolate ganache over the cake.
Each option brings a unique taste. Choose one that fits your mood!
Alternative Coconut Types
There are many coconut types to use in your cake. Each adds a different texture and taste. Here are some choices:
- Unsweetened Shredded Coconut: For a less sweet cake, try this type.
- Toasted Coconut: Toasting coconut adds a crunchy texture and nutty flavor.
- Coconut Flakes: These are larger and give a nice bite.
Experiment with these options to find what you love best!
Adding Additional Flavors
You can easily add other flavors to your cake. Here are some fun ideas:
- Pineapple: For a tropical twist, mix in crushed pineapple.
- Lemon Zest: Add lemon zest for brightness and a zingy flavor.
- Almond Extract: Just a touch can enhance the cake's nutty notes.
Feel free to get creative! Adjust the flavors to suit your taste buds.
Storage Info
How to Store Leftover Cake
To keep your leftover cake fresh, wrap it tightly in plastic wrap. This helps keep the moisture in. You can also use an airtight container. Store it in the fridge. The cake stays good for about a week. If you want to keep it longer, freezing is a great option.
Freezing Instructions
To freeze the cake, first, let it cool completely. Then slice it into pieces, if you prefer. Wrap each piece in plastic wrap. Place the wrapped cake in a freezer bag. Squeeze out the air before sealing. This helps prevent freezer burn. The cake can last for up to three months in the freezer. When you're ready to eat, thaw it in the fridge overnight.
Best Practices for Freshness
For the best taste, eat the cake within a few days of making it. If you freeze it, try to use it within three months. Always check for any signs of spoilage before eating. If it smells off or looks strange, it’s best to discard it. Enjoy your delicious cake at its freshest!
FAQs
What is the origin of Southern coconut cake?
Southern coconut cake has roots in the American South. It became popular in the 19th century. People loved using coconut in cakes because it added flavor. Many families passed down their favorite recipes through generations. This cake often appears at celebrations and gatherings. It is a true Southern classic.
Can I make this cake ahead of time?
Yes, you can make this cake ahead of time. Bake the layers and cool them completely. Wrap each layer in plastic wrap and store them in the fridge. You can freeze them too. Just remember to frost the cake close to when you want to serve it. This keeps it fresh and tasty.
What can I substitute for buttermilk?
If you don't have buttermilk, you can make a quick substitute. Mix one cup of milk with one tablespoon of vinegar or lemon juice. Let it sit for five minutes. This will give you a tangy taste like buttermilk. You can also use plain yogurt or sour cream if you have those.
How do I make the cake even more decadent?
To make your cake more decadent, add more coconut! Try using toasted coconut for a deeper flavor. You can also layer in some fruit like pineapple for a tropical twist. Drizzle a coconut glaze over the top for extra sweetness. These simple changes make a big difference in taste.
This blog post covered all you need for a perfect coconut cake. We explored the key ingredients, steps for baking, and tips to avoid mistakes. I shared fun variations and how to store leftovers for great meals later.
Baking can bring joy and delight to any occasion. Whether you follow my steps or make your own twists, I hope you enjoy every bite. Now, it’s time to bake!