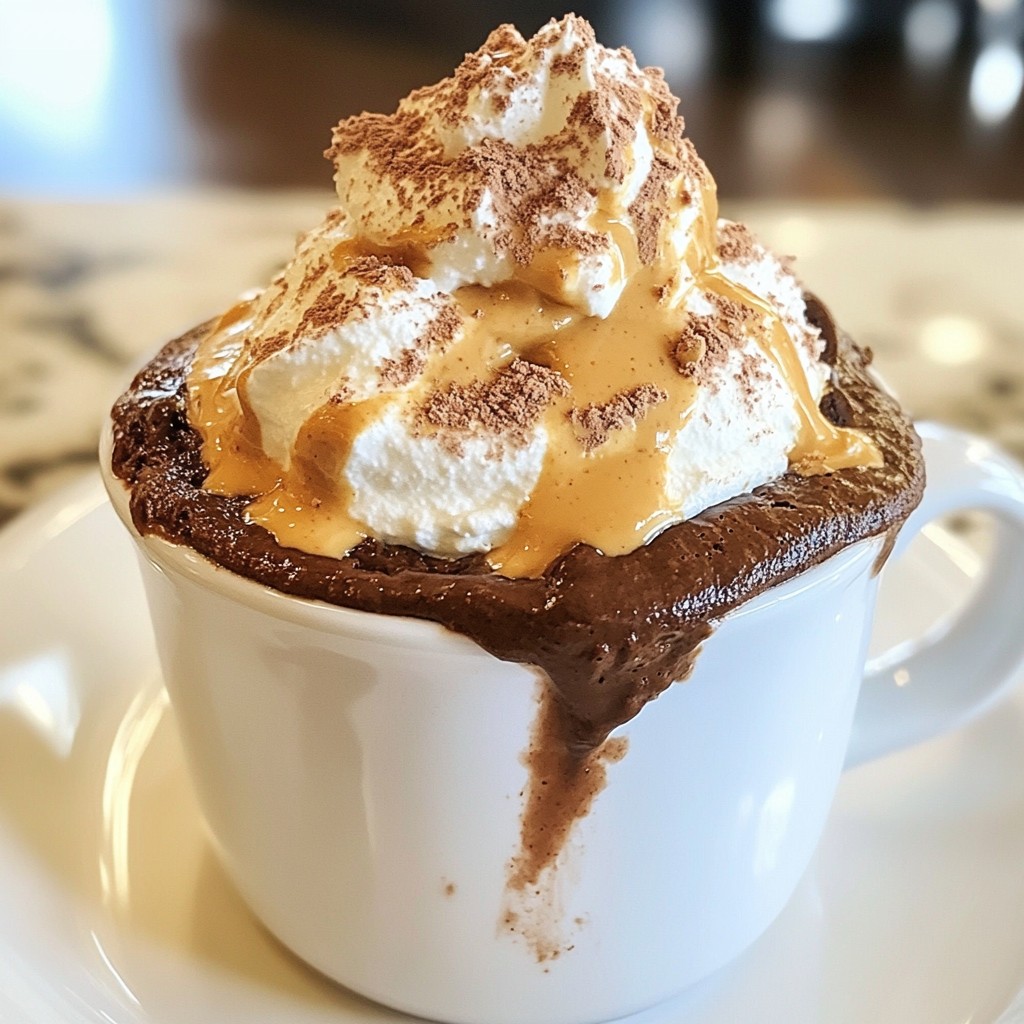
Craving something sweet but short on time? I’ve got your back with this quick and easy Chocolate Peanut Butter Mug Cake! In just a few minutes, you can enjoy a rich, warm dessert right from your microwave. This recipe is perfect for anyone who loves chocolate and peanut butter. Let me guide you step-by-step, so you can treat yourself tonight without the hassle. Ready to dive in? Let's get started!
Why I Love This Recipe
- Quick and Easy: This mug cake can be prepared in just a few minutes, making it a perfect sweet treat for busy days.
- Rich Flavor: The combination of chocolate and peanut butter creates a decadent dessert that satisfies any cravings.
- Customizable: You can easily mix in your favorite ingredients, like nuts or extra chocolate chips, to make it your own.
- Single Serving: No need to share! This recipe is designed for one, ensuring you get a personal dessert experience.
Ingredients
Detailed Ingredient List
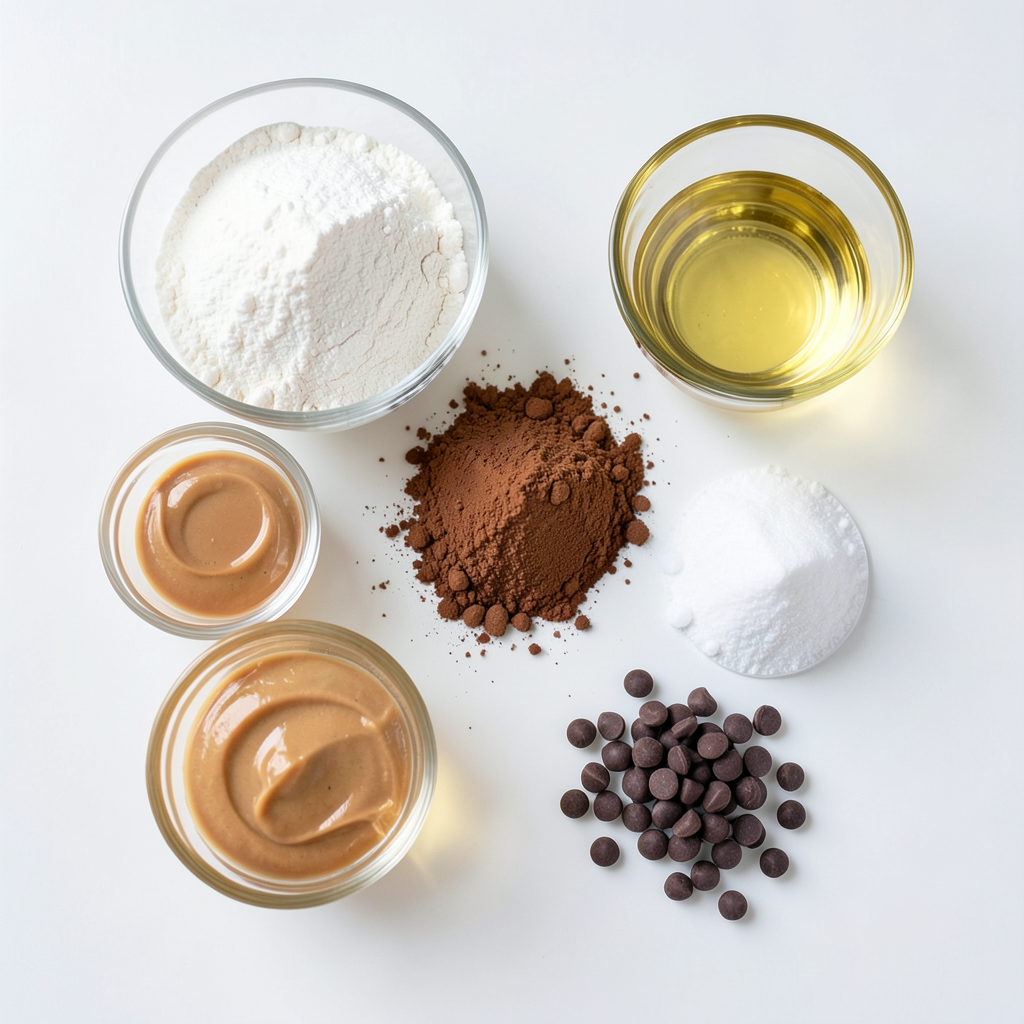
To make your Chocolate Peanut Butter Mug Cake, you'll need the following:
- 4 tablespoons all-purpose flour
- 4 tablespoons granulated sugar
- 2 tablespoons cocoa powder
- 1/8 teaspoon baking powder
- 1/8 teaspoon salt
- 3 tablespoons milk (dairy or non-dairy)
- 2 tablespoons peanut butter
- 1 tablespoon vegetable oil
- 1/4 teaspoon vanilla extract
- 1 tablespoon chocolate chips (optional)
Ingredient Substitutions
You can easily swap some ingredients for different ones based on your needs:
- Alternatives for flour: You can use almond flour or coconut flour for a gluten-free option. Just remember that these flours may need different measurements.
- Sugar substitutes for healthier options: Try using coconut sugar or stevia. Both can give you sweetness without all the calories.
- Vegan options for milk and butter: Use almond milk or oat milk in place of dairy milk. For peanut butter, ensure it's a vegan brand.
By considering these options, you can make this delicious mug cake fit your dietary needs. Enjoy experimenting and making it your own!
Step-by-Step Instructions
Prepping Your Mug
Choosing the right mug Pick a large mug, at least 12 ounces. This size gives the batter room to rise. Smaller mugs can overflow, making a mess in the microwave.
Importance of microwave-safe mugs Always use a microwave-safe mug. Non-safe mugs may crack or break. This can lead to accidents and ruined treats. Check for labels that say "microwave-safe" before using.
Mixing the Ingredients
Combining dry ingredients In your large mug, add the following dry items:
- 4 tablespoons all-purpose flour
- 4 tablespoons granulated sugar
- 2 tablespoons cocoa powder
- 1/8 teaspoon baking powder
- 1/8 teaspoon salt
Stir these together well. Make sure there are no lumps. This step is key for a smooth cake.
Adding wet ingredients and achieving the right consistency Next, add the wet items:
- 3 tablespoons milk
- 2 tablespoons peanut butter
- 1 tablespoon vegetable oil
- 1/4 teaspoon vanilla extract
Mix until you have a smooth batter. If using chocolate chips, fold them in now. The batter should be thick but pourable.
Cooking the Mug Cake
Microwave settings and timing Place the mug in the microwave. Cook on high for 1 minute. This is usually enough time, but every microwave is different.
Tips for checking doneness After 1 minute, check the cake's center. If it’s still wet, microwave in 15-second bursts. Continue until it’s fully cooked. Be patient; it usually takes 1 to 1.5 minutes total.
Safety precautions with hot mugs After cooking, the mug will be very hot. Use oven mitts to handle it. Let the mug cake cool for a minute before digging in. Enjoy your warm, gooey creation!
Tips & Tricks
Achieving the Perfect Texture
To know if your mug cake is just right, look for these signs:
- The top should be set and not wet.
- The edges pull away slightly from the mug.
- A toothpick inserted in the center comes out clean.
If you find your cake dry, you may have overcooked it. Next time, check it early. Start with one minute in the microwave, then add more time in 15-second bursts. If the center is still gooey, it needs just a bit more time.
Serving Suggestions
Toppings can really jazz up your mug cake. Here are some ideas:
- A dollop of whipped cream adds creaminess.
- Drizzle extra peanut butter for a rich touch.
- A sprinkle of cocoa powder or chocolate shavings can make it look fancy.
For pairings, think about serving it with:
- A scoop of vanilla ice cream for a cool contrast.
- A cup of coffee to balance the sweetness.
Troubleshooting Common Issues
If you see overflow, it might be too full. Next time, use a larger mug or fill it only halfway.
If your mug cake is dry, consider adding a little more milk next time. Mixing well helps keep it moist. A tiny pinch of salt can also help bring out flavors and enhance moisture.
Pro Tips
- Use a Large Mug: Make sure to use a mug that is big enough to prevent overflow while the cake is cooking in the microwave.
- Experiment with Flavors: Feel free to customize your mug cake by adding different mix-ins, like chopped nuts or dried fruits, to elevate the flavor.
- Adjust Cooking Time: Be mindful of your microwave's wattage; cooking times may vary. Start with 1 minute and add time as needed to ensure doneness.
- Let it Cool: Allow the mug cake to cool for a minute after microwaving to avoid burning your mouth and to enhance the texture.
Variations
Flavor Variations
You can switch up the flavor of your mug cake with different nut butters. Almond or cashew butter makes a great twist. Just swap the peanut butter for your choice.
You can also add fun mix-ins. Chopped nuts or dried fruits can enhance the taste. Try walnuts, pecans, or even raisins. Each choice gives the mug cake a new spin.
Dietary Variations
For a gluten-free treat, use almond flour instead of all-purpose flour. It works well and keeps the cake moist.
If you want to lower the sugar, consider using a sugar substitute like stevia or monk fruit. You might need to adjust the amount of liquid, so keep an eye on the batter's texture.
Seasonal Variations
Add seasonal flavors for a festive touch! In the fall, mix in some pumpkin puree and a dash of cinnamon. This gives your cake a cozy flavor.
For celebrations, try fun toppings. Sprinkles, whipped cream, or even a drizzle of chocolate can make your mug cake extra special. These additions not only look good but also taste amazing!
Storage Info
How to Store Leftovers
To keep your mug cake fresh, cover it tightly with plastic wrap or a plate. This prevents it from drying out. Place it in the fridge. It stays good for about two days. After that, the taste might fade.
Reheating Tips
Reheat your mug cake in the microwave. Use a low setting for about 10 to 15 seconds. Check it often to avoid overcooking. If you heat it too long, the cake can become rubbery. To keep it moist, add a splash of milk before reheating.
Freezing Instructions
Yes, you can freeze mug cakes! Let it cool first, then wrap it tightly in plastic wrap. Place it in a freezer-safe bag. It can last up to a month in the freezer. When you're ready to eat, let it thaw in the fridge overnight. After that, reheat it in the microwave as mentioned above. Enjoy your treat!
FAQs
How long does a mug cake take to cook in the microwave?
A mug cake usually takes about 1 minute to cook in the microwave. Check the cake after one minute. If the center is wet, microwave it in 15-second bursts. It can take up to 1.5 minutes total. Keep an eye on it to prevent overflow.
Can I make a mug cake without a microwave?
Yes, you can make a mug cake without a microwave. Use an oven instead. Preheat your oven to 350°F (175°C). Pour the batter into a small oven-safe dish. Bake for about 15-20 minutes. Keep checking until the cake is set in the middle.
Can this recipe be doubled or adjusted for multiple servings?
You can double or adjust this recipe easily. Just multiply each ingredient by the number of servings you want. Use a larger mug or bake in a dish if making more than one serving. Make sure to adjust cooking times as needed.
You learned how to make a delicious mug cake with simple ingredients. We covered ingredient swaps, cooking techniques, and tips for perfect results. Remember to use the right mug and check your cake’s doneness. With variations and storage tips, you can enjoy your mug cake any time. Experiment with flavors and have fun creating. Now, you have all the tools to impress your friends or treat yourself! Happy baking!