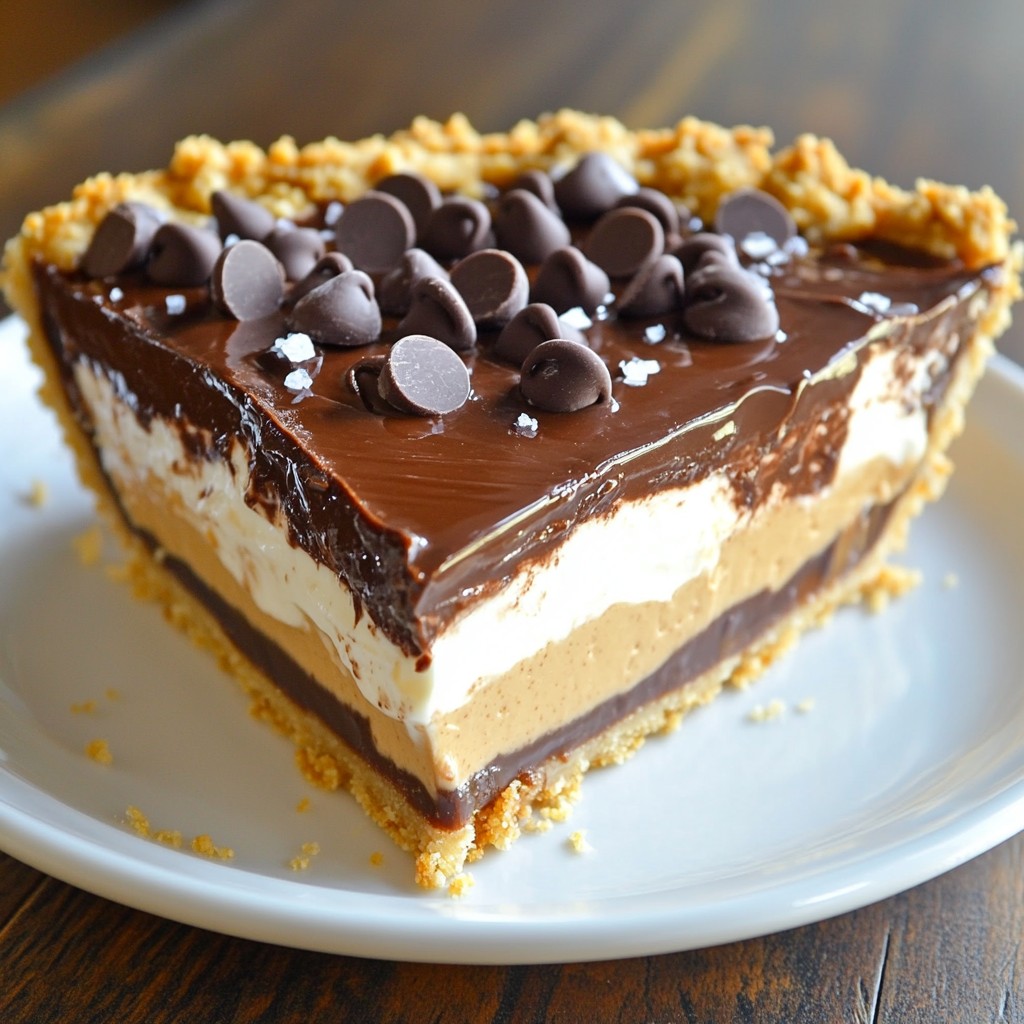
If you love chocolate and peanut butter, you’re in for a treat! This Chocolate Peanut Butter Cup Pie is an easy and delicious dessert that combines rich chocolate with creamy peanut butter. In this post, I’ll guide you through simple steps to create this pie, share helpful tips, and offer tasty variations. Whether you’re a baking pro or a newbie, I promise you’ll impress your friends and family. Let’s dive in!
Why I Love This Recipe
- Decadent Flavor Combination: The rich chocolate and creamy peanut butter create a heavenly flavor that is hard to resist.
- Easy to Make: This pie requires minimal effort, making it a perfect dessert for any occasion.
- Perfect for Parties: With its impressive presentation and delicious taste, this pie is sure to be a crowd-pleaser.
- Make-Ahead Convenience: Chill the pie overnight for a hassle-free dessert that’s ready when you are!
Ingredients
Main Ingredients for Chocolate Peanut Butter Cup Pie
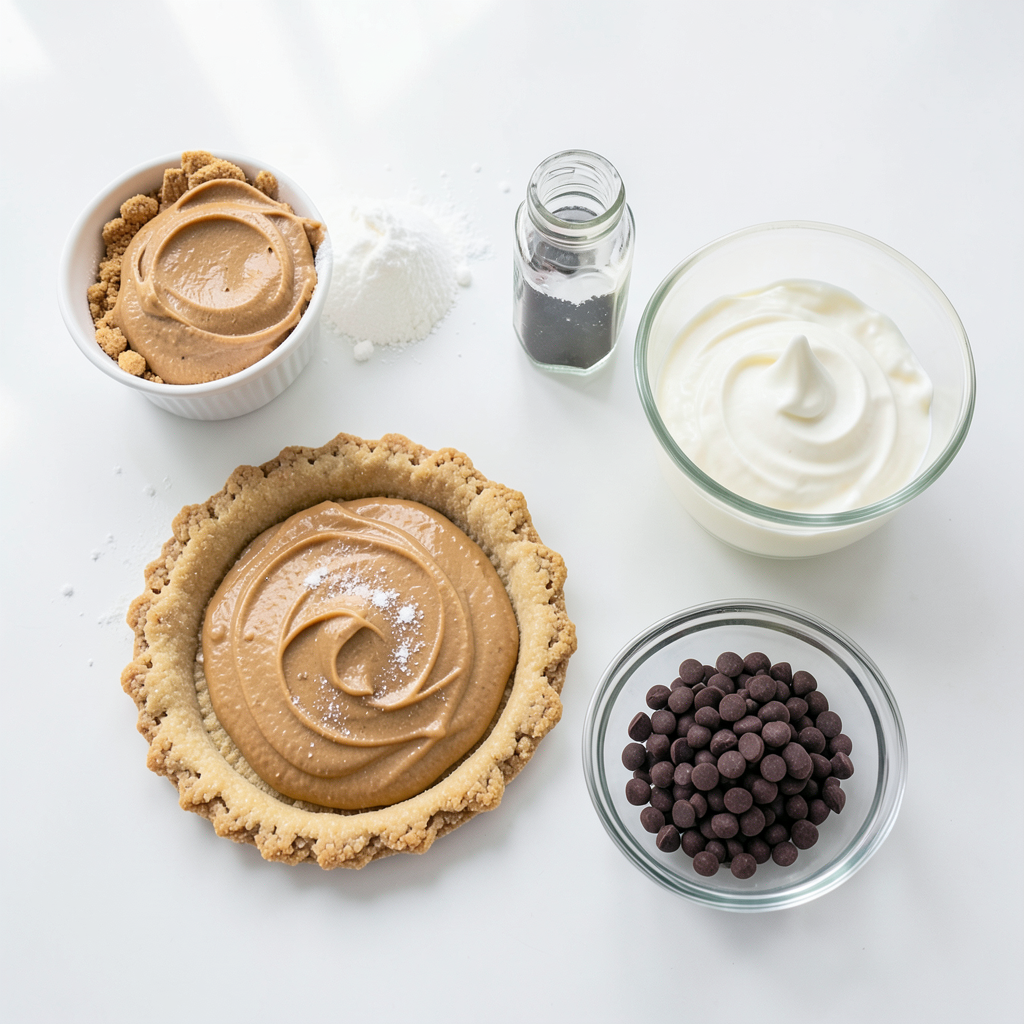
For this rich dessert, you will need the following:
- 1 pre-made graham cracker pie crust
- 1 cup creamy peanut butter
- 8 oz cream cheese, softened
- 1 cup powdered sugar
- 1 teaspoon vanilla extract
- 1 ½ cups heavy whipping cream, chilled
- 1 cup semi-sweet chocolate chips (plus extra for garnish)
- ¼ cup milk
- Sea salt, for garnish
These ingredients create a smooth and creamy filling that pairs perfectly with the chocolate topping.
Recommended Kitchen Tools
To make this pie, gather these tools:
- Mixing bowls
- Electric mixer
- Spatula
- Small saucepan
- Measuring cups and spoons
- Plastic wrap
- Chilled dessert plates for serving
Having the right tools makes the process easier and more fun.
Optional Garnishes
You can add extra touches to your pie. Consider these options:
- Additional chocolate chips for a richer look
- A sprinkle of sea salt to enhance flavors
- A dollop of whipped cream for added creaminess
These garnishes make your pie more appealing and delicious.
Step-by-Step Instructions
Preparing the Chocolate Topping
To start, gather your ingredients. You need semi-sweet chocolate chips and milk. In a small saucepan, mix the chocolate chips with the milk. Heat this mixture on low until the chocolate melts. Stir it often to make it smooth. Once melted, take it off the heat and let it cool a bit. This chocolate topping will add a rich flavor to your pie.
Making the Peanut Butter Filling
Next, you’ll make the peanut butter filling. Get a large mixing bowl and add creamy peanut butter and softened cream cheese. Use an electric mixer to beat them together until they are smooth. This step is key for a creamy texture. Gradually add powdered sugar and vanilla extract. Keep mixing until everything is fluffy and well combined.
In another bowl, whip the chilled heavy cream with your mixer. You want it to form stiff peaks. This will make your filling light and airy. Gently fold the whipped cream into the peanut butter mixture. Do this slowly, and make sure there are no white streaks left. This blending is crucial for a great pie filling.
Assembling and Chilling the Pie
Now it’s time to assemble your pie. Take the pre-made graham cracker crust and spoon the peanut butter filling into it. Use a spatula to smooth the top. Once smooth, pour the chocolate topping over the filling. Spread it evenly to cover the filling completely.
Next, cover the pie with plastic wrap. Refrigerate it for at least four hours. For the best texture, chill it overnight. This allows the flavors to meld and the pie to set properly. When you’re ready, slice and enjoy your delicious treat.
Tips & Tricks
Achieving the Perfect Texture
To get that dreamy texture, follow my tips. First, make sure the cream cheese is soft. This helps mix easily with the peanut butter. Beat them well until it's smooth. When you whip the cream, use chilled equipment. Cold tools whip better! Fold the whipped cream gently into the peanut butter mix. This keeps it light and fluffy. Let the pie chill long enough. Four hours is good, but overnight is best!
Common Mistakes to Avoid
Avoid these common pitfalls. Don’t skip softening the cream cheese; it makes a lumpy filling. If you mix too hard, you lose the air in the cream. This will make the pie dense. Also, when you pour the chocolate topping, do it slowly. If it's too hot, it may melt the filling. Finally, don’t forget to chill the pie. It must set properly for the best slice.
Serving Suggestions for Best Presentation
Serve the pie on chilled plates. This keeps it fresh and adds a nice touch. Drizzle some chocolate sauce on top for flair. A dollop of whipped cream adds elegance. For extra crunch, sprinkle more chocolate chips and a tiny bit of sea salt. This makes the pie look stunning and taste even better!
Pro Tips
- Use Room Temperature Ingredients: Let your cream cheese and peanut butter sit out for about 30 minutes before mixing. This will help them combine more smoothly and create a creamier filling.
- Chill Your Tools: For an even better whipped cream, chill your mixing bowl and beaters in the freezer for about 10-15 minutes before whipping. This helps achieve a fluffier texture.
- Layering the Chocolate: Allow the chocolate topping to cool slightly before pouring it over the peanut butter filling. This prevents the warm chocolate from melting the filling and keeps layers distinct.
- Garnish with Style: Instead of just chocolate chips, consider using crushed peanuts or drizzling with caramel sauce for added flavor and visual appeal when serving.
Variations
Healthier Alternatives for Ingredients
If you want a lighter take on this pie, you can swap some ingredients. Use Greek yogurt instead of cream cheese. It adds creaminess and lowers fat. Choose natural peanut butter to cut added sugars. For the crust, try using a whole-grain option. This adds fiber and nutrients. You can even use almond flour for a gluten-free crust. These changes keep the pie tasty without losing the fun.
Flavor Variations: Adding Nutty or Creamy Elements
You can make this pie even more special by adding flavors. Try mixing in crushed nuts, like walnuts or pecans. They provide a nice crunch. For a creamier taste, fold in some mascarpone cheese. You can also add a swirl of caramel or chocolate fudge on top. Each addition can give your pie a new twist. Experiment with these flavors to find your favorite.
Using Different Pie Crust Options
While a graham cracker crust is classic, don't be afraid to try new ones. A chocolate cookie crust can add deep flavor. If you want a more wholesome option, use an oat crust. This gives a chewy texture and a hint of sweetness. You can even make a crust from crushed nuts and butter for a nutty base. Each crust choice can change the pie's taste and feel.
Storage Info
Proper Storage Techniques
To keep your Chocolate Peanut Butter Cup Pie fresh, you must store it correctly. First, cover the pie with plastic wrap or aluminum foil. This keeps air out and helps keep the pie moist. Avoid using a tight lid, as this may cause the pie to sweat and lose its texture. Store the pie in the refrigerator until you're ready to serve it.
Freezing the Chocolate Peanut Butter Cup Pie
You can freeze this pie for later enjoyment. First, make sure the pie is fully chilled and set. Then, wrap it tightly in plastic wrap. Next, place it in an airtight container or a freezer bag. This will protect it from freezer burn. When you're ready to eat, let it thaw overnight in the fridge. This helps maintain the pie’s creamy texture.
Shelf Life and Best Practices
The pie lasts about 5 days in the fridge. For the best taste, eat it within this time. If you freeze it, the pie can last up to 3 months. Just remember, the longer it freezes, the more the texture may change. Always check for any off-smells or changes in appearance before serving. Enjoy your pie while it's fresh for the best flavors!
FAQs
How do I know when the pie is set?
You can tell the pie is set when it feels firm to the touch. After chilling, the filling should not jiggle when you gently shake the pie. Use a knife to insert into the center. If it comes out clean, the pie is ready. I recommend chilling it overnight for the best texture.
Can I use crunchy peanut butter instead?
Yes, you can use crunchy peanut butter! It adds a nice texture. The pie will have little bits of peanut in every bite. This can make the pie even more fun to eat. Just make sure the crunchy peanut butter is similar in consistency to creamy.
How can I make this pie gluten-free?
To make this pie gluten-free, use a gluten-free graham cracker crust. Many brands offer gluten-free options. Check the label to ensure it meets your needs. All other ingredients in this recipe are gluten-free. Enjoy this delicious treat without worry!
This blog post covered how to make a tasty chocolate peanut butter cup pie. We discussed the main ingredients and kitchen tools you need. I shared step-by-step instructions and helpful tips to avoid mistakes. We explored fun variations and proper storage methods to keep your pie fresh.
In closing, this pie is a fun treat that everyone will enjoy. Create your own version and share it with friends! Happy baking!