Are you ready to impress your friends and family with a show-stopping dessert? This Chocolate Hazelnut Crepe Cake is both delightful and decadent, perfect for any celebration or sweet craving. With layers of thin, soft crepes and rich hazelnut spread, this cake is a true treat. Join me as we whip up this easy recipe, step by step, and make your dessert dreams come true!
Why I Love This Recipe
- Delicious Layers: This crepe cake features delicate layers of chocolate hazelnut goodness, making each slice a delightful treat.
- Impressive Presentation: The stacked crepes look stunning on any dessert table, perfect for impressing guests at gatherings.
- Customizable: You can easily adjust the flavors by adding fruits, different spreads, or toppings to suit your taste.
- Fun to Make: The process of flipping crepes and assembling the cake is enjoyable, making it a fun baking project.
Ingredients
List of Ingredients
- 1 cup all-purpose flour
- 1 ½ cups milk
- 3 large eggs
- 2 tablespoons melted butter
- 2 tablespoons sugar
- ½ teaspoon vanilla extract
- 1 cup chocolate hazelnut spread
- 1 cup heavy cream
- 2 tablespoons powdered sugar
- ½ cup crushed hazelnuts
- A pinch of salt
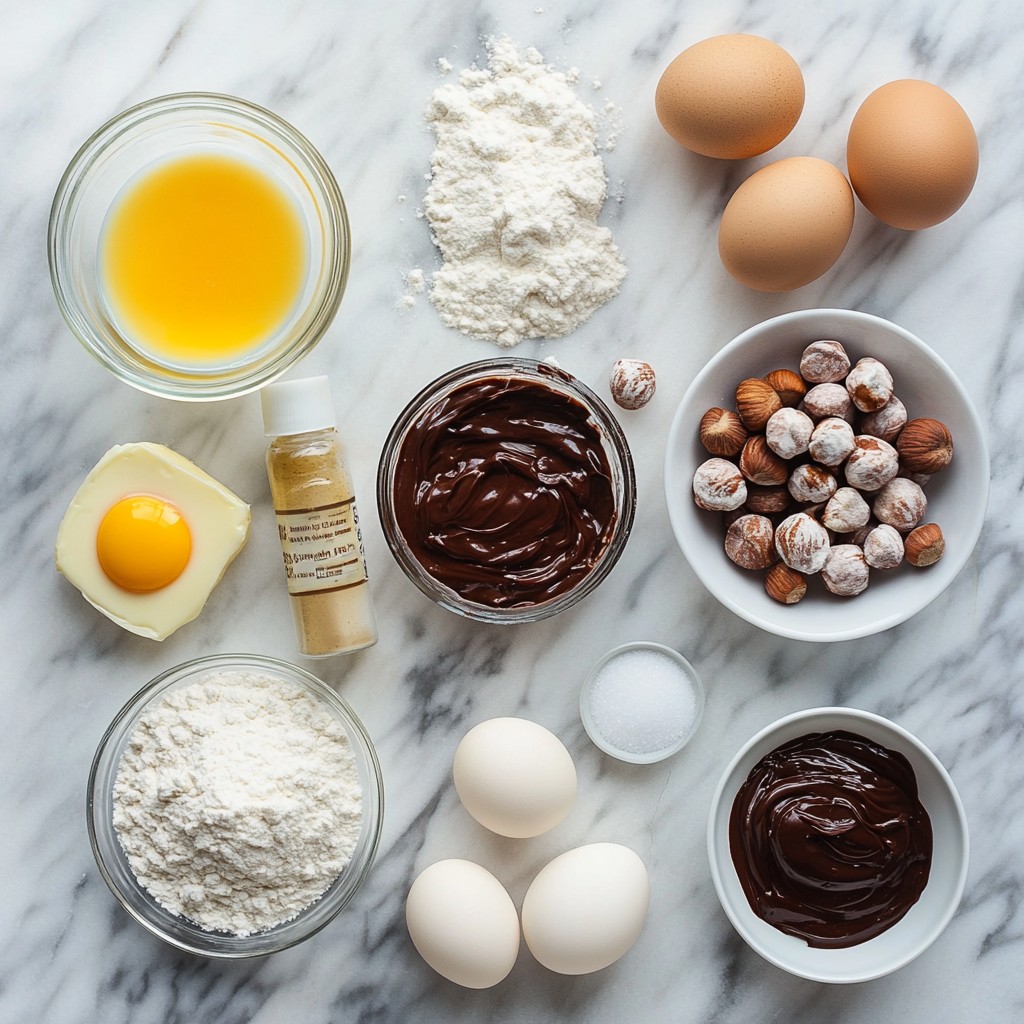
Gathering the right ingredients is key to a great Chocolate Hazelnut Crepe Cake. You need simple items that work well together.
Start with flour, milk, and eggs. These form the base of your crepes. The melted butter adds richness. Sugar and vanilla extract give sweetness and flavor.
Next, you need chocolate hazelnut spread, which makes this dessert special. Heavy cream brings a light texture when whipped. Powdered sugar sweetens the whipped cream and helps it hold shape.
Crushed hazelnuts add a nice crunch on top. Finally, a pinch of salt balances all the flavors.
Using these ingredients will set you up for a delightful and decadent cake that everyone will love.
Step-by-Step Instructions
Preparing the Batter
To start, gather your ingredients. In a large mixing bowl, combine:
- 1 cup all-purpose flour
- 1 ½ cups milk
- 3 large eggs
- 2 tablespoons melted butter
- 2 tablespoons sugar
- ½ teaspoon vanilla extract
- A pinch of salt
Whisk everything together until the batter is smooth. This will take just a minute or two. Once mixed, let the batter rest for 30 minutes. Resting helps the flour absorb the liquid. This makes the crepes softer and more tender.
Cooking the Crepes
Now, it’s time to cook the crepes. First, heat a non-stick skillet over medium heat. Grease the skillet lightly with a small amount of butter. Next, pour in about ¼ cup of the batter. Quickly swirl the pan to cover the bottom evenly.
Cook the crepe for about 1-2 minutes. Watch for the edges to turn golden brown. When ready, carefully flip it with a spatula and cook for another minute. Remove the crepe from the pan and set it aside on a plate. Repeat this process until you cook all the batter, stacking the crepes as you go.
Assembling the Cake
Let’s make the cake! Start with a crepe on a plate. Spread a thin layer of chocolate hazelnut spread on top. Add a layer of whipped cream next. You can whip the cream with 2 tablespoons of powdered sugar until soft peaks form.
Place another crepe on top and repeat the process. Keep layering until you use up all the crepes. Finish with a layer of whipped cream on top. This will create a beautiful cake.
Refrigeration Time
Chilling is very important. Once the cake is assembled, cover it with plastic wrap. Place the cake in the refrigerator for at least 2 hours. This helps the layers set together. Chilling also makes it easier to slice. Enjoy the wait; the cake will be worth it!
Tips & Tricks
Perfecting Your Crepes
To make the best crepes, avoid these common mistakes:
- Batter Resting: Many forget to let the batter rest. Resting helps the gluten relax and makes crepes tender.
- Too Much Heat: Cooking on high heat can burn the crepes. Always use medium heat for even cooking.
- Greasing the Pan: Too much grease can make crepes greasy. Just a light coat works best.
For light and fluffy crepes, follow these techniques:
- Whisk Well: Make sure to whisk the batter until smooth. This helps remove lumps.
- Thin Layer: Pour a small amount of batter to create a thin layer. This keeps the crepes light.
Whipping Cream Tips
To whip cream to the right consistency:
- Cold Tools: Use cold bowls and beaters. This helps the cream whip faster.
- Soft Peaks: Stop when you see soft peaks. This is perfect for layering in your cake.
Serving Suggestions
For an attractive dish, consider these presentation tips:
- Slice Neatly: Use a sharp knife to cut clean wedges. This makes the cake look neat.
- Garnish Creatively: Top with crushed hazelnuts and a drizzle of chocolate hazelnut spread. Adding berries can give a nice color pop.
- Beautiful Plates: Serve on pretty dessert plates. This adds charm to the dish.
Pro Tips
- Rest the Batter: Allowing the crepe batter to rest for at least 30 minutes helps to create a smoother texture and prevents the crepes from tearing while cooking.
- Control the Heat: Cooking the crepes on medium heat ensures that they cook evenly without burning. Adjust the heat as necessary to maintain a consistent temperature.
- Whip the Cream: For the best results, whip the heavy cream until soft peaks form. This will ensure a light and airy texture that complements the rich chocolate hazelnut spread.
- Chill Before Serving: Refrigerating the assembled crepe cake for at least 2 hours allows the flavors to meld and the cake to set, making it easier to slice and serve.
Variations
Flavor Variations
You can change the taste of your crepe cake easily. Try different nut spreads like almond or cashew. Each spread brings a new flavor. You can also add flavored extracts, like almond or orange. Just a few drops can make a big difference.
Dietary Adjustments
If you need to make the cake gluten-free, use almond flour or a gluten-free mix. It works well to keep the crepes soft. For those who want a dairy-free option, swap the milk with almond or coconut milk. You can use coconut cream instead of heavy cream for a rich taste.
Additional Layer Ideas
Adding fruits can make your crepe cake even better. Slices of banana or strawberries fit nicely between the layers. You can also sprinkle chocolate chips for extra texture and flavor. These additions give the cake a fun twist.
Storage Info
Refrigeration Guidelines
To keep your Chocolate Hazelnut Crepe Cake fresh, store it in the fridge. Place the cake in an airtight container. If you don’t have one, wrap it tightly in plastic wrap. This helps keep it moist and tasty. Make sure to chill it for at least two hours before serving. This allows the layers to set well.
Freezing Instructions
You can freeze both the crepes and the assembled cake. To freeze crepes, stack them and wrap them tightly in plastic wrap. Place the stack in a freezer bag. For the whole cake, wrap it well in plastic wrap first. Then, add a layer of aluminum foil for extra protection. This way, it can last long in the freezer.
Shelf Life
In the fridge, your crepe cake will last for about three days. After that, the crepes may start to get soggy. If you freeze the cake, it can last for about one month. Just remember to thaw it in the fridge before serving. This helps keep the texture and flavor intact.
FAQs
What is a crepe cake?
A crepe cake is a dessert made of many thin layers of crepes. Each crepe is stacked with filling in between. This cake often features chocolate hazelnut spread and whipped cream. The result is a soft and rich treat that melts in your mouth. It's visually stunning and perfect for special occasions.
Can you make this recipe ahead of time?
Yes, you can prepare this cake ahead of time. You can make the crepes a day in advance. Store them in the fridge between layers of parchment paper. Assemble the crepe cake the night before serving. This allows the flavors to meld beautifully. Just remember to refrigerate it for at least two hours before you serve.
How long does it take to make a Chocolate Hazelnut Crepe Cake?
Making a Chocolate Hazelnut Crepe Cake takes about 2 hours and 30 minutes. This includes 30 minutes for prep and at least 2 hours for chilling. The hands-on time is around 45 minutes. This dessert is worth the wait for its delightful taste.
What can I substitute for chocolate hazelnut spread?
If you want a change, try almond butter or peanut butter. Both options add a nutty flavor. You can also use cookie butter for a sweet twist. Just make sure the spread is smooth for easy layering.
This blog post guided you through making a Chocolate Hazelnut Crepe Cake. We covered the needed ingredients, step-by-step cooking instructions, and helpful tips. You learned about variations and how to store your cake properly. My final thought: this cake is not just a treat; it's a fun project. Try it, share it, and enjoy! Your kitchen will be brighter with this delicious dessert.