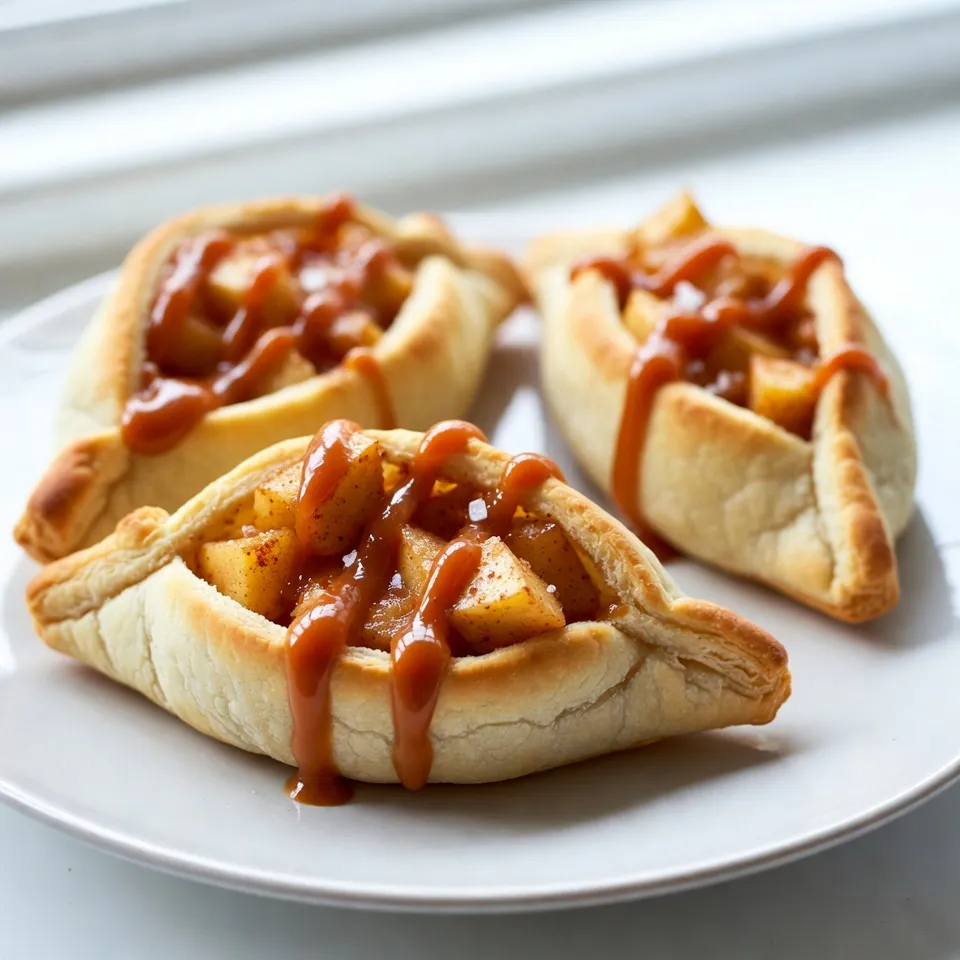
Fall is the perfect time for warm, sweet treats, and nothing beats Caramel Apple Hand Pies. These delightful mini pies combine the tartness of apples with rich caramel, making every bite a delicious experience. Whether you’re hosting a gathering or indulging while watching autumn leaves fall, this recipe will wow your taste buds. Let’s dive into the simple steps to create these perfect handheld delights that capture the essence of the season!
Why I Love This Recipe
- Delicious Flavor Combination: The tartness of the apples perfectly balances the sweetness of the caramel, creating a delightful taste in every bite.
- Easy to Make: With refrigerated pie crusts and simple ingredients, these hand pies come together quickly, making them perfect for both novice and experienced bakers.
- Perfect for Any Occasion: Whether it’s a cozy family gathering or a festive party, these hand pies are a hit with both kids and adults alike.
- Customizable Delight: You can easily adjust the filling by adding nuts, raisins, or even different spices, making this recipe versatile for your personal taste.
Ingredients
List of Ingredients
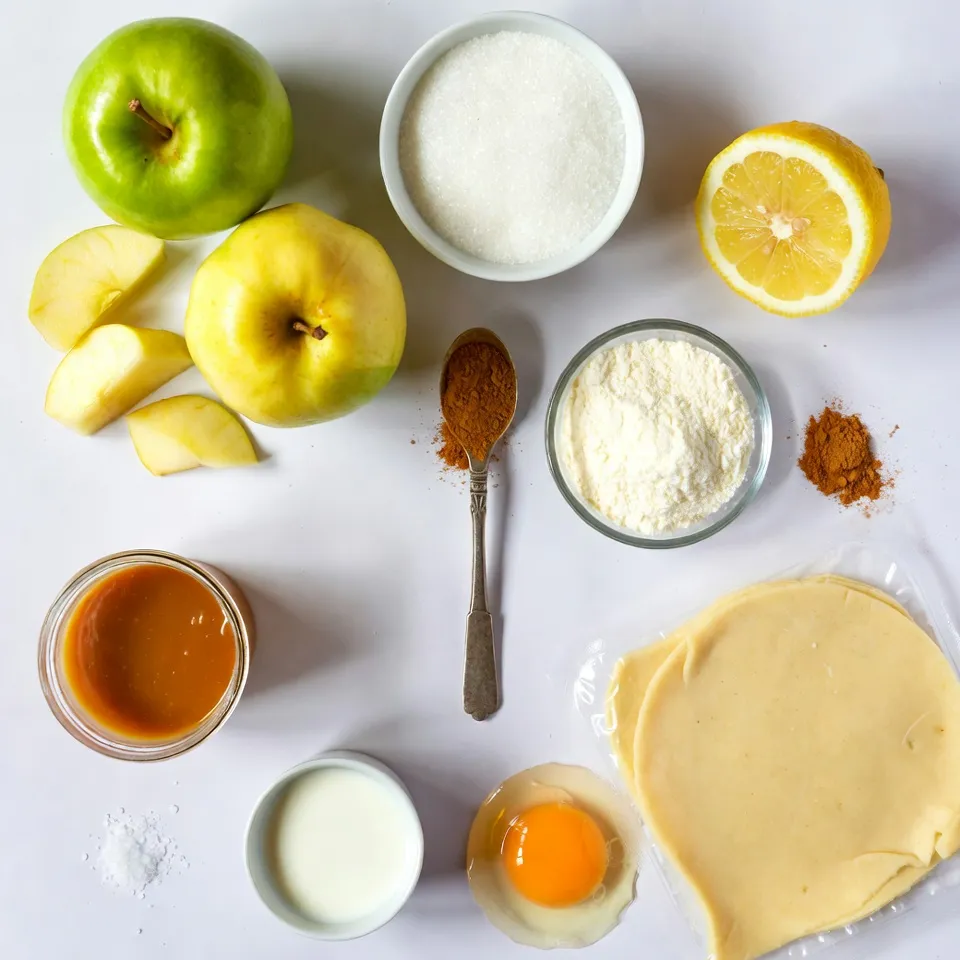
– Apples: I recommend using Granny Smith or Honeycrisp apples. Granny Smith apples add a nice tartness. Honeycrisp apples are sweet and juicy. Both choices work well for this recipe.
– Key Ingredients Overview: The filling needs caramel sauce, sugar, and spices. The spices include cinnamon and nutmeg to give warmth. Use a refrigerated pie crust for easy handling and a flaky texture.
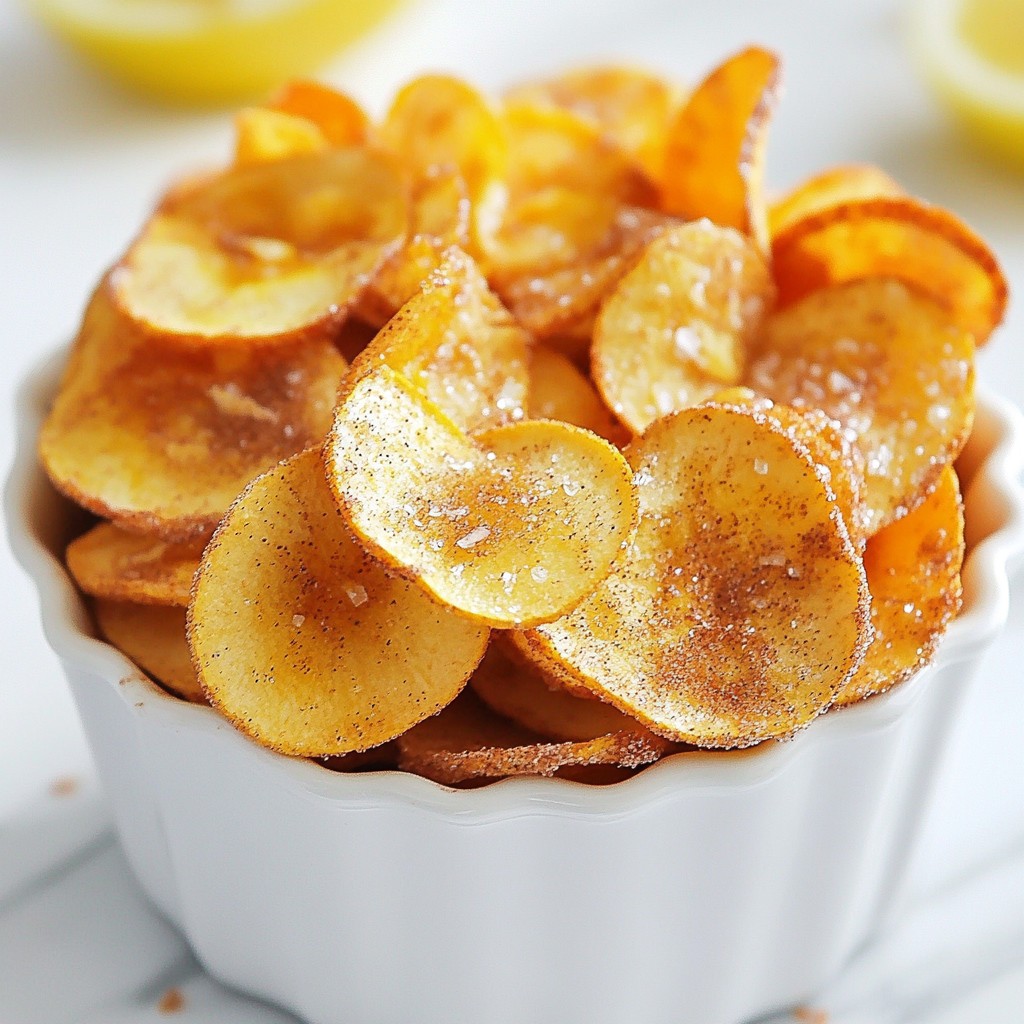
– Optional Garnishes and Enhancements: You can sprinkle sea salt on top for a sweet and salty twist. A dusting of powdered sugar adds a nice touch, too. These garnishes make the pies look more appealing and delicious.
Step-by-Step Instructions
Preparation and Prepping the Apples
How to Peel and Dice Apples Effectively
To start, wash your apples. Use a sharp peeler to remove the skin. Then, cut the apples into quarters. Remove the core and seeds. Dice each quarter into small pieces. Aim for bite-sized chunks. This helps them cook evenly.
Mixing the Filling Ingredients
In a mixing bowl, combine the diced apples with 1 tablespoon of lemon juice. The lemon juice keeps the apples fresh. Add 1/2 cup of granulated sugar, 1 teaspoon of cinnamon, 1 tablespoon of cornstarch, and 1/4 teaspoon of nutmeg. Toss everything until the apples are well coated. This mixture creates a sweet and spicy filling.
Assembling the Hand Pies
Rolling Out Pie Crusts: Tips for Easy Handling
Take your package of refrigerated pie crusts. Roll each crust out on a lightly floured surface. Use a rolling pin to flatten it gently. Cut out circles that are 4-5 inches wide. You should get 6-8 circles from one package. Keep the dough slightly thick to hold the filling.
Filling and Sealing the Hand Pies
Place a tablespoon of the apple mixture in the center of each circle. Drizzle about 1 teaspoon of caramel sauce on top. Fold the crust over the filling to make a half-moon shape. Press the edges firmly to seal. Use a fork to crimp the edges. This not only seals the pies but also adds a nice touch.
Baking the Hand Pies
Oven Temperature and Timing for Perfect Results
Preheat your oven to 400°F (200°C). Line a baking sheet with parchment paper. Place the hand pies on the sheet. Bake them for 20-25 minutes. You want them golden brown and bubbly.
How to Achieve a Golden Brown Finish with Egg Wash
In a small bowl, whisk together 1 egg and 1 tablespoon of milk. Brush this egg wash over the top of each hand pie. This helps them get that beautiful golden color. When they are done, let them cool slightly before serving. Enjoy the delicious caramel apple flavor!
Tips & Tricks
Storage and Reheating Tips
How to Store Leftover Hand Pies
To keep your hand pies fresh, let them cool completely first. Then, place them in an airtight container. You can store them in the fridge for up to four days. For longer storage, freeze them in a single layer on a baking sheet. Once frozen, transfer them to a freezer-safe bag.
Best Methods for Reheating for Optimal Taste
When you’re ready to enjoy your hand pies again, the oven is the best choice. Preheat your oven to 350°F (175°C). Place the hand pies on a baking sheet and warm them for about 10-15 minutes. This method keeps them crispy. If you’re in a hurry, you can use the microwave, but this may make them softer.
Common Mistakes to Avoid
Overfilling the Pies
It’s tempting to add a lot of filling, but too much can cause a mess. Stick to about one tablespoon of filling per pie. This amount allows the pies to seal well and prevents the filling from leaking out during baking.
Not Sealing the Edges Properly
Make sure to seal the edges tightly when you fold the crust. Use a fork to crimp the edges, which adds a nice touch and helps keep the filling inside. If the edges aren’t sealed, they may open while baking.
Serving Suggestions
Plating Ideas for Presentation
Serve your hand pies warm on a pretty plate. Drizzle with extra caramel sauce and dust with powdered sugar for a lovely look. You can also add a scoop of vanilla ice cream next to the pie for a fun contrast.
Drinks or Ice Cream Pairings
Pair your hand pies with warm cider or a cup of coffee. The flavors blend nicely together. If you prefer something sweet, vanilla ice cream is a perfect match too. It enhances the caramel apple taste and adds a creamy texture.
Pro Tips
- Choose the Right Apples: Opt for tart apples like Granny Smith or Honeycrisp for the best flavor contrast with the sweetness of caramel.
- Seal the Edges Well: Make sure to press the edges firmly and crimp with a fork to prevent the filling from leaking during baking.
- Experiment with Spices: Feel free to add additional spices like allspice or cloves to enhance the flavor profile of the filling.
- Serve Warm: These hand pies are best enjoyed warm, so serve them fresh out of the oven for the ultimate gooey caramel experience.
Variations
Flavor Variations
You can add nuts or dried fruits to your filling. Chopped walnuts or pecans give a nice crunch. Dried cranberries or raisins add a sweet touch. Just mix these with your apples before filling the pies.
You can also change up your spices. Try adding ginger for a warm kick. Cloves give a rich flavor. Mixing a bit of pumpkin spice brings a cozy taste that fits fall.
Alternative Dough Options
Using homemade pie crust gives a fresh flavor. It allows you to control the ingredients. However, store-bought crusts are quick and easy. They save time if you’re in a rush.
For gluten-free options, look for gluten-free pie crusts. They work well and taste great. You can also make your own using almond or coconut flour.
Seasonal Twists
In fall, you can incorporate seasonal spices. Replace some cinnamon with allspice for depth. You can also add a touch of vanilla for extra warmth.
For holiday-themed hand pies, try adding cranberry to the filling. It adds a festive flair. You can also cut the crust into fun shapes for a holiday touch.
Storage Info
How to Keep Hand Pies Fresh
To keep your caramel apple hand pies fresh, follow these tips:
– Temperature Guidelines for Storage: If you plan to eat them within two days, store them at room temperature. Place them in a cool, dry spot. For longer storage, put them in the fridge. They stay fresh for up to a week in the fridge.
– Tips for Freezing Hand Pies: To freeze your hand pies, let them cool first. Wrap each pie in plastic wrap or foil. Then, place them in a freezer bag. They can last up to three months in the freezer. When you want to eat them, let them thaw in the fridge overnight.
Best Containers for Storage
Choosing the right containers is key for keeping your hand pies fresh.
– Choosing the Right Airtight Containers: Use airtight containers to keep moisture out. This helps the pies stay crisp. Glass or plastic containers work well. Make sure they are large enough for your hand pies.
– Labeling and Tracking Freezer Items: Label your containers with the date. This way, you know how long they have been in the freezer. You can use masking tape and a marker for easy labeling. This helps you keep track and enjoy your treats at their best.
FAQs
How do I prevent the filling from leaking?
To stop the filling from leaking, make sure to seal the edges well. Press them firmly together before crimping. Using a fork helps create a tight seal. You can also cut small slits on top of each pie. This allows steam to escape and keeps the filling inside.
Cornstarch is key in the filling. It thickens the juices from the apples. This helps keep them from running out during baking. Without it, the filling can get too runny. A tablespoon per batch keeps your hand pies nice and tidy.
Can I make these hand pies ahead of time?
Yes, you can prepare hand pies ahead of time. Make the filling and store it in the fridge. You can also assemble the pies and keep them in the freezer. This way, you can bake them fresh later.
For storing unbaked hand pies, wrap them in plastic. Place them in an airtight container. This helps keep them fresh. Bake them directly from the freezer. Just add a few extra minutes to the baking time.
What other sauces work well with caramel apple hand pies?
There are several sauces that pair well. Vanilla ice cream adds creaminess and a sweet touch. You can also use chocolate sauce for a rich contrast.
Leftover sauces can be used in creative ways. Drizzle them on pancakes or waffles. You can even mix them into your morning oatmeal for a treat. These ideas make the most of your sauces while enhancing your meals.
You learned how to make tasty caramel apple hand pies. We covered the best apples, key ingredients, and optional garnishes. I shared steps for prepping, assembling, and baking your pies. We also talked about storage tips and common mistakes to avoid.
Remember, cooking is all about having fun and being creative. Don’t hesitate to try new flavors and variations. Enjoy your sweet treat