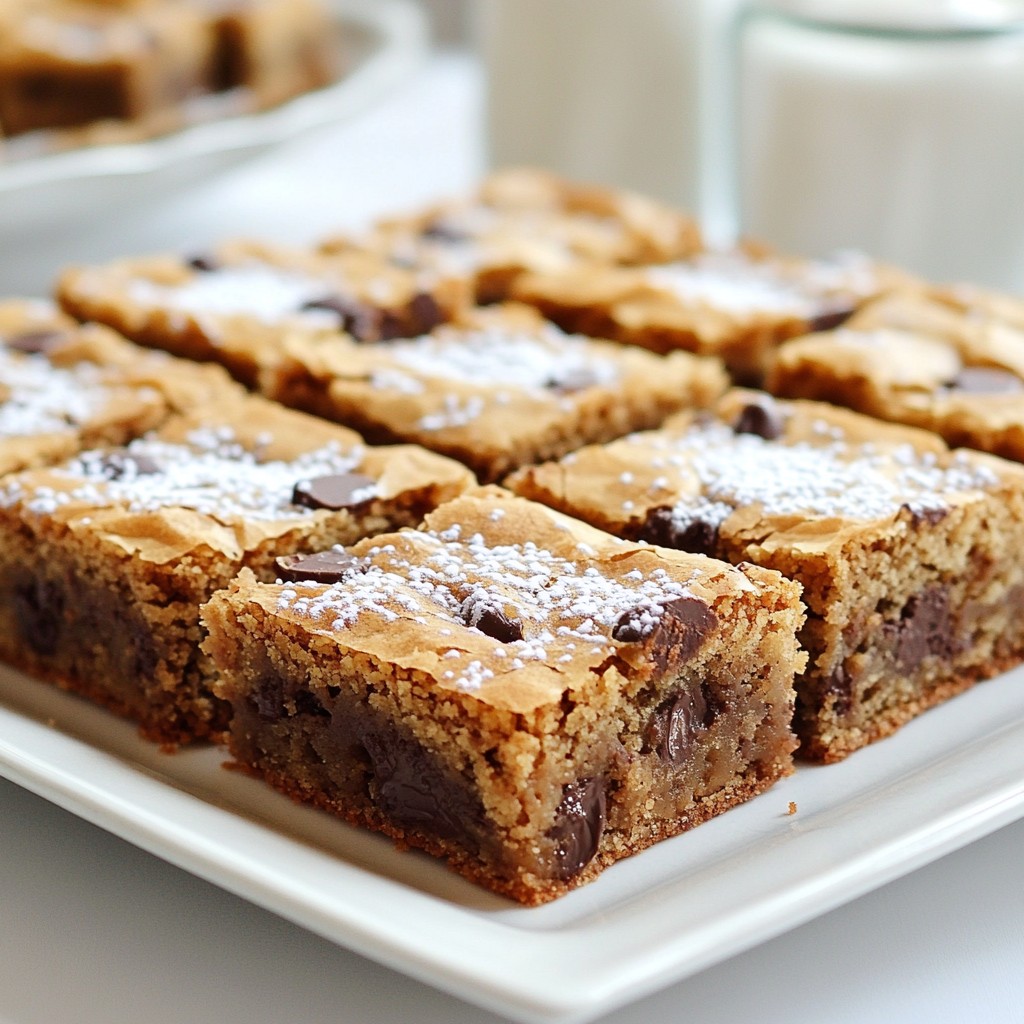
Get ready for a sweet treat that will impress your taste buds! Brown butter chocolate chip blondies are a game-changer. They’re soft, chewy, and packed with flavor. In this article, I will guide you through the easy steps to make these delicious blondies. Whether you’re a baking novice or a pro, this recipe will help you create a dessert that everyone will love. Let’s dive in and start baking!
Why I Love This Recipe
- Irresistible Flavor: The combination of brown butter and chocolate creates a rich, nutty flavor that elevates these blondies to another level of deliciousness.
- Easy to Make: This recipe requires simple ingredients and straightforward steps, making it perfect for bakers of all levels.
- Perfect Texture: These blondies are chewy and gooey in the center while being slightly crisp on the edges, providing the ultimate dessert experience.
- Customizable: You can easily add your favorite mix-ins, like nuts or different types of chocolate, to make these blondies uniquely yours.
Ingredients
List of Required Ingredients
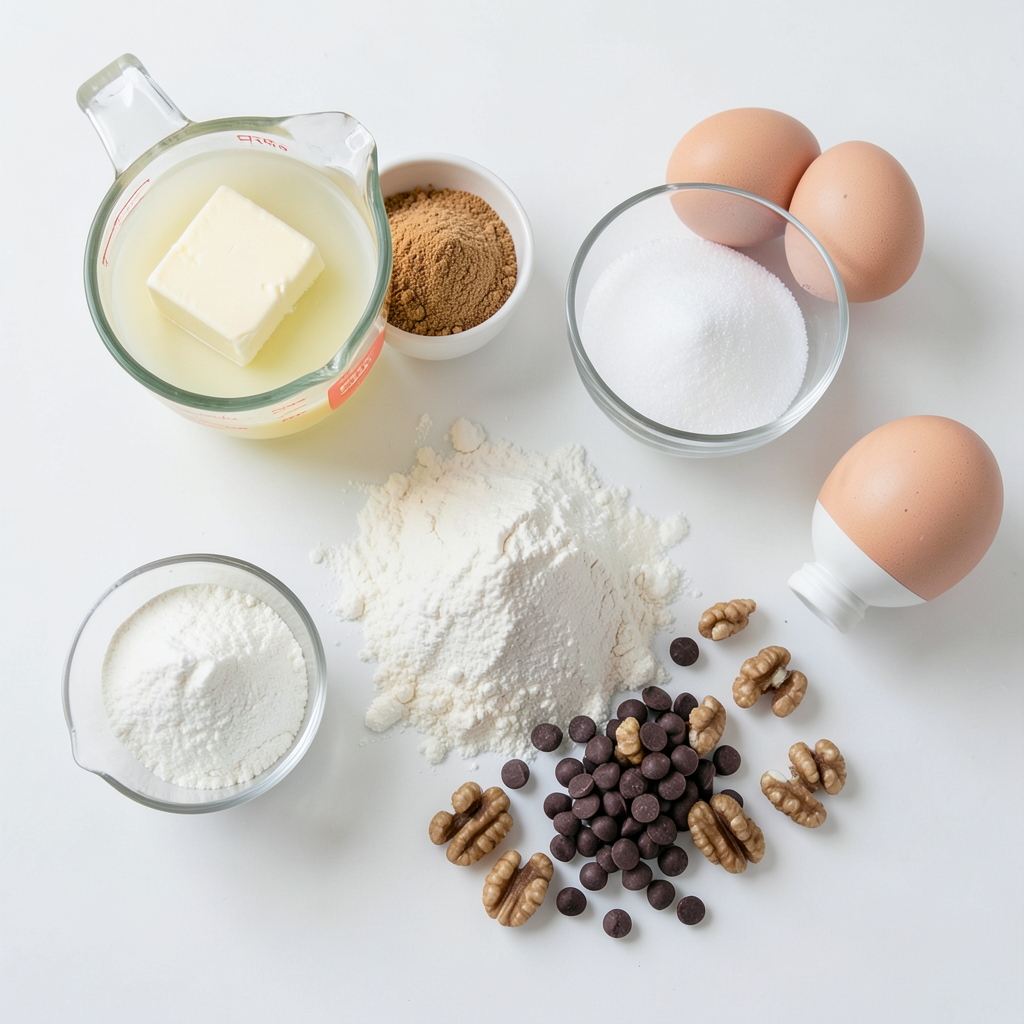
To make delicious brown butter chocolate chip blondies, you need:
- 1 cup (225g) unsalted butter
- 1 cup (200g) packed brown sugar
- 1/2 cup (100g) granulated sugar
- 2 large eggs
- 1 teaspoon vanilla extract
- 2 cups (250g) all-purpose flour
- 1 teaspoon baking powder
- 1/2 teaspoon baking soda
- 1/4 teaspoon salt
- 1 cup (180g) semi-sweet chocolate chips
These ingredients work together to create a rich and chewy blondie with a nutty flavor.
Optional Ingredients
You can add a twist to your blondies with these optional ingredients:
- Chocolate chip varieties: Try using dark chocolate or milk chocolate chips for a different taste.
- Nut options: Chopped walnuts or pecans can add a nice crunch and flavor.
These optional ingredients allow you to personalize your blondies, making them even more delightful.
Step-by-Step Instructions
Preparing the Oven and Baking Dish
To start, preheat your oven to 350°F (175°C). This ensures even baking. Next, grab a 9x13 inch baking dish. Line it with parchment paper. Leave some paper hanging over the sides. This helps you lift the blondies out later.
Browning the Butter
Now, let’s brown the butter. Use a medium skillet or saucepan. Melt the unsalted butter over medium heat. Stir it often. Watch closely as it changes color. It should turn golden brown and smell nutty. This takes about 5-7 minutes. Be careful not to let it burn. Once done, remove it from heat and let it cool a bit.
Mixing the Batter
In a large bowl, mix the brown sugar and granulated sugar. Pour the warm brown butter into the bowl. Whisk them together until combined. Next, add the eggs one at a time. Make sure to whisk well after each egg. Then, stir in the vanilla extract until it is mixed in. In another bowl, whisk the flour, baking powder, baking soda, and salt. Slowly add this dry mix to the wet mix. Stir until just combined. Don’t overmix. Finally, gently fold in the chocolate chips and nuts if you’re using them.
Baking the Blondies
Now, it’s time to bake. Pour the batter into the prepared baking dish. Spread it evenly with a spatula. Place it in the preheated oven. Bake for 20-25 minutes. Look for the edges to turn golden brown. To check if they are done, insert a toothpick into the center. If it comes out clean or with a few moist crumbs, they are ready.
Tips & Tricks
Achieving the Perfect Texture
To make the best brown butter chocolate chip blondies, browning the butter is key. This step adds a rich, nutty flavor that you will love. When you heat the butter, watch it carefully. Stir it often so it cooks evenly. You want it to turn a nice golden brown without burning.
Mixing is also important. When you combine the wet and dry ingredients, do not overmix. Overmixing can make your blondies tough. Stir just until you see no dry flour. This will keep your blondies soft and chewy.
Serving Suggestions
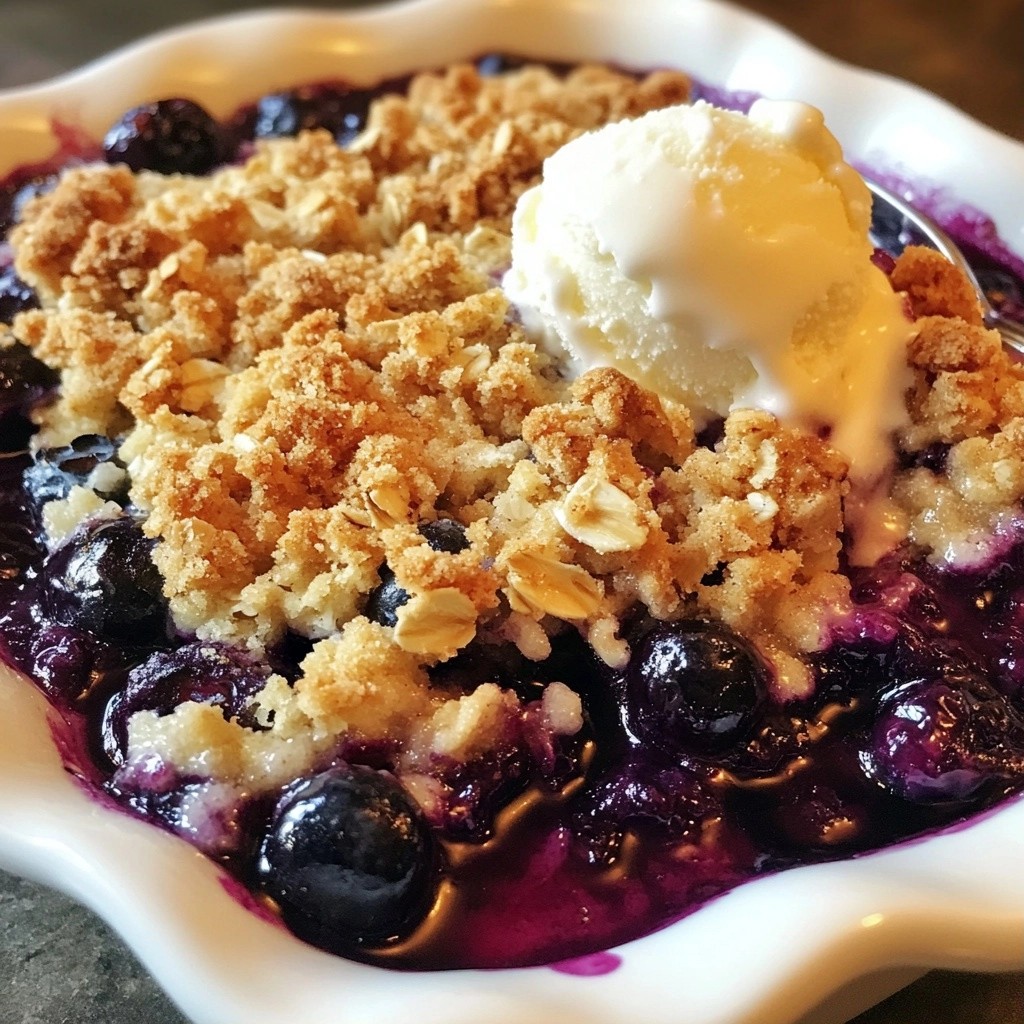
These blondies taste great on their own, but you can make them even better! Serve them warm with a scoop of vanilla ice cream on the side. The cold ice cream melts slightly, making a perfect pairing.
For a nice touch, dust the blondies with powdered sugar before serving. This adds a sweet look and taste. You can also top them with chocolate drizzle or chopped nuts for extra flavor. Enjoy your delicious treats!
Pro Tips
- Brown the Butter Carefully: Watch the butter closely while browning; it can go from perfect to burnt in seconds. Stir frequently and remove from heat as soon as it reaches a golden color.
- Don't Overmix: Once you add the dry ingredients to the wet, mix just until combined. Overmixing can lead to tough blondies instead of the desired chewy texture.
- Check for Doneness: Every oven is different, so start checking your blondies around the 20-minute mark. They should be golden at the edges but still slightly soft in the center.
- Store Properly: To keep blondies fresh, store them in an airtight container at room temperature for up to a week. You can also freeze them for longer storage; just thaw before serving.
Variations
Flavor Variations
You can change the taste of your brown butter chocolate chip blondies by adding different extracts. For a nutty twist, try almond extract. If you want a tropical vibe, coconut extract works great too. These small changes can make your blondies feel new and exciting.
You can also play with the type of chocolate you use. While semi-sweet chocolate chips are classic, using white chocolate can add a sweet creaminess. Dark chocolate offers a rich flavor that pairs well with the buttery base. Mix and match to find your favorite combination!
Dietary Adjustments
If you need gluten-free blondies, you can swap the all-purpose flour for a gluten-free blend. Just make sure the blend contains a binding agent like xanthan gum. This will help keep the blondies soft and chewy.
For a vegan version, replace the eggs with flax eggs. Mix one tablespoon of ground flaxseed with three tablespoons of water for each egg. Let it sit until it thickens. Use coconut oil instead of butter for a dairy-free option. Both changes keep the blondies yummy and satisfying!
Storage Info
How to Store Blondies
To keep your blondies fresh, store them in an airtight container. You can use glass or plastic containers. Make sure they cool completely before sealing. This helps keep them soft and chewy. If you stack them, add parchment paper between layers. This prevents sticking.
Freezing Instructions
To freeze blondies, first slice them into squares. Wrap each square in plastic wrap tightly. Then, place the wrapped blondies in a freezer-safe bag. This keeps them fresh for up to three months.
When you want to enjoy them, take them out of the freezer. Let them sit at room temperature for about an hour. You can also warm them in the oven at 350°F (175°C) for a few minutes. This brings back their soft texture. Enjoy your delicious treat!
FAQs
Can I use margarine instead of butter?
You can use margarine, but the flavor changes. Butter gives a rich, nutty taste. Browned butter adds depth. Margarine lacks this unique flavor. If you want a similar taste, choose a high-fat margarine.
What can I substitute for eggs in this recipe?
You have several great options for egg substitutes:
- Applesauce: Use 1/4 cup for each egg.
- Mashed banana: Use 1/4 cup for each egg.
- Yogurt: Use 1/4 cup for each egg.
- Flaxseed meal: Mix 1 tablespoon with 3 tablespoons of water. Let it sit until thick.
- Silken tofu: Blend 1/4 cup for each egg.
These can help bind your blondies well.
How do I know when the blondies are done baking?
Look for these signs:
- The edges turn golden brown.
- The center looks slightly set but still soft.
- A toothpick inserted in the middle should come out clean or with a few moist crumbs.
Keep an eye on them, as overbaking leads to dry blondies.
This article guides you through making delicious blondies. You learned about the ingredients, like brown sugar and unsalted butter, and how to brown the butter for rich flavor. I shared tips for mixing your batter well and checking for doneness while baking. With ideas for variations and ways to store your blondies, you now have all the tools to create a tasty treat. Enjoy your baking adventure, and remember, experimenting is part of the fun!