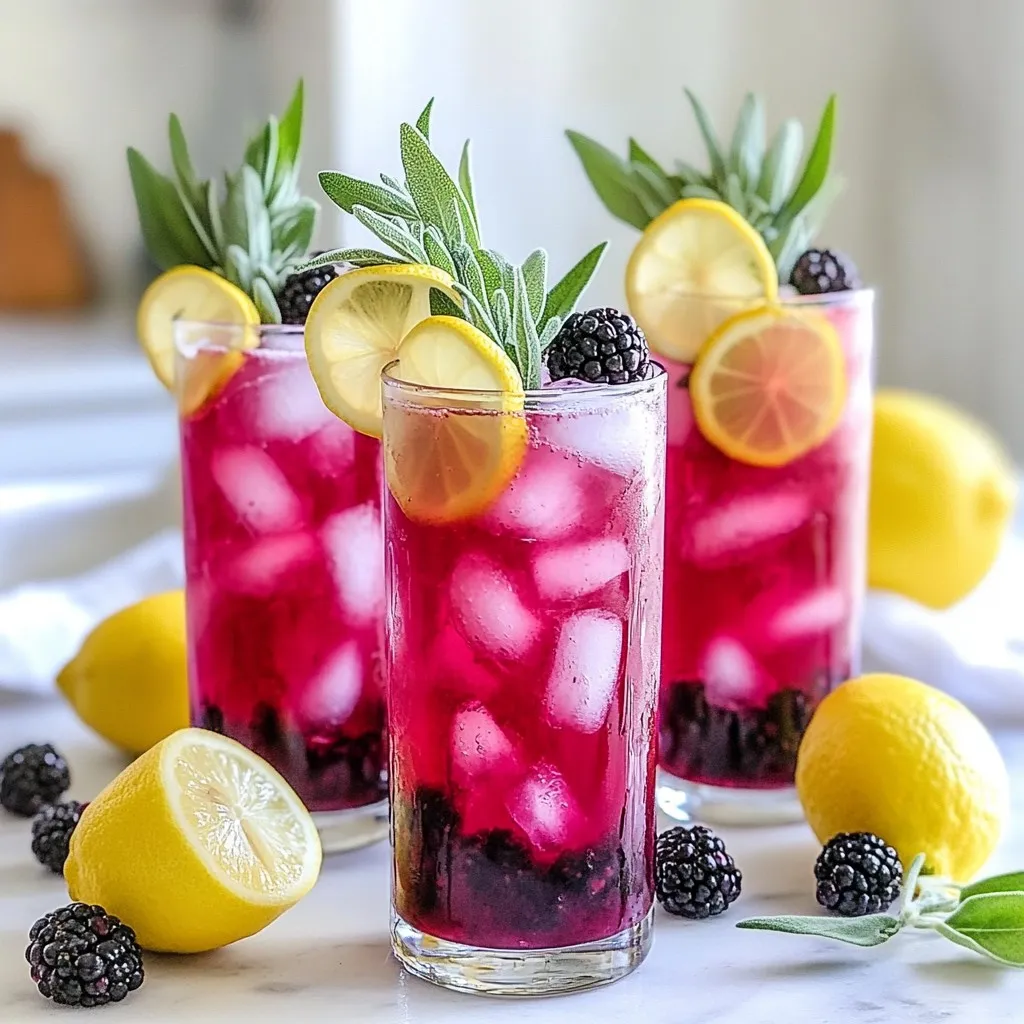
Blackberry Sage Lemonade Refreshing Summer Drink
Looking for a cool drink to beat the summer heat? Try this Blackberry Sage Lemonade! Bursting with fresh blackberries, tangy

Looking for a cool drink to beat the summer heat? Try this Blackberry Sage Lemonade! Bursting with fresh blackberries, tangy
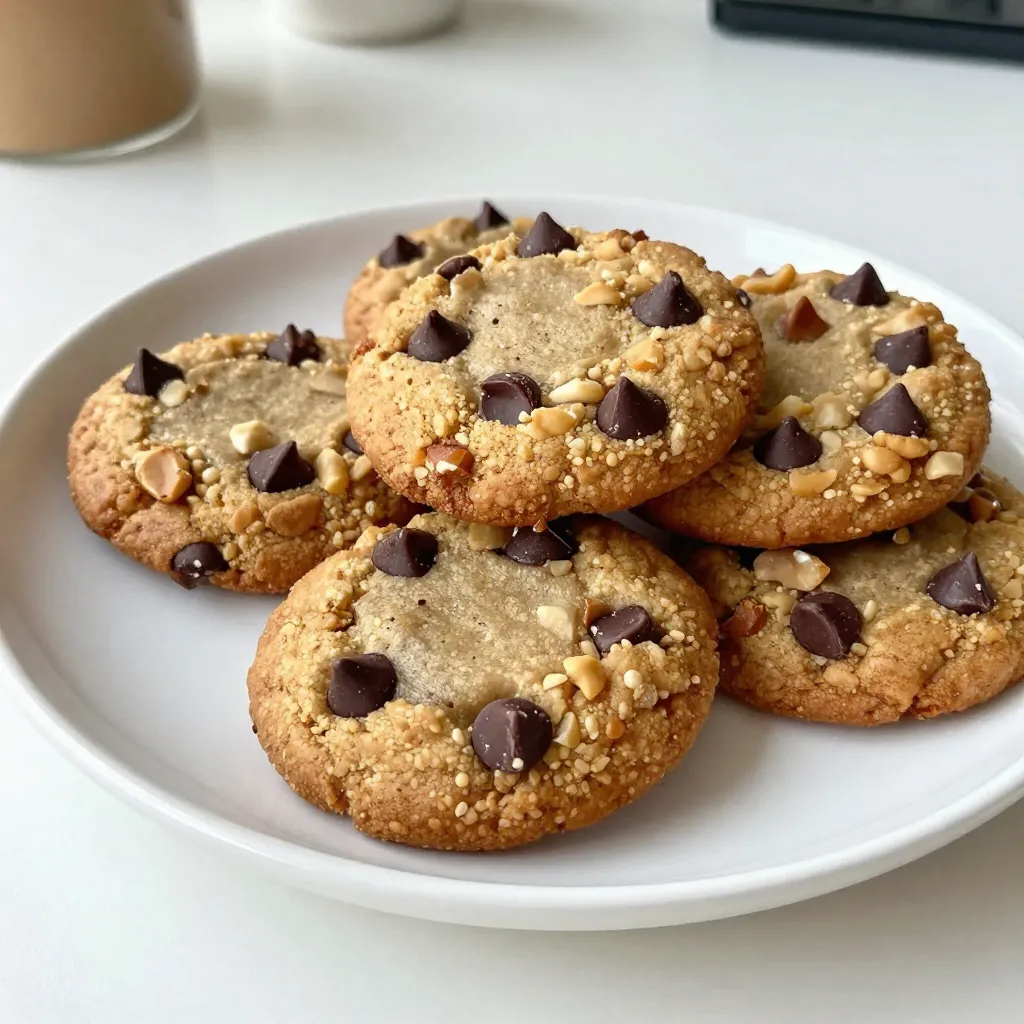
Are you craving a delicious snack that gives you a boost? These Peanut Butter Oatmeal Energy Cookies are here to

Fall is the perfect time for warm, sweet treats, and nothing beats Caramel Apple Hand Pies. These delightful mini pies
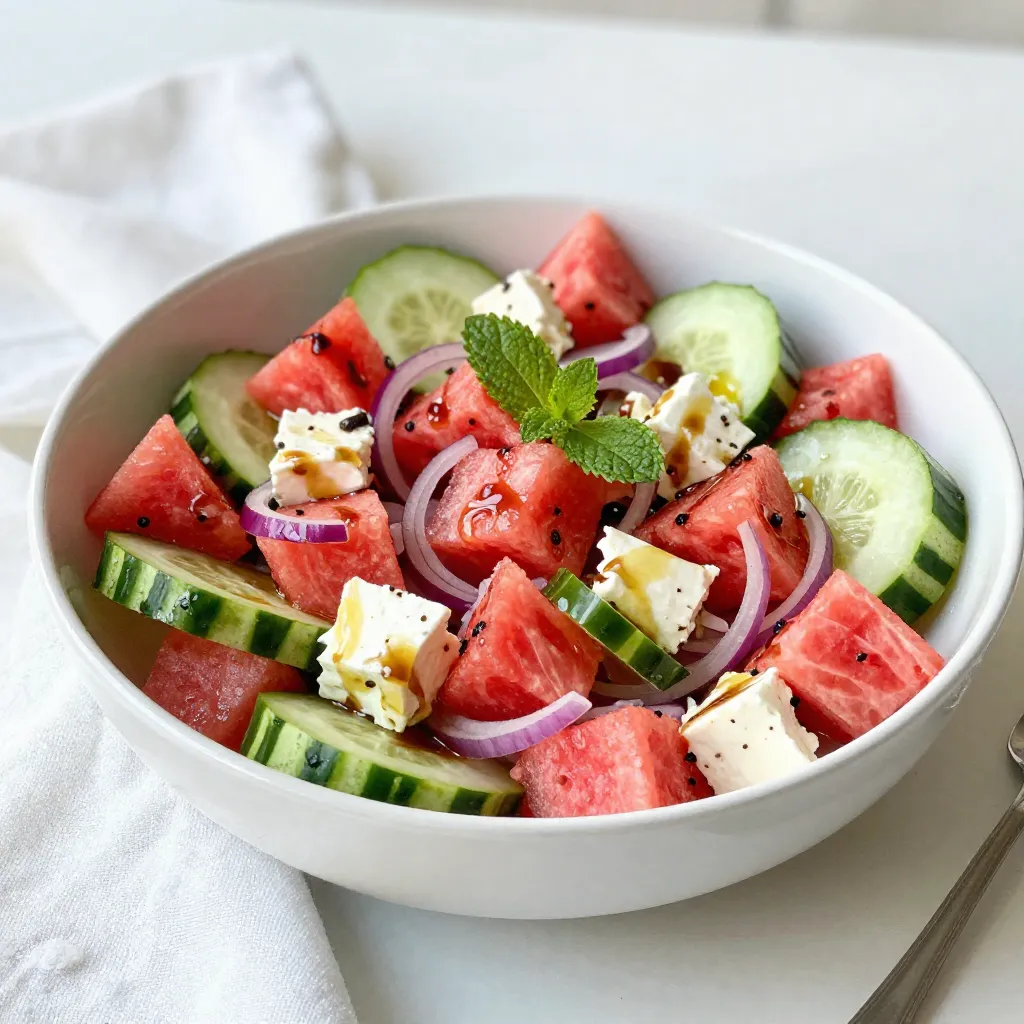
Looking for a refreshing salad that bursts with flavor? You’re in the right place! This Cucumber Watermelon Feta Salad combines
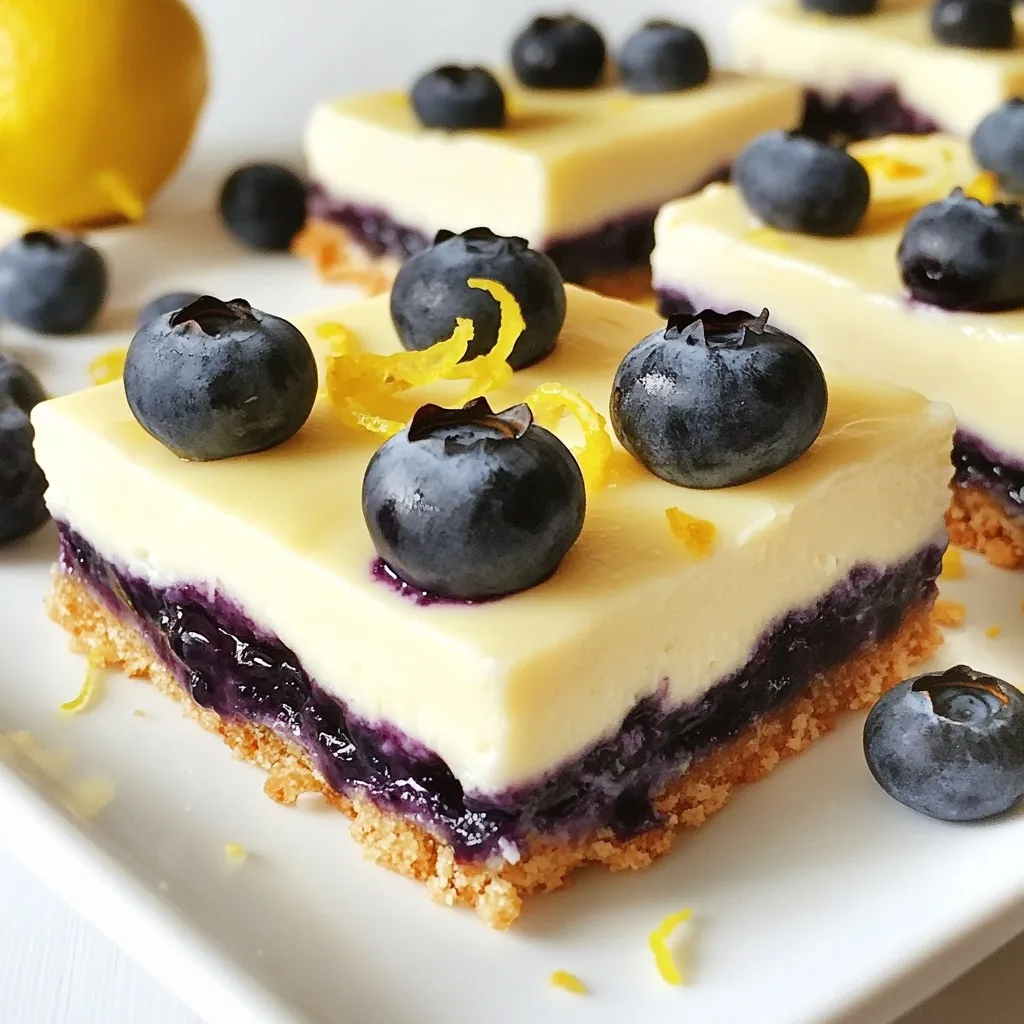
Craving a sweet treat that’s easy to make? Blueberry Lemon Cheesecake Bars are perfect! These bars mix creamy cheesecake, zesty
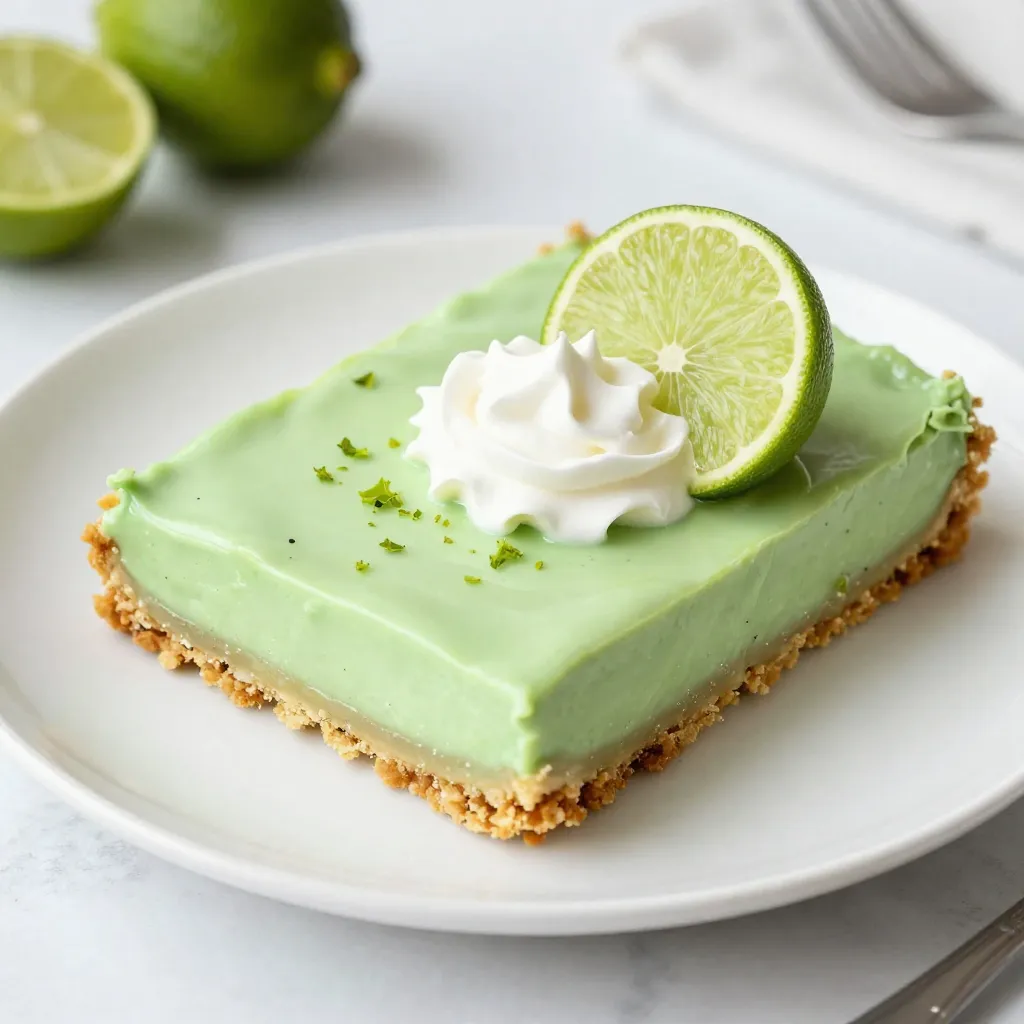
Are you ready to indulge in a sweet treat that’s both zesty and satisfying? In this post, I’ll share my
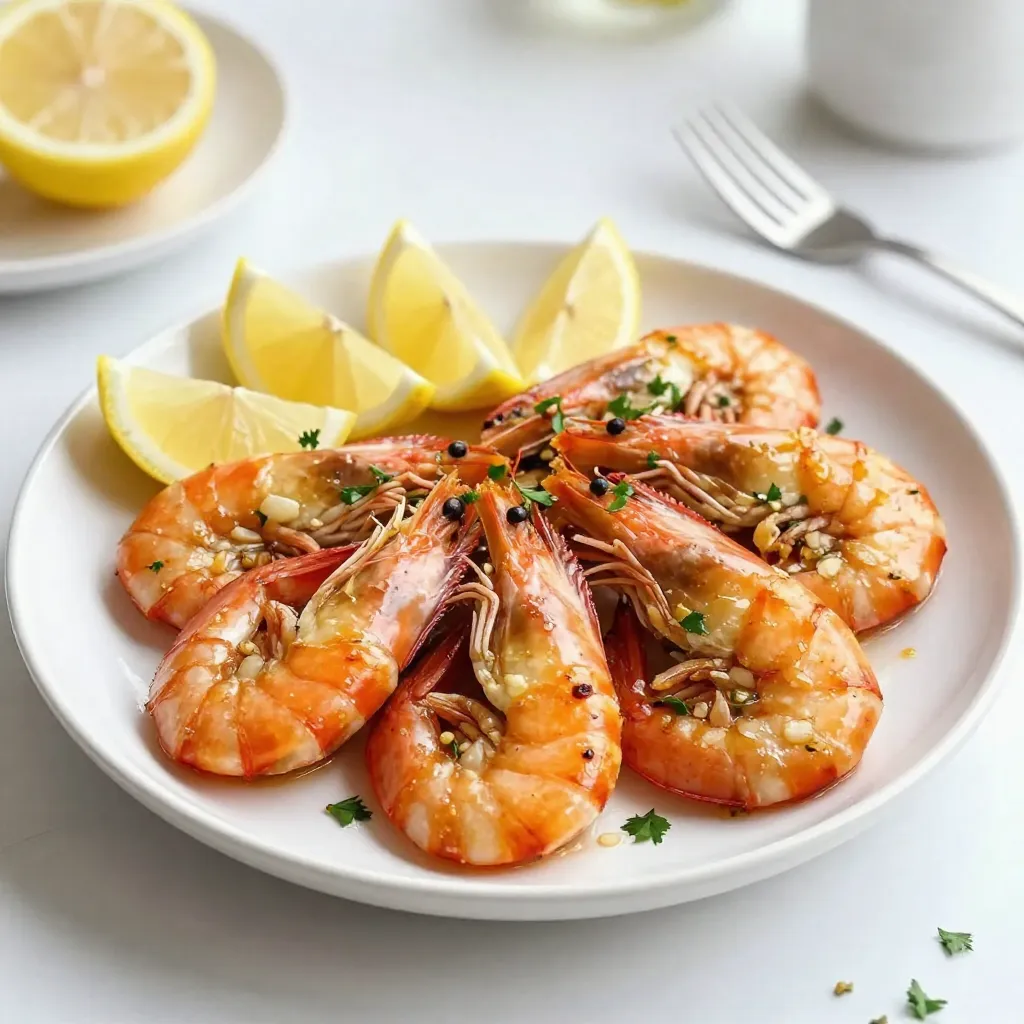
If you’re craving a dish that’s quick, tasty, and packed with flavor, you’ve come to the right place! My Lemon
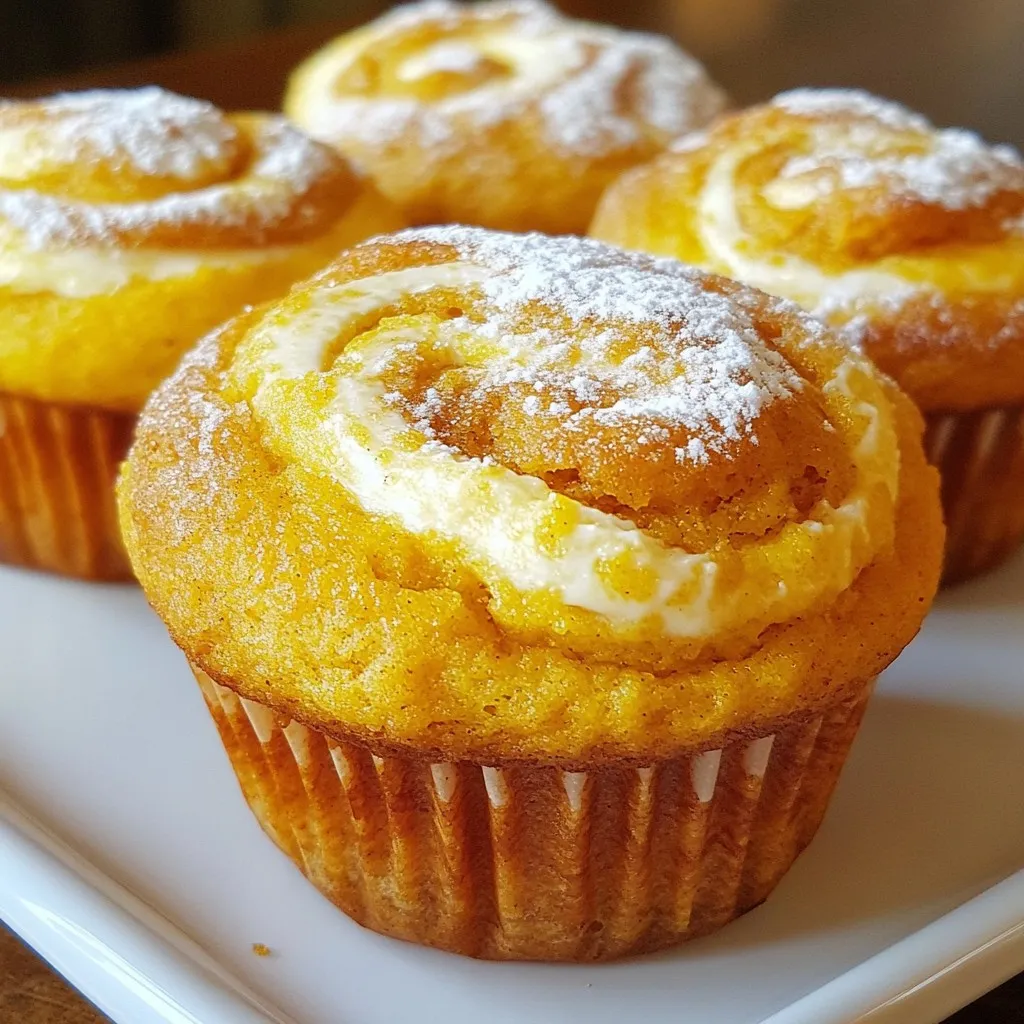
Fall is here, and there’s nothing better than the warm scent of pumpkin muffins baking in your kitchen. These Pumpkin

Looking for a quick and tasty dinner? Let me introduce you to Savory Sheet Pan Sesame Chicken! This dish is
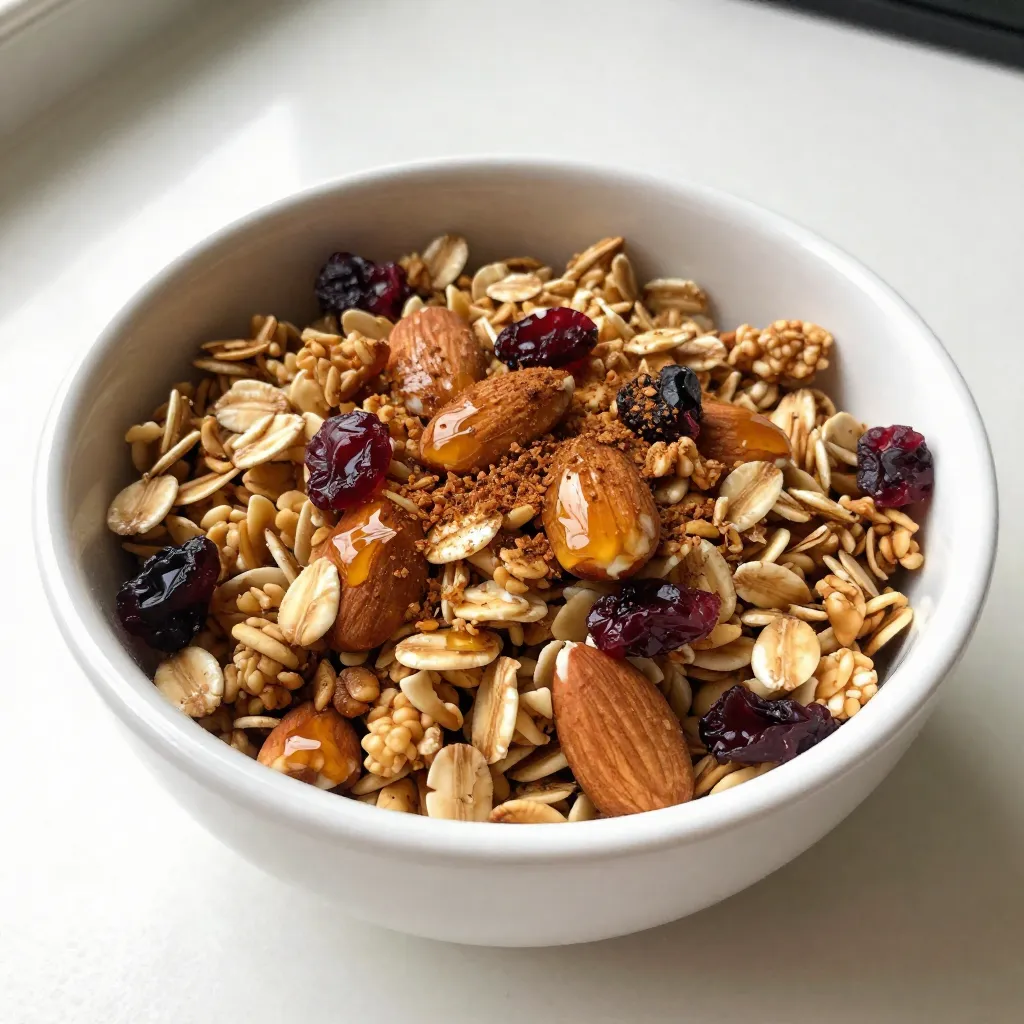
Are you ready for a tasty, healthy snack? This Vanilla Almond Granola is not only crunchy, but it’s also packed