Looking for a quick and delicious snack that kids and adults will love? Peanut Butter Bliss Balls are the answer! They’re simple to make and packed with flavor. In this guide, I’ll share easy steps, tasty variations, and helpful tips. You’ll learn how to customize these treats to fit any taste. Ready to make your kitchen smell amazing? Let’s dive into the world of Peanut Butter Bliss Balls!
Ingredients
Here’s a detailed list of ingredients for making Peanut Butter Bliss Balls. Each item plays a key role in flavor and texture.
– Natural peanut butter (smooth or crunchy): This is your base. It gives the bliss balls their creamy goodness.
– Rolled oats: These add structure and fiber. They help keep the balls together while providing a hearty bite.
– Honey or maple syrup: Use either for sweetness. Honey gives a nice floral note, while maple syrup adds a rich flavor.
– Ground flaxseed: This ingredient adds healthy fats and boosts nutrition. It helps bind everything together.
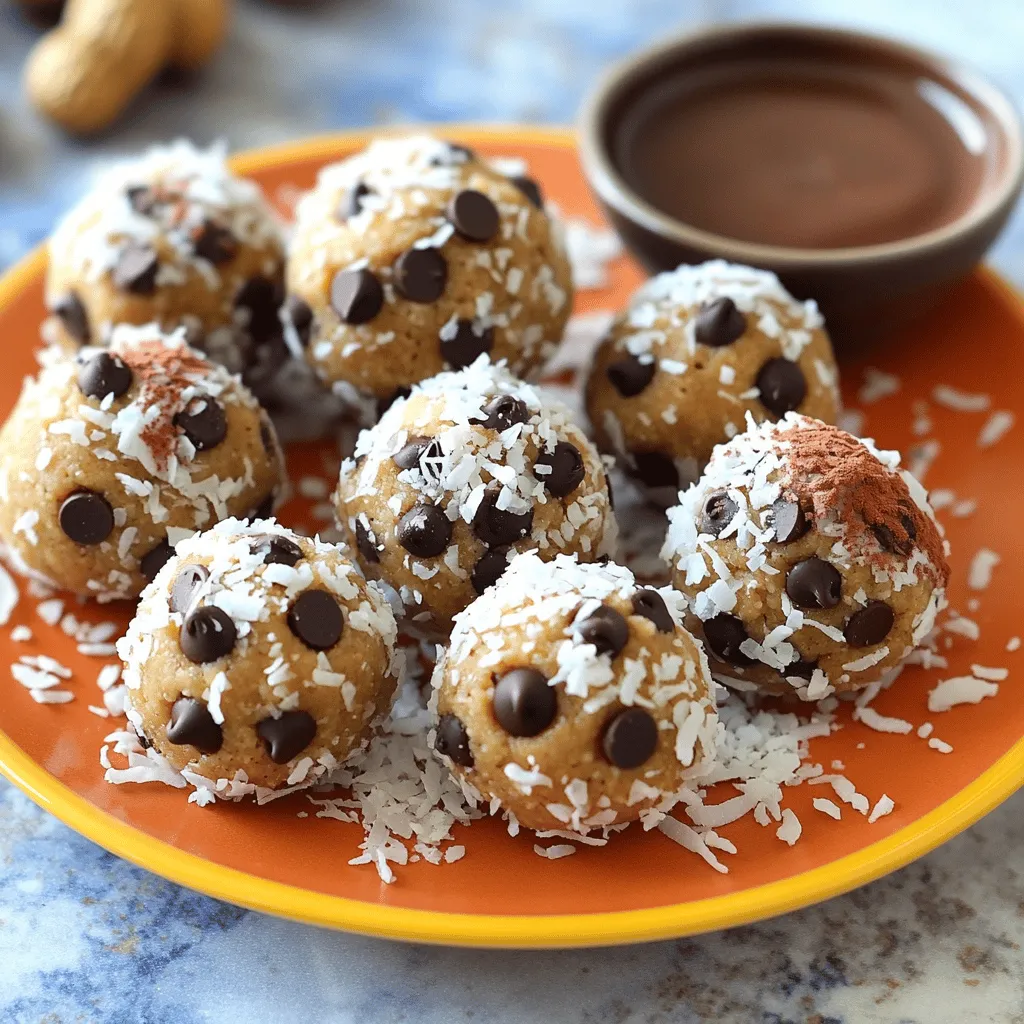
– Mini chocolate chips (dark or semi-sweet): These bring a delightful chocolatey flavor. They’re perfect for a little indulgence.
– Vanilla extract: A splash of vanilla elevates the overall taste. It adds warmth and depth to the flavor.
– Sea salt: Just a pinch enhances all the flavors. It balances the sweetness and makes the taste pop.
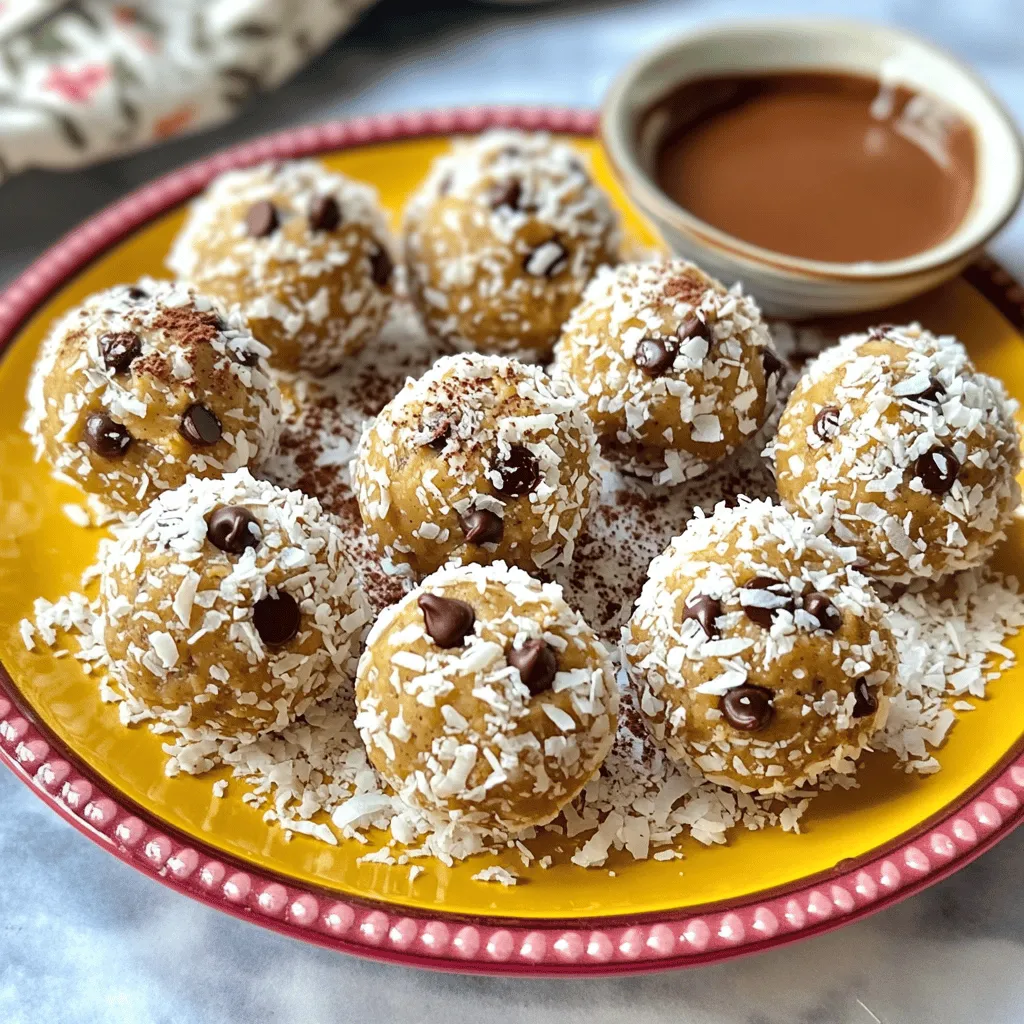
– Optional toppings: You can roll the bliss balls in shredded coconut, chopped nuts, or cocoa powder for extra flavor and texture.Each ingredient works together to create a delicious and nutritious treat.
Step-by-Step Instructions
Preparation steps
1. Combine peanut butter and honey (or maple syrup): In a large bowl, mix the natural peanut butter with honey or maple syrup. Stir until the two blend well. This is key for a sweet and creamy base.
2. Add all remaining ingredients and mix thoroughly: Next, add the rolled oats, ground flaxseed, mini chocolate chips, vanilla extract, and a pinch of sea salt. Mix everything until it is well combined. You want all the flavors to come together nicely.
3. Adjust consistency with oats or flaxseed if needed: If the mix is too sticky, add more oats or flaxseed. This will help you shape the balls easier. The right texture makes rolling them so much fun!
4. Form balls and place on parchment-lined baking sheet: Use your hands to form small balls, about 1 inch wide. Place each ball on a parchment-lined baking sheet. This setup makes it simple to chill them later.
Chilling and serving
1. Roll in optional toppings for extra flavor: If you want to add more taste, roll the bliss balls in shredded coconut, chopped nuts, or cocoa powder. Each topping brings a nice crunch and flavor twist.
2. Refrigerate to firm up the bliss balls: Once shaped, put the baking sheet in the fridge for at least 30 minutes. This helps the balls firm up, making them perfect for snacking.Enjoy the fun of making and eating Peanut Butter Bliss Balls!
Tips & Tricks
Achieving the perfect texture
To get the right texture, you might need to adjust the stickiness. If your mixture feels too wet, add a bit more rolled oats or ground flaxseed. This will help create a firm but chewy bliss ball. Use your hands to mix well, ensuring all ingredients combine smoothly.
When rolling the bliss balls, keep your hands slightly damp. This small trick helps prevent the mixture from sticking to your fingers. Aim for balls about one inch in size. Place each ball on a parchment-lined sheet. This prevents sticking and makes cleanup easy.
Flavor enhancements
To boost the taste, consider adding protein powder or chia seeds. These ingredients enhance nutrition and texture. They also help keep you full longer. Start with a couple of tablespoons and adjust as needed.
Balancing sweetness is key. If you find the bliss balls too sweet, add a pinch of sea salt. This can cut the sweetness and enhance the overall flavor. You could also swap honey for unsweetened applesauce for a different taste.Enjoy your tasty treats!
Variations
Different nut butter options
You can swap peanut butter for other nut butters. Almond butter works great in this recipe. It has a lovely, smooth taste that pairs well with oats. You can also try sunflower seed butter. This option is perfect for those who need a nut-free treat. It offers a unique flavor while keeping the bliss balls safe for schools or gatherings.
Flavor combinations
Adding spices can take these bliss balls to the next level. Try mixing in cinnamon for a warm flavor. Cocoa powder adds a rich chocolate taste that pairs perfectly with peanut butter. You can also get creative with fruits and nuts. Dried cranberries or raisins add sweetness and chewiness. Chopped nuts can give a nice crunch. With these simple changes, you can make each batch unique and exciting.
Storage Info
Storage methods
To keep your bliss balls fresh, store them in an airtight container. This helps prevent them from drying out. Place them in the fridge for up to one week. Make sure you separate layers with parchment paper to avoid sticking.
For longer shelf life, try freezing them. Bliss balls freeze well for up to a month. Just place them in a freezer-safe bag or container. When you’re ready to eat, let them thaw in the fridge overnight. This keeps them tasty and easy to enjoy.
Serving suggestions
Bliss balls are great on their own, but you can also get creative! Try adding them to your breakfast. Chop them up and mix them in yogurt or oatmeal. This adds flavor and a fun texture.
If you love smoothies, toss in a bliss ball for a quick energy boost. They blend well and give your drink a nice nutty taste. You can also serve them with fresh fruit, like banana or berries, for a balanced snack.
FAQs
Common questions about Peanut Butter Bliss Balls
How long do Peanut Butter Bliss Balls last?
Peanut Butter Bliss Balls stay fresh for about one week in the fridge. If you store them in the freezer, they can last for up to a month. This makes them a perfect snack for meal prep!
Can I make them vegan-friendly?
Yes, you can easily make these bliss balls vegan. Just swap honey for maple syrup. This simple change keeps the sweetness and flavor intact.
What’s the best way to customize the recipe?
You can customize these bliss balls in many ways. Try adding different nuts or seeds for crunch. For a flavor twist, mix in spices like cinnamon or cocoa powder. You can also use dried fruits like raisins or cranberries.
Are there any substitutes for peanut butter?
Absolutely! You can use almond butter or sunflower seed butter if you prefer. Each option gives a unique taste while keeping the texture smooth and creamy. For those with nut allergies, sunflower seed butter is a great choice.
Peanut Butter Bliss Balls are an easy and tasty treat. We covered the best ingredients, like natural peanut butter, rolled oats, and honey. I explained how to prep them, chill, and serve. With tips for texture and variations, you can make these balls your own. Remember to store them right to keep them fresh. I hope you enjoy making them as much as I do!