Indulging in sweet, creamy, homemade ice cream is easier than you think! My No-Churn Strawberry Ice Cream recipe skips the hassle of churners while delivering a smooth, rich treat you can enjoy any time. With just a few simple ingredients and steps, you’ll impress family and friends. Ready to blend the fresh flavors of summer in your own kitchen? Let’s dive into this delightful dessert that’s perfect for everyone!
Ingredients
Key Components for No-Churn Strawberry Ice Cream
To make this creamy treat, you need just a few key items:
– 2 cups fresh strawberries, hulled and halved
– 1/4 cup granulated sugar
– 1 teaspoon lemon juice
– 1 cup heavy whipping cream
– 1 cup sweetened condensed milk
– 1 teaspoon pure vanilla extract
– Pinch of salt
These ingredients blend beautifully to create a smooth and rich ice cream. The strawberries bring a burst of flavor, while the cream and condensed milk make it creamy.
Optional Ingredients for Enhanced Flavor
You can add a few extras to boost the taste:
– Fresh mint leaves for a refreshing twist
– A splash of almond extract for nutty notes
– A few chocolate chips for texture and sweetness
These additions can elevate your ice cream from good to amazing. Experiment to find what you like best!
Substitutions for Dietary Preferences
If you have dietary needs, don’t worry! You can still enjoy this ice cream:
– Use coconut cream instead of heavy cream for a dairy-free version.
– Swap out sweetened condensed milk for a homemade version using coconut milk and sugar.
– For a lower-sugar option, use a sugar substitute like stevia or monk fruit sweetener.
These swaps allow you to customize the recipe while still enjoying its deliciousness.
Step-by-Step Instructions
How to Prepare the Strawberries
To start, grab 2 cups of fresh strawberries. First, hull them and slice them in half. Next, place them in a medium bowl. Add 1/4 cup of granulated sugar and 1 teaspoon of lemon juice. Toss them gently to coat. Let the mixture sit for 15 to 20 minutes. This process is called maceration. It helps the strawberries become sweeter and more flavorful. While they sit, the juices will mix with the sugar and lemon juice.
Mixing and Combining Ingredients
Now, you’ll need to mash the strawberries lightly. Use a fork or a potato masher. You want some chunks to stay, so don’t mash them too much. Set the mashed strawberries aside. In a large bowl, pour in 1 cup of heavy whipping cream. Whip it with an electric mixer on medium-high speed until soft peaks form. This should take about 3 to 4 minutes. Be careful not to over-whip, or it may become grainy. In another bowl, mix together 1 cup of sweetened condensed milk, 1 teaspoon of pure vanilla extract, and a pinch of salt. Whisk until smooth. Now, gently fold the whipped cream into this mixture. Do this until they are fully combined.
Freezing Instructions for Optimal Texture
Once you have a smooth mixture, it’s time to fold in the strawberries. Pour in the macerated strawberries with their juices. Mix gently to ensure even distribution. After that, pour the entire mixture into a freezer-safe container. Spread it evenly and cover it tightly with a lid or plastic wrap. Freeze it for at least 6 hours, or until it is completely solid. For the best texture, let the ice cream sit at room temperature for 5 to 10 minutes before scooping. Enjoy your homemade No-Churn Strawberry Ice Cream!
Tips & Tricks
Achieving the Perfect Creamy Texture
To get that smooth and creamy texture, whip the heavy cream well. You want soft peaks, not stiff ones. This step helps your ice cream stay light and fluffy. When you fold in the whipped cream, do it gently. This keeps air in the mix. Air is key for that creamy feel.
Common Mistakes to Avoid with No-Churn Ice Cream
One mistake is over-whipping the cream. If you whip it too much, it can break. This leads to a grainy texture. Another common error is not letting the strawberries sit long enough. If you skip this, your strawberries won’t be sweet or juicy. Lastly, don’t rush the freezing process. It needs at least six hours to set properly.
Serving Suggestions for Presentation
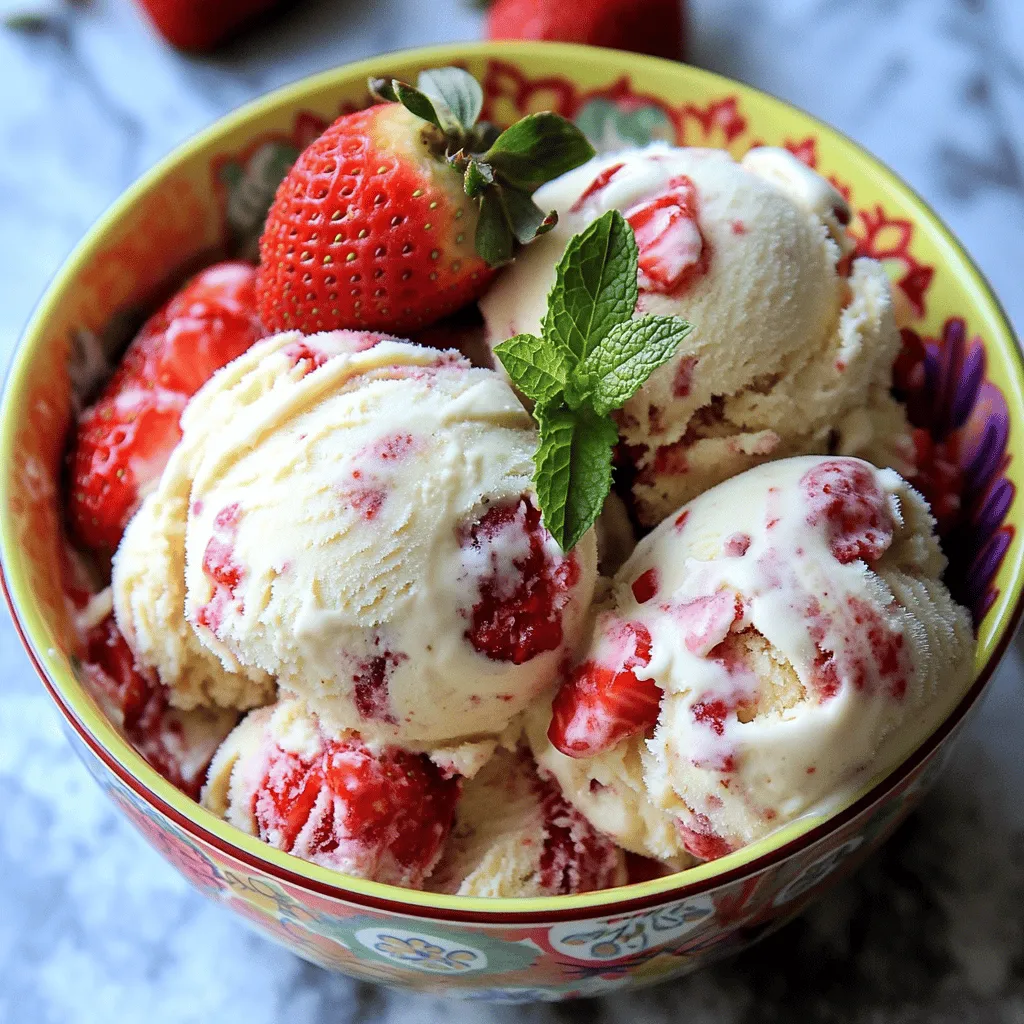
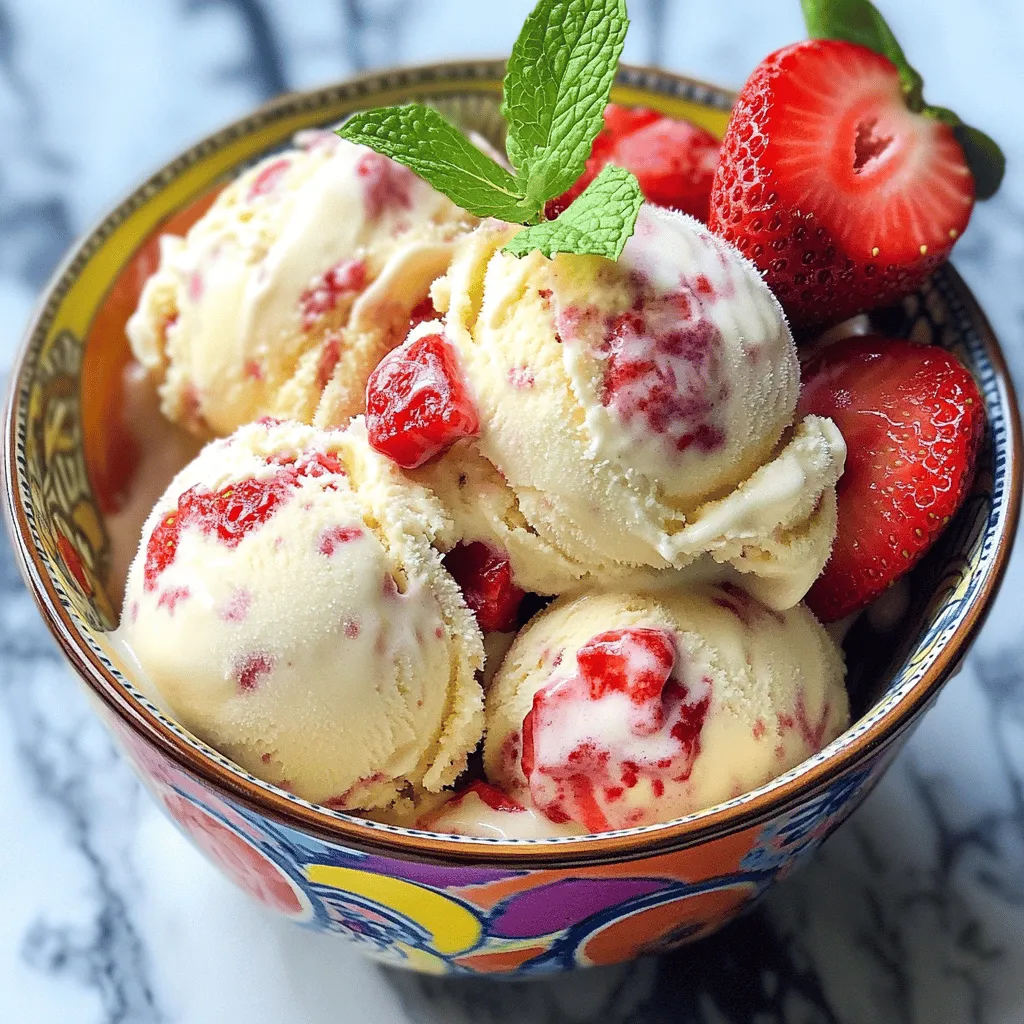
For a show-stopping presentation, use colorful bowls or waffle cones. A sprinkle of fresh strawberries on top adds color and charm. You can also add a sprig of mint for a fresh look. When scooping, aim for rounded mounds. This enhances the visual appeal.
Variations
Adding Other Fruits for Different Flavors
You can mix things up by adding other fruits. Try bananas, blueberries, or raspberries. Each fruit brings its own flavor and taste to the ice cream. For a tropical twist, add mango pieces. Just remember to adjust the sugar based on the sweetness of the fruit. This keeps your ice cream balanced and delicious.
Incorporating Mix-Ins like Chocolate or Nuts
Mix-ins can really elevate your no-churn strawberry ice cream. Chunks of chocolate or nuts add texture and flavor. Dark chocolate chips or crushed almonds work great. Stir them in just before freezing. This gives a nice crunch and a rich taste. You can also try crushed cookies for a fun twist.
Dairy-Free and Vegan Options
If you want a dairy-free or vegan version, it’s easy! Substitute the heavy cream with coconut cream. Use a plant-based sweetened condensed milk. Almond or oat milk can also work, but the texture may change. This way, you still enjoy a creamy treat without dairy. You can even add a splash of almond extract for extra flavor.
Storage Info
How to Properly Store No-Churn Strawberry Ice Cream
To keep your no-churn strawberry ice cream fresh, store it in an airtight container. This helps prevent freezer burn and keeps the flavors intact. Make sure to cover the top with plastic wrap before sealing the lid. This extra step keeps air out and preserves the creamy texture.
Shelf Life and Best Practices for Freezing
No-churn strawberry ice cream will last about two weeks in the freezer. For best results, try to eat it within a week. If you notice ice crystals forming, it means air got in. To avoid this, always seal the container tightly after scooping.
Reusing Leftover Ingredients
If you have leftover strawberries or cream, think of fun ways to use them! You can make a strawberry sauce by cooking the berries with sugar. Or, use extra cream for whipped toppings or in coffee. These ideas reduce waste and enhance other dishes.
FAQs
What is the difference between churned and no-churn ice cream?
Churned ice cream needs a machine to mix air in while freezing. This makes it creamy and smooth. No-churn ice cream skips that machine. Instead, it combines simple ingredients and freezes them directly. The result is a rich treat that is easy to make at home. No-churn ice cream often has a denser texture because it has less air.
Can I use frozen strawberries for this recipe?
Yes, you can use frozen strawberries! Just let them thaw first so they soften. This will help release juices and flavor. Once thawed, mash them as you would with fresh strawberries. Keep in mind that using frozen strawberries may change the texture slightly. But the flavor will still be sweet and delicious in your no-churn strawberry ice cream.
How can I adjust the sweetness of the ice cream?
You can adjust sweetness by changing the sugar amount. If your strawberries are very sweet, use less sugar. If they are tart, add a bit more. You can taste the mixture before freezing to find the right balance. Also, the sweetened condensed milk adds sweetness, so keep that in mind when you adjust. Enjoy experimenting to find your perfect level of sweetness!
In this blog post, we explored how to make no-churn strawberry ice cream. We covered key ingredients, tips for prep, and freezing methods. I shared flavor variations and storage tips to keep your ice cream fresh. Finally, you learned answers to common questions. Making this treat is easy and fun. Enjoy the creamy flavor and endless options. You can impress friends and family with your homemade ice cream. Dive into this tasty adventure and enjoy every scoop!
