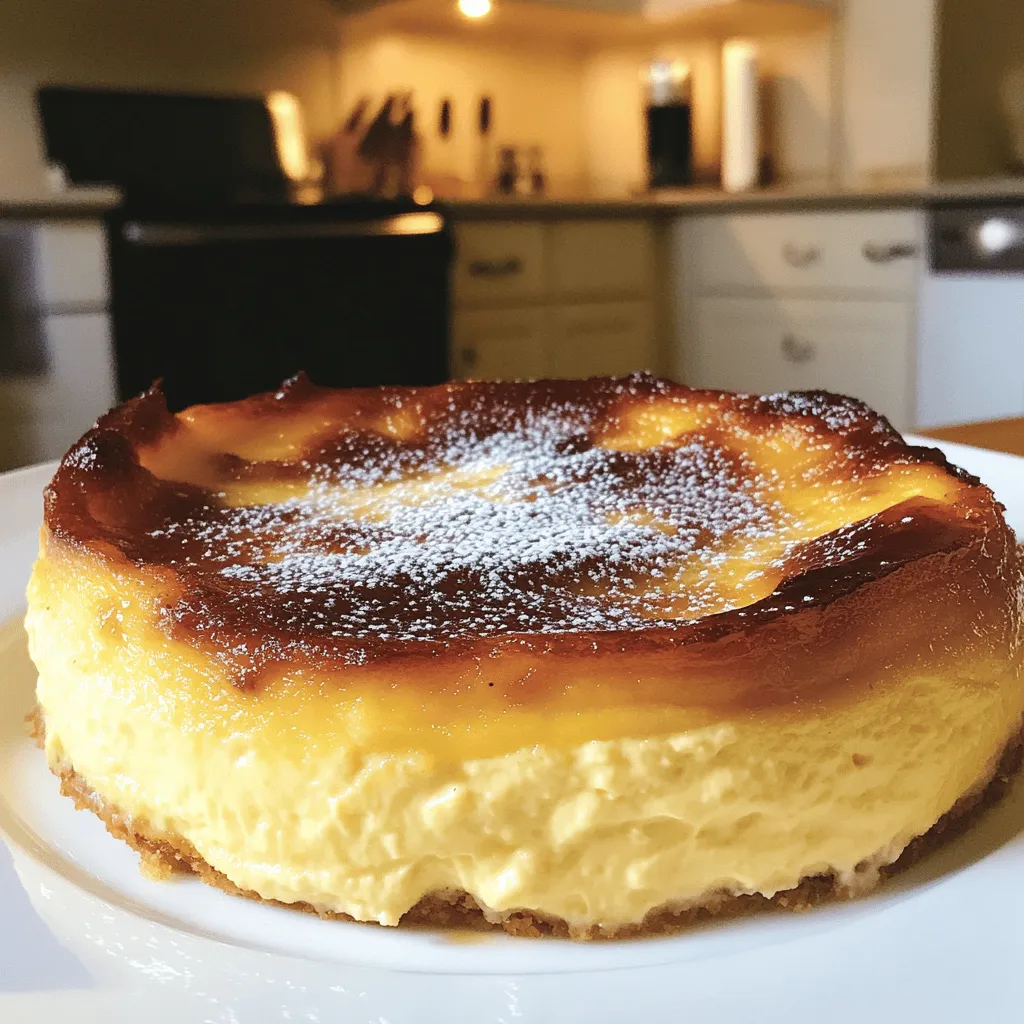
If you crave a dessert that’s rich, creamy, and stunningly easy to make, look no further. In this post, I’m excited to share my favorite recipe for Burnt Basque Cheesecake. With just a few simple ingredients, you can whip up this delightful treat that impresses everyone. I’ll guide you through each step, share tips for the perfect texture, and offer fun variations. Let’s dive into this tasty adventure!
Ingredients
To make a great burnt Basque cheesecake, you need these simple ingredients:
– 2 cups (500g) cream cheese, softened
– 1 cup (200g) granulated sugar
– 3 large eggs
– 1 cup (240ml) heavy cream
– 1 teaspoon pure vanilla extract
– 1/4 cup (30g) all-purpose flour
– Pinch of salt
– Parchment paper (for lining the pan)
Each ingredient plays a key role in the flavor and texture. The cream cheese gives it that rich and creamy mouthfeel. Granulated sugar adds sweetness, while eggs help bind everything together. Heavy cream makes it smooth and rich, enhancing the cheesecake’s luxurious nature.
Vanilla extract adds a nice aroma and flavor. The flour gives it structure, while salt balances the sweetness. Finally, parchment paper is essential for easy removal after baking.Enjoy the process of mixing and baking, and soon you’ll have a delightful dessert to share!
Step-by-Step Instructions
Preparation Steps
– Preheating the Oven
First, you need to preheat the oven to 400°F (200°C). This high heat gives the cheesecake its signature burnt top. Set the timer, so you don’t forget!
– Lining the Springform Pan
Next, take a 9-inch (23cm) springform pan. Line the bottom and sides with parchment paper. Let the edges hang over the sides. This helps the cheesecake keep its tall shape. It also makes it easier to lift out after baking.
– Mixing the Ingredients
In a large bowl, add 2 cups of softened cream cheese. Use an electric mixer to beat it on medium speed for about 2-3 minutes. It should be smooth and creamy.
Gradually mix in 1 cup of granulated sugar. Keep mixing until it’s light and fluffy.
Now, add 3 large eggs, one at a time. Mix on low speed after each addition until just combined. Don’t rush this step!
Pour in 1 cup of heavy cream and 1 teaspoon of pure vanilla extract. Mix until it’s smooth. Be careful not to overmix.
Finally, sift in 1/4 cup of all-purpose flour and a pinch of salt. Gently fold with a spatula until just combined. Some lumps are okay. They add great texture!
Baking Process
– Baking Time and Temperature
Now, pour the batter into your prepared springform pan. Spread it evenly with a spatula. Bake it in the preheated oven for 25-30 minutes. The top should be nicely browned, and the center should still jiggle a bit. This jiggle is normal!
– Cooling Steps
After baking, turn off the oven. Leave the cheesecake inside for another 15 minutes. This gradual cooling helps it set. Do not open the door during this time!
Carefully remove the cheesecake from the oven. Let it cool at room temperature for about 1 hour. After that, place it in the fridge for at least 4 hours or overnight. This chilling time is key for the best flavor.
– Final Preparation
When you’re ready to serve, gently lift the cheesecake from the pan. Remove the parchment paper. You can dust the top with powdered sugar or serve it with fresh berries for extra flair. Enjoy this simple yet delightful dessert!
Tips & Tricks
Achieving the Perfect Texture
– Importance of Not Overmixing
Overmixing can ruin the texture of your cheesecake. Mix just enough to combine the ingredients. This keeps the cheesecake creamy and light. Too much mixing adds air, causing cracks when baking.
– Opting for Room Temperature Ingredients
Always use room temperature cream cheese and eggs. This helps them blend smoothly into the batter. Cold ingredients can create lumps that are hard to mix out. A smooth batter bakes evenly, giving you that perfect, burnt top.
Common Mistakes to Avoid
– Underbaking or Overbaking
Timing is key. Underbaking leaves the center too runny. Overbaking makes it dry and tough. Bake until the top is dark and the center is slightly jiggly. Trust me, the jiggle is normal!
– Misplacing Ingredients
Follow the order of ingredients closely. Each step builds the right texture. Adding eggs too soon can affect the mix. Keep things in order for a perfect cheesecake.
Variations
Flavor Variations
You can make this cheesecake even more fun by adding flavors. Here are two great ideas:
– Adding Citrus Zest: Grate some lemon or orange peel into the batter. This adds a fresh and bright taste. Citrus zest can balance the richness of the cheesecake. A little goes a long way, so start with just a teaspoon. You can always add more if you like.
– Incorporating Chocolate: Melt some dark or milk chocolate and mix it in. This creates a rich chocolate flavor that pairs well with the creamy texture. You could also swirl in chocolate ganache on top before baking. It gives a nice visual touch and extra taste.
Dietary Adaptations
You can enjoy this cheesecake even if you have special diet needs. Here are two options:
– Gluten-Free Options: If you cannot eat gluten, use a gluten-free flour blend instead of all-purpose flour. Make sure to check the labels. Most ingredients are gluten-free, so you can still enjoy this dessert.
– Dairy-Free Alternatives: For a dairy-free version, use non-dairy cream cheese and almond or coconut milk. You can also replace heavy cream with coconut cream. This still gives a creamy texture while being dairy-free.
These variations and adaptations let you enjoy burnt Basque cheesecake in many ways. Feel free to experiment and find your favorite! For the complete recipe, check the section above.
Storage Info
Short-term Storage
Refrigeration Tips
After making your Burnt Basque cheesecake, let it cool. Place it in the fridge. This keeps it fresh for up to five days. Enjoy it cold or let it sit at room temperature for a bit before serving.
Covering the Cheesecake
To keep your cheesecake fresh, cover it well. Use plastic wrap or a lid. This prevents it from absorbing other smells in the fridge.
Long-term Storage
Freezing Instructions
If you want to store it longer, freezing is great. First, let the cheesecake cool completely. Then, wrap it tightly in plastic wrap. Place it in a freezer bag or airtight container. It can last up to three months in the freezer.
Thawing Guidelines
When you’re ready to enjoy your frozen cheesecake, take it out of the freezer. Move it to the fridge and let it thaw overnight. This keeps the texture nice. You can also leave it at room temperature for a few hours if you’re in a hurry. Just don’t rush it! Enjoy your creamy delight whenever you like.
FAQs
Questions Regarding Burnt Basque Cheesecake
What is Burnt Basque Cheesecake?
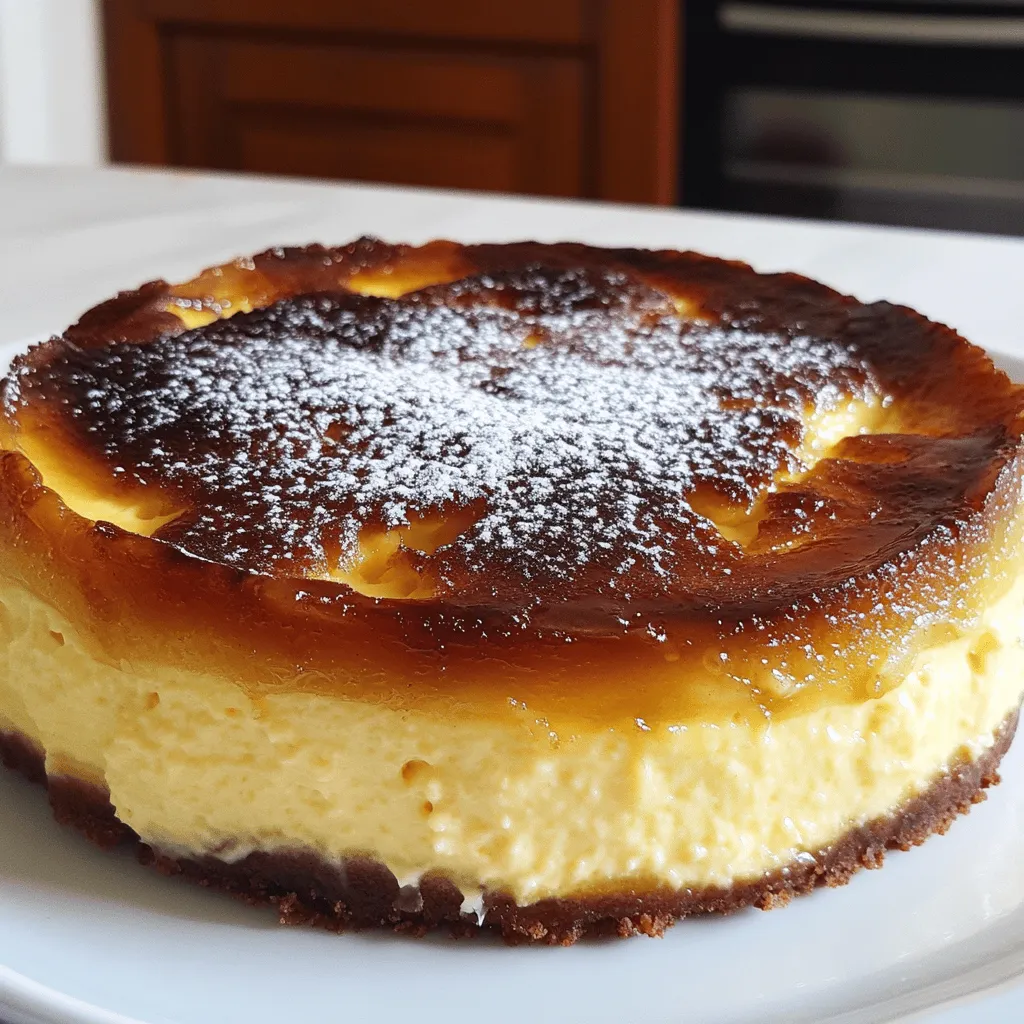
Burnt Basque Cheesecake is a creamy dessert with a dark, caramelized top. It comes from Spain’s Basque Country. It looks rustic but tastes rich and smooth. The burnt top adds a unique flavor that many love.
How is it different from traditional cheesecake?
This cheesecake is different because it bakes at a high temperature. Traditional cheesecakes bake slowly at lower heat. The high heat gives the Basque cheesecake its signature burnt top and creamy center. It’s less dense and more custardy than classic types.
Can I make it ahead of time?
Yes, you can make this cheesecake ahead of time. It tastes better after chilling for a few hours or overnight. This allows the flavors to meld, making it richer. Just be sure to cover it well in the fridge.
Troubleshooting Common Issues
Why did my cheesecake crack?
Cheesecakes can crack for several reasons. Overmixing the batter can add too much air, leading to cracks. Baking at too high a temperature can also cause cracks. To avoid this, mix just until combined and watch the oven temperature closely.
How do I know when it’s done?
You know it’s done when the top looks brown and the center is slightly jiggly. A toothpick should come out clean from the edges but might have some batter from the center. It will set as it cools.
Serving Suggestions
What to serve with Burnt Basque Cheesecake?
You can serve this cheesecake with fresh berries, whipped cream, or a fruit sauce. A sprinkle of powdered sugar on top can add a nice touch. These pairings enhance the rich flavor of the cheesecake.
Can it be served at room temperature?
Yes, you can serve it at room temperature. Some people prefer it this way for a softer texture. Just let it sit out for about 30 minutes before serving. Enjoy the rich flavors with friends or family.
In this post, we explored how to make a delicious Burnt Basque Cheesecake. From the key ingredients to step-by-step instructions, you now have a clear path to success. We shared tips to achieve the perfect texture and avoid common mistakes. You can even experiment with flavor variations and dietary options. Remember to store your cheesecake properly to keep it fresh. With this knowledge, you can create a great dessert that impresses your friends. Enjoy baking and savor every bite of your creamy creation!