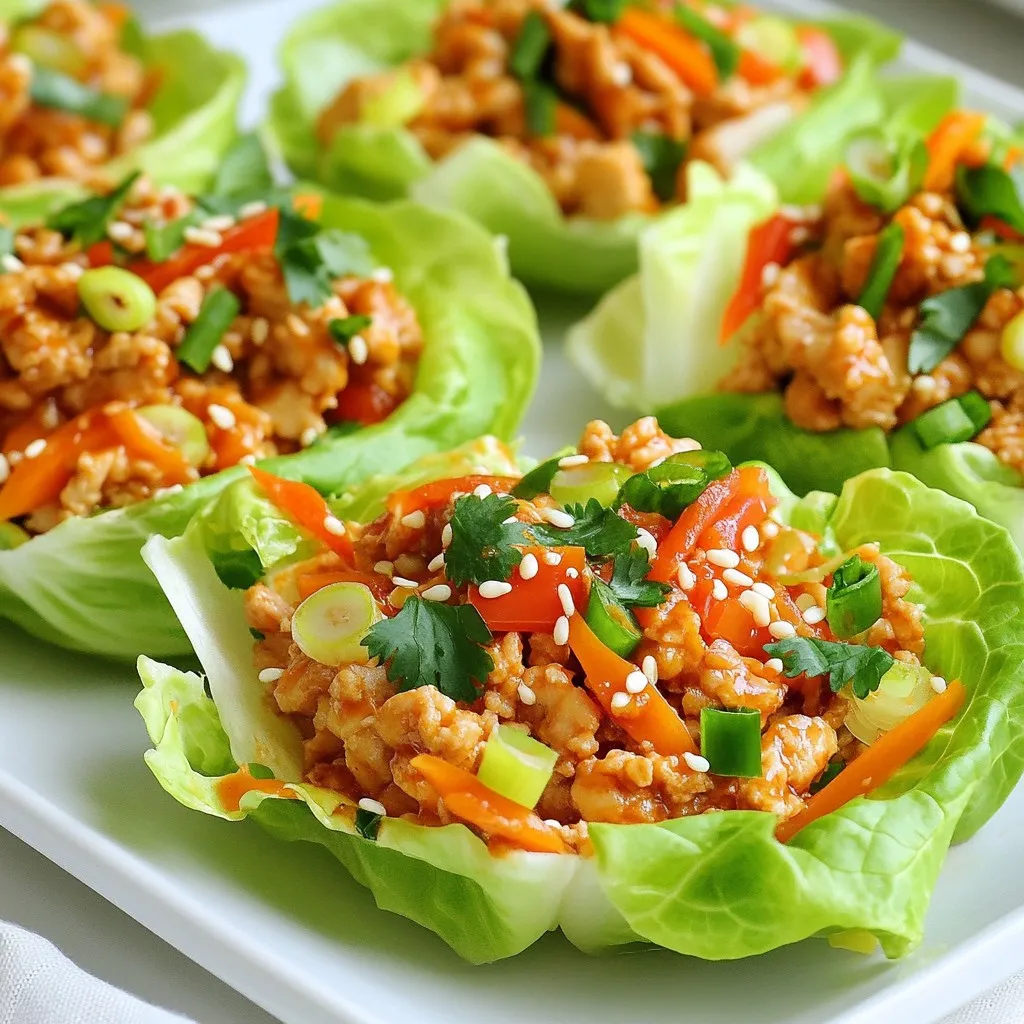
Sweet Chili Chicken Lettuce Cups Flavorful Fresh Dish
Looking for a fresh, vibrant dish that bursts with flavor? Sweet Chili Chicken Lettuce Cups are your answer! This fun

Looking for a fresh, vibrant dish that bursts with flavor? Sweet Chili Chicken Lettuce Cups are your answer! This fun
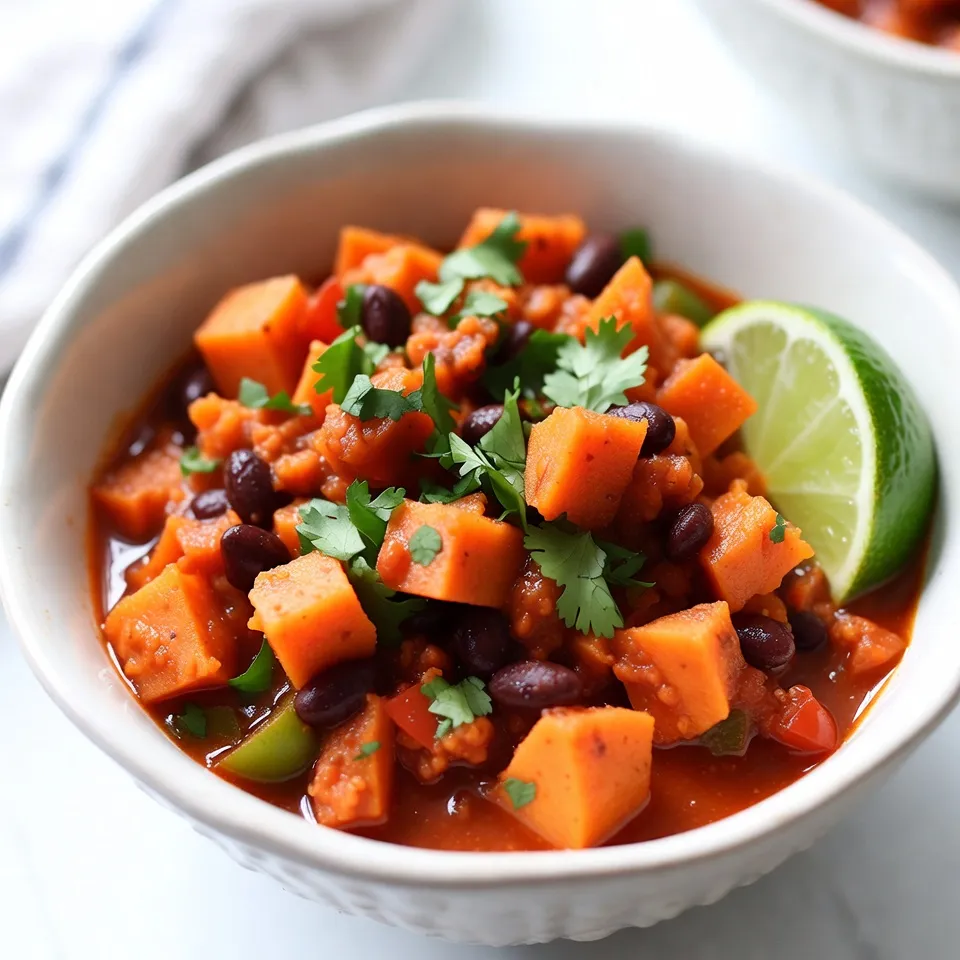
Welcome to the world of Vegan Sweet Potato Black Bean Chili! This hearty dish is not only packed with flavor
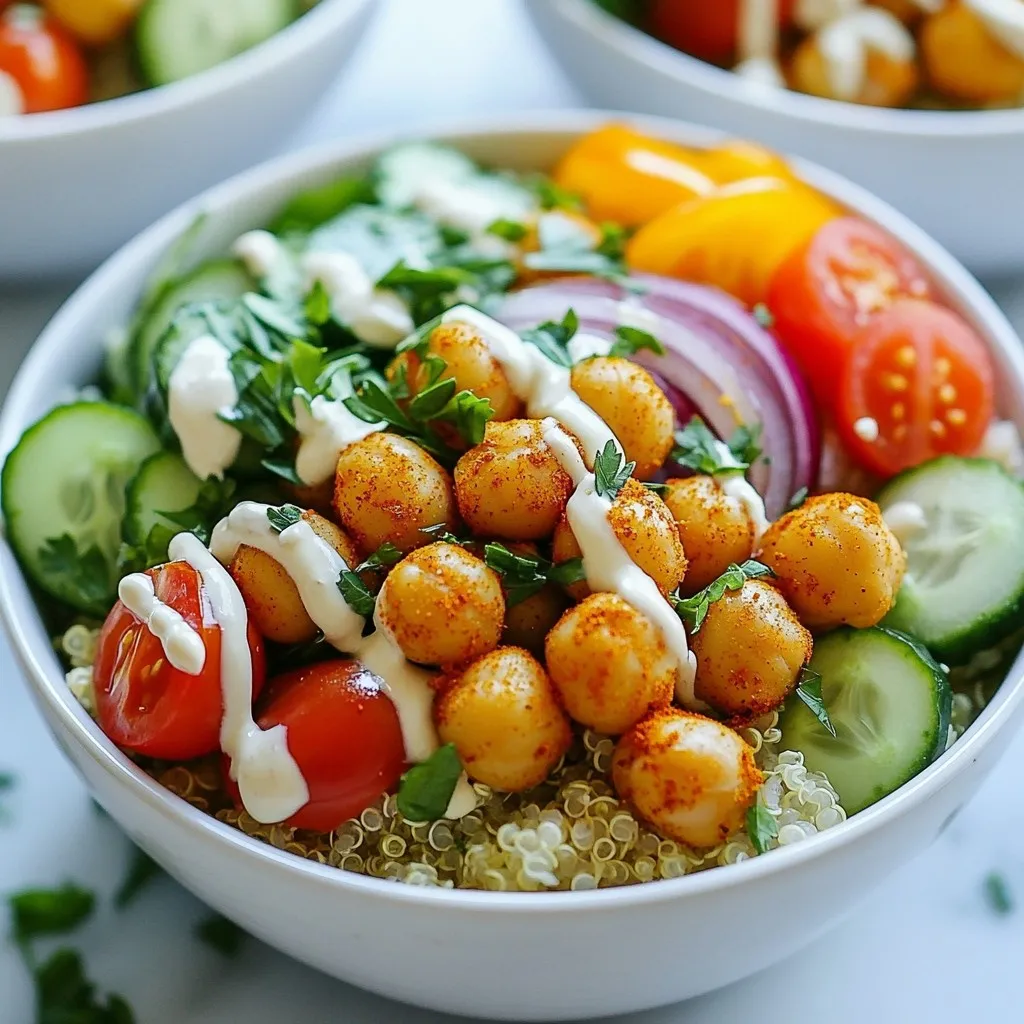
Looking for a delicious and healthy meal? Chickpea Shawarma Bowls pack flavor and nutrition in every bite. With roasted chickpeas,
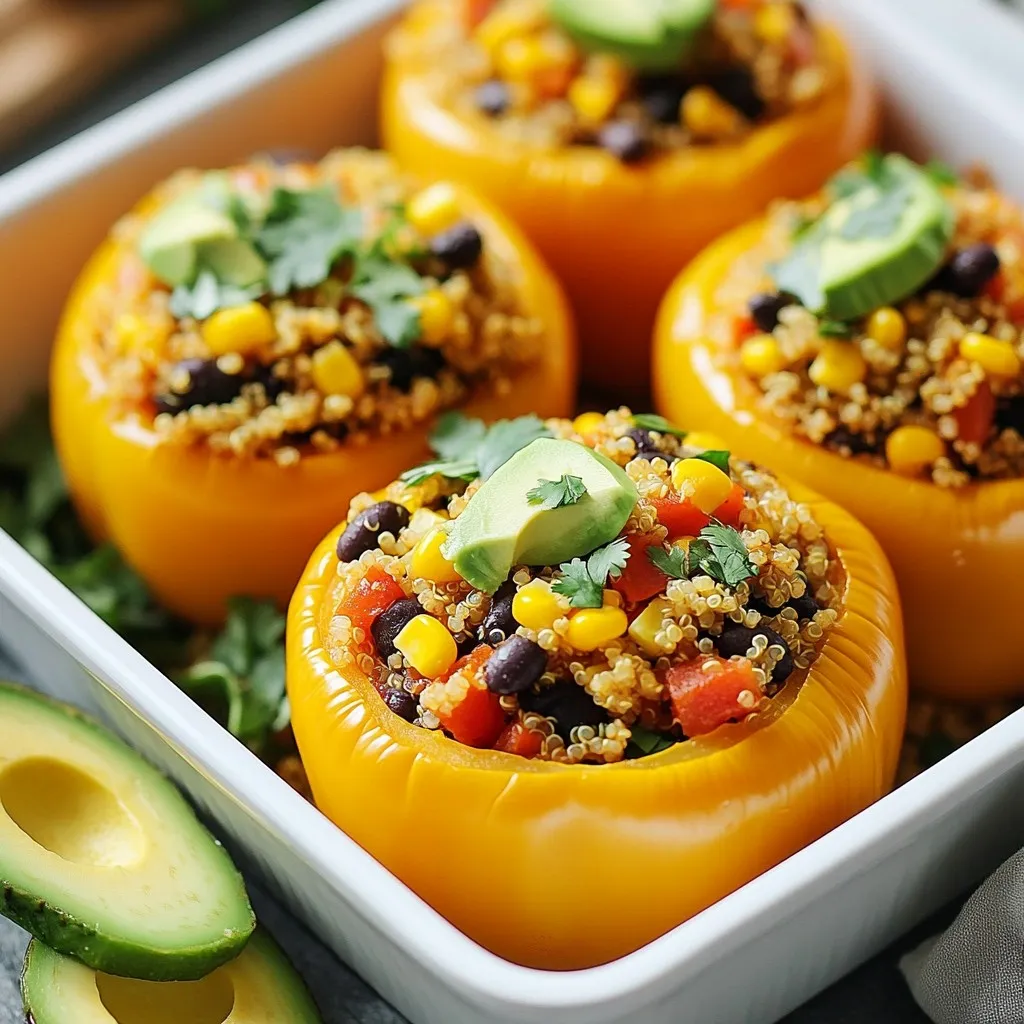
Are you ready to spice up your dinner routine? These Vegan Stuffed Bell Peppers are packed with flavor and nutrients.
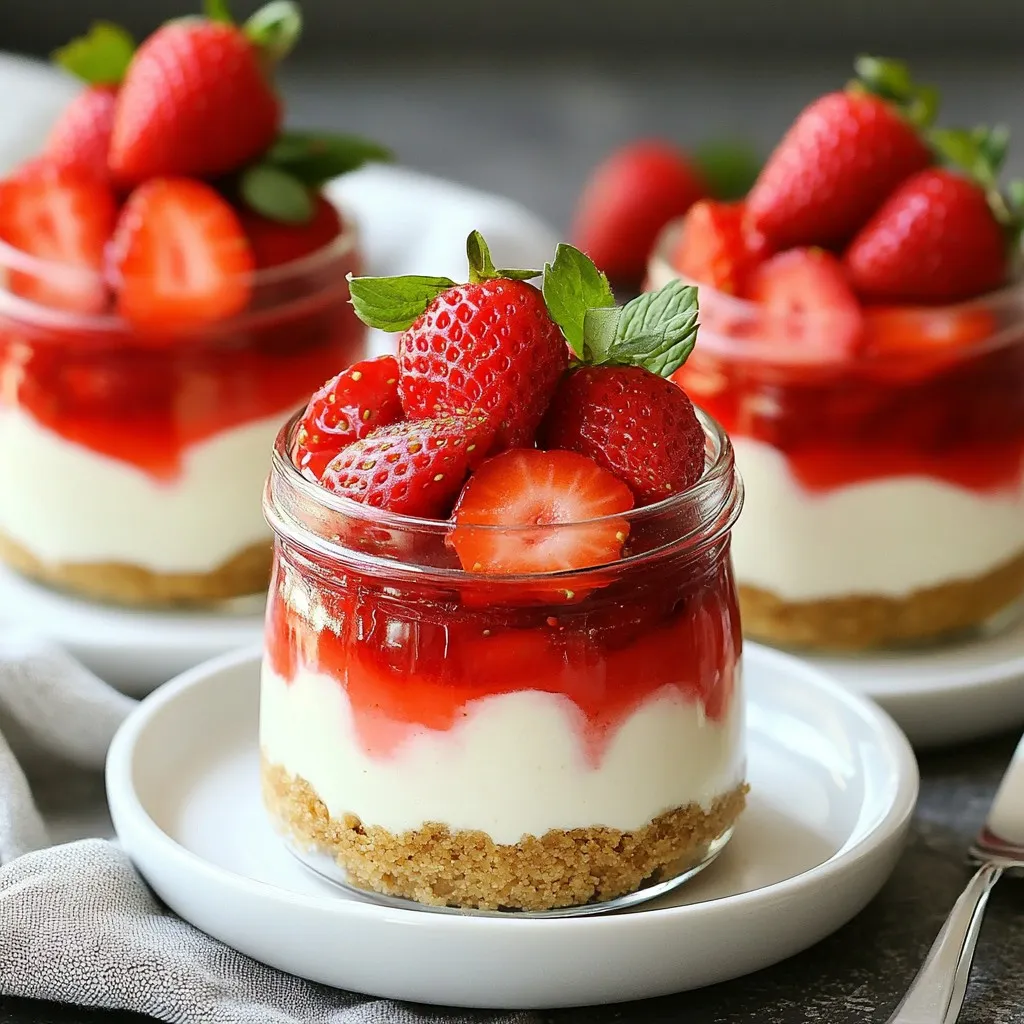
Get ready to indulge in a sweet treat that requires zero baking! These No-Bake Strawberry Cheesecake Jars are simple, fun,
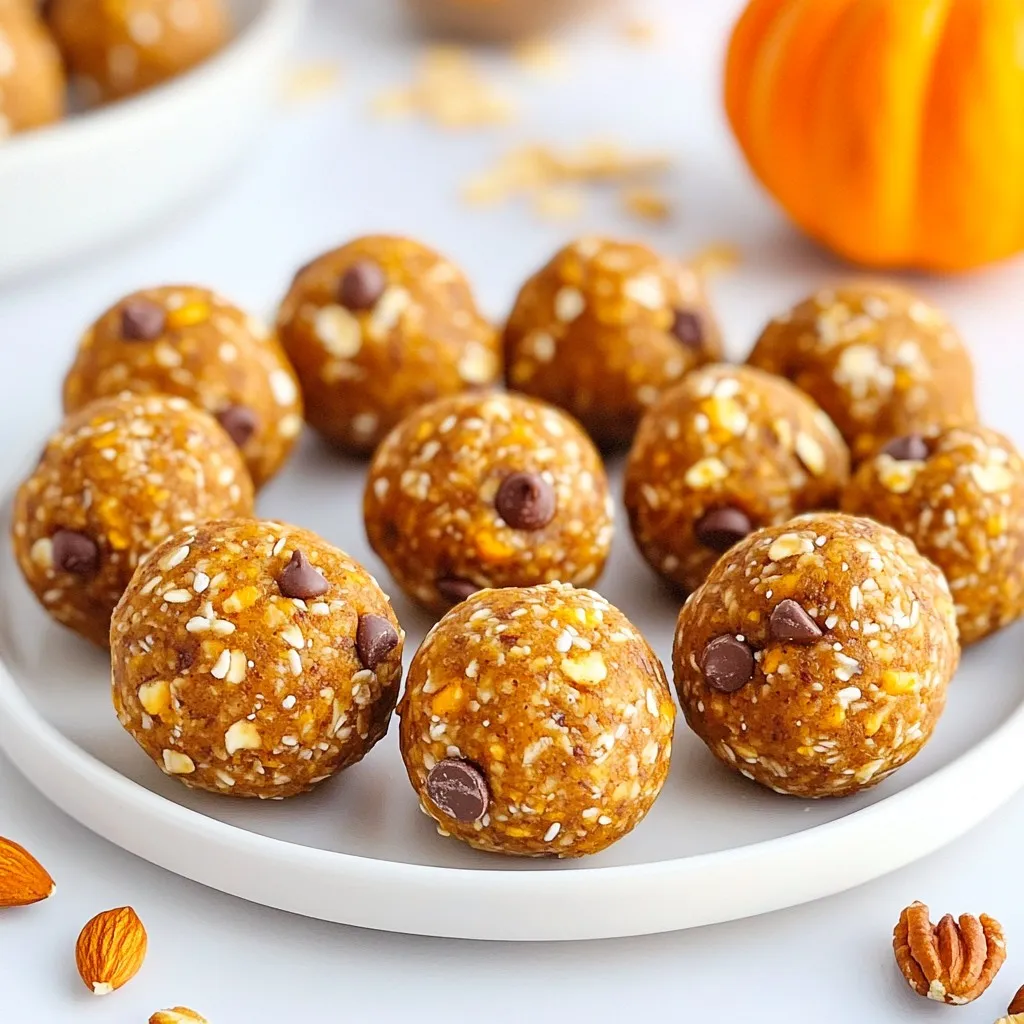
Are you looking for a delicious and healthy snack? Pumpkin pie energy balls are the answer! These tasty treats pack
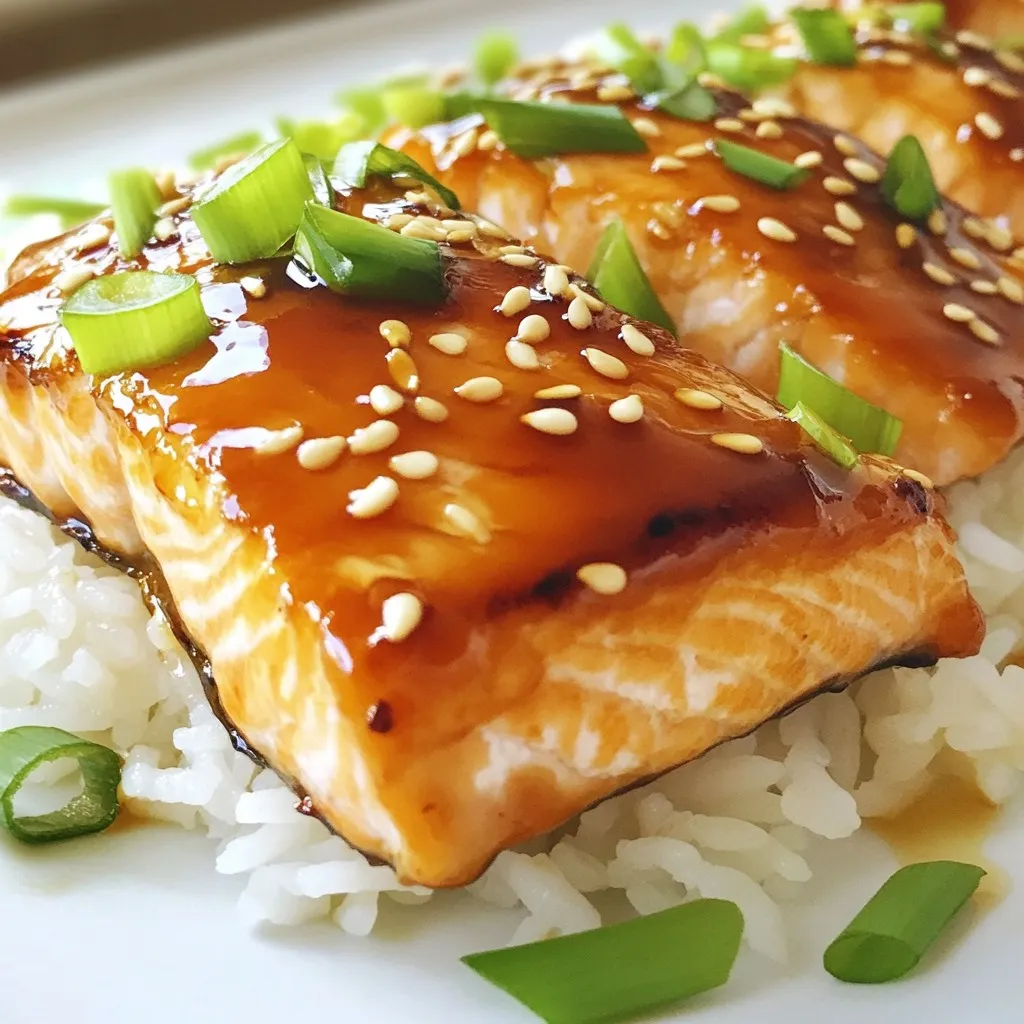
Honey garlic glazed salmon is a tasty and easy dish that will impress anyone. With just a few simple ingredients
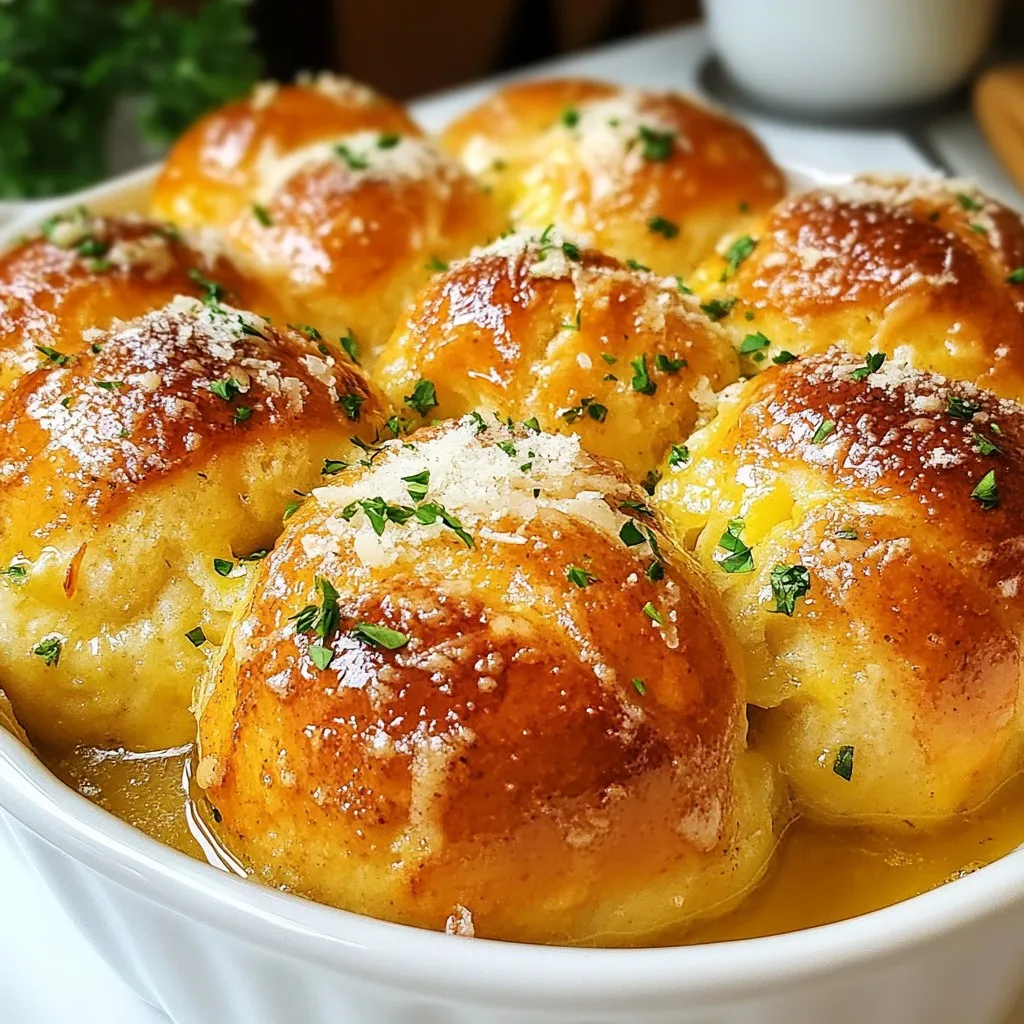
If you’re looking for a delicious and easy recipe to impress friends and family, look no further! Savory Herb Monkey
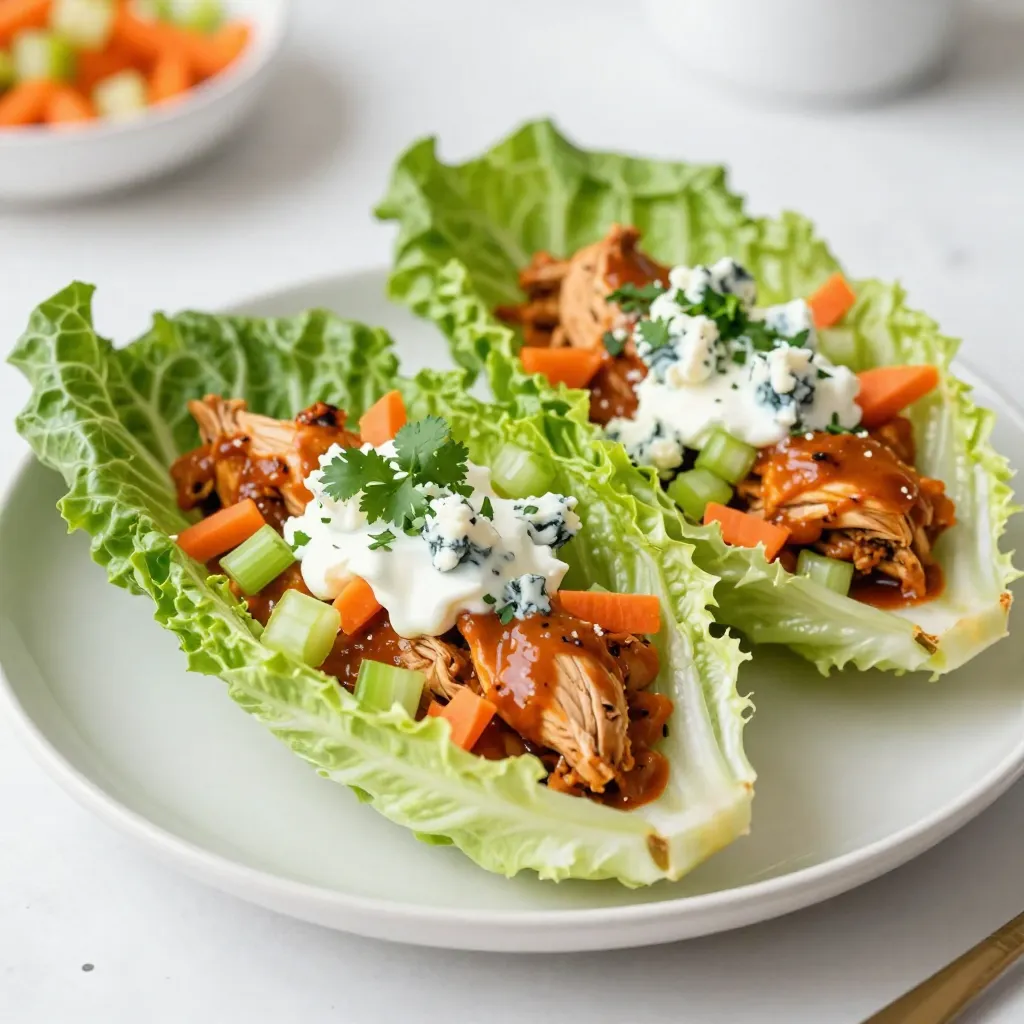
Craving a dish that’s packed with flavor yet easy to make? Buffalo Chicken Lettuce Boats are the perfect solution! In
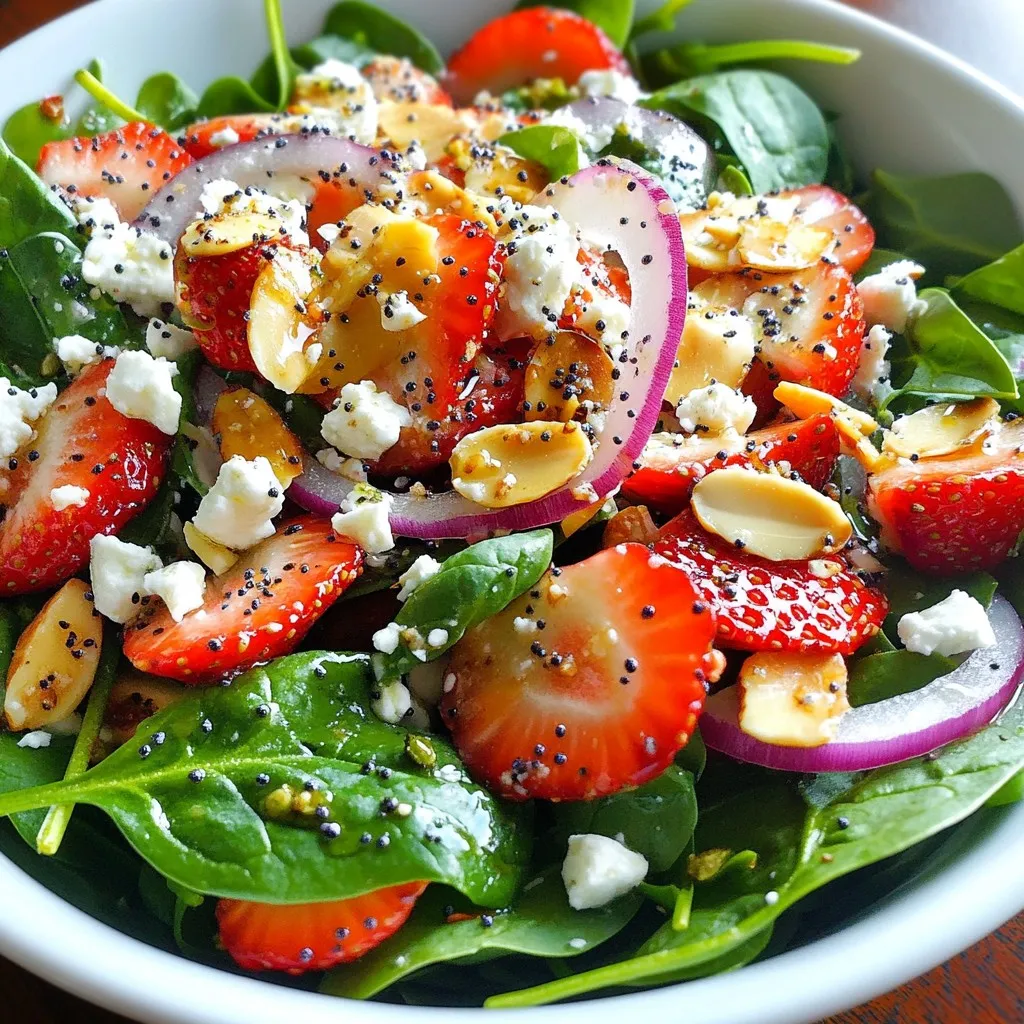
Get ready to treat your taste buds to a burst of flavors with my Strawberry Spinach Salad with Poppyseed Dressing