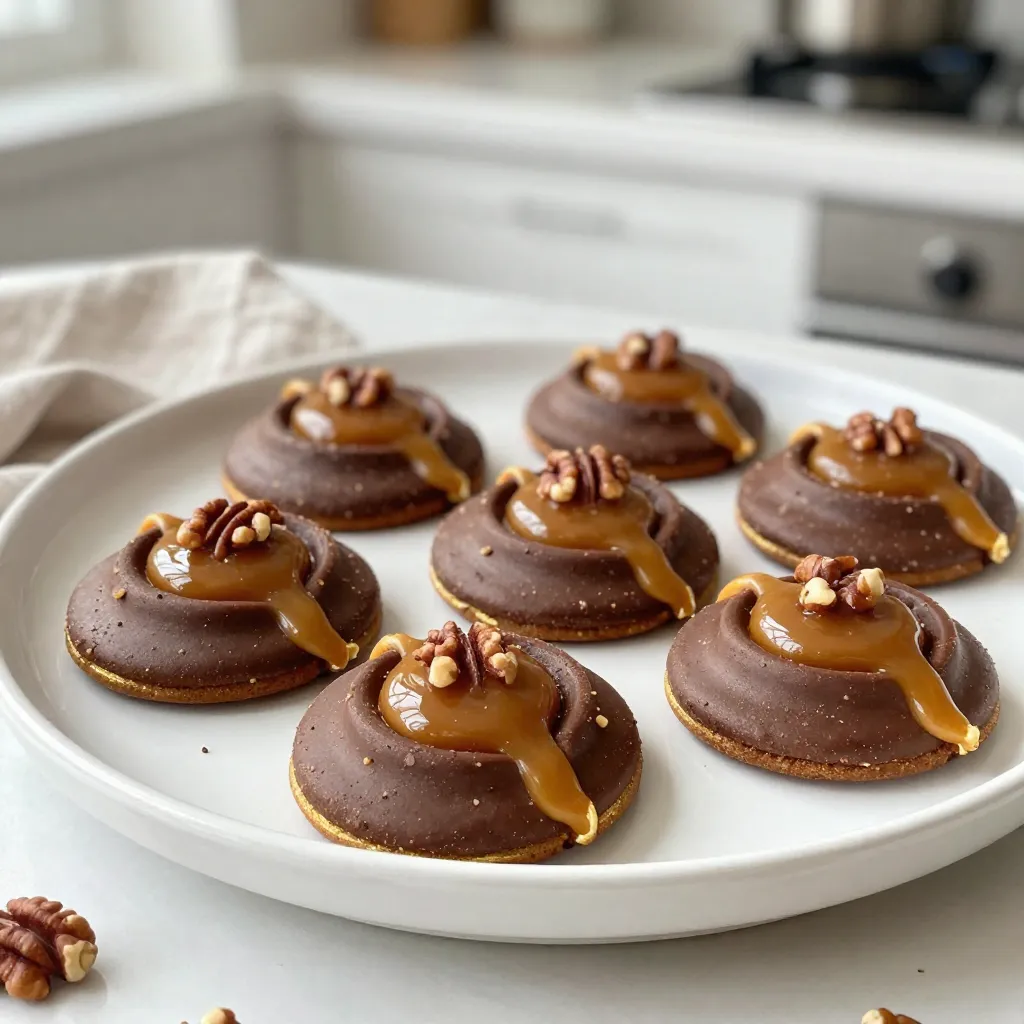
Chocolate Caramel Turtle Cookies Delightful Treats
Are you ready for a dessert that will make your taste buds dance? Chocolate Caramel Turtle Cookies combine rich chocolate,

Are you ready for a dessert that will make your taste buds dance? Chocolate Caramel Turtle Cookies combine rich chocolate,
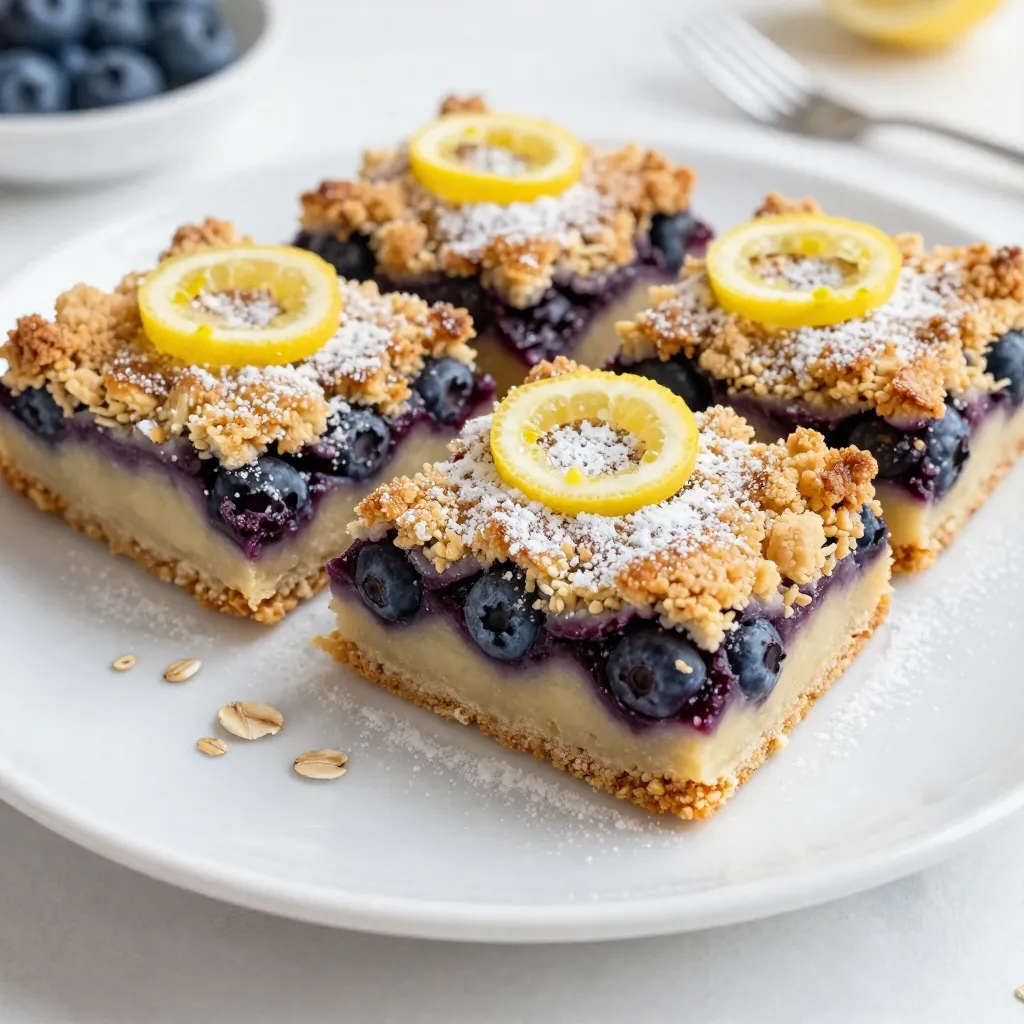
If you’re ready for a treat that balances the zesty pop of lemon and the sweet burst of blueberries, you’re
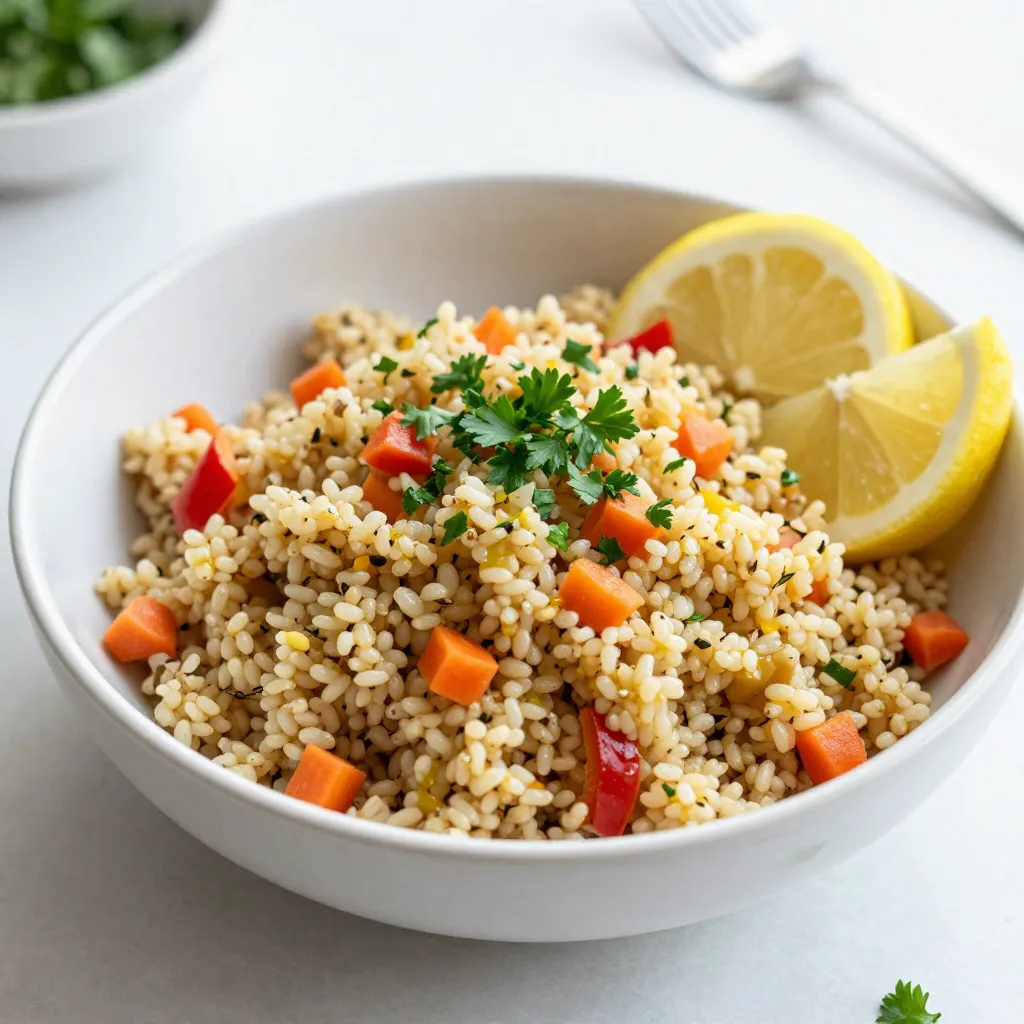
Looking for a dish that’s both tasty and good for you? Try my Lemon Herb Quinoa Pilaf! This vibrant meal
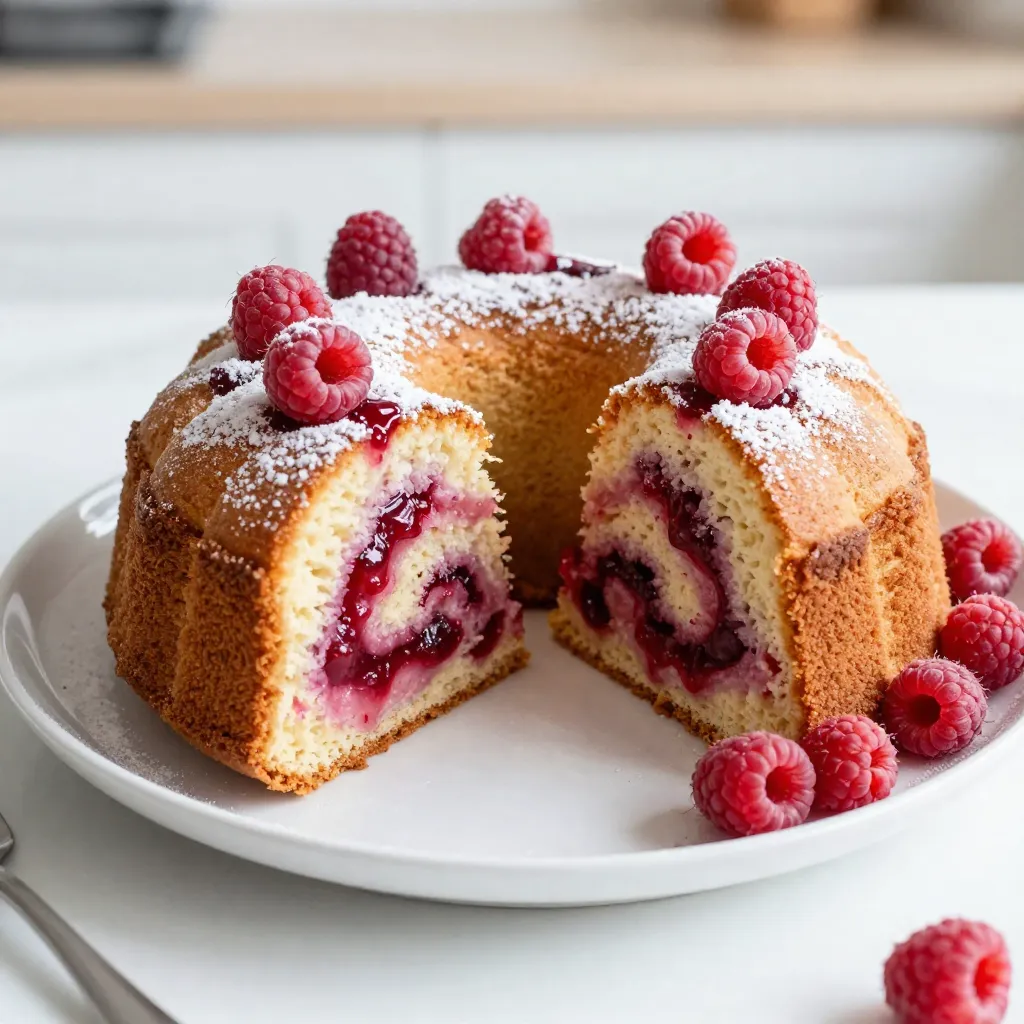
Looking for a dessert that impresses without the stress? This Raspberry Swirl Pound Cake is just what you need! It’s

If you’re craving a tasty meal that’s easy to make, try my Sriracha Honey Glazed Salmon. This dish brings sweet
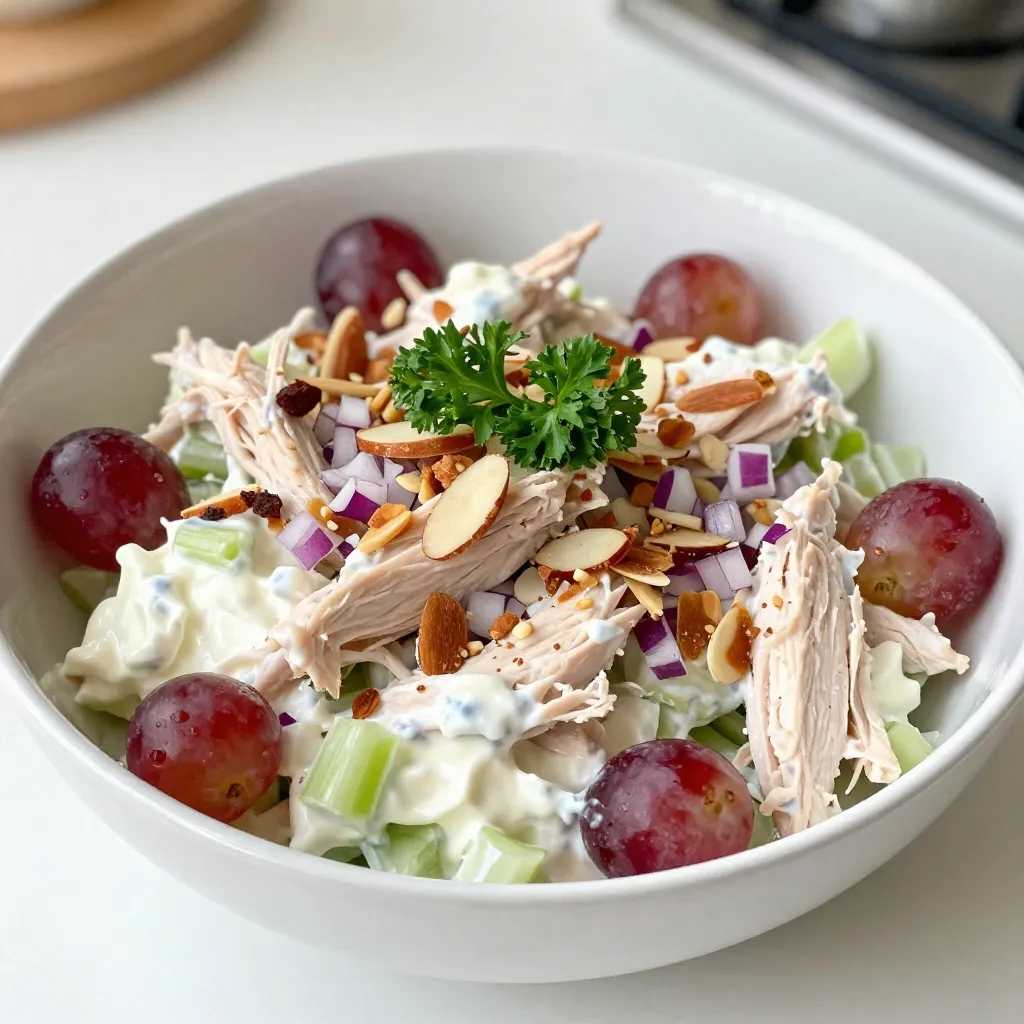
Looking for a quick and tasty meal? This Greek Yogurt Chicken Salad is just what you need! Packed with healthy
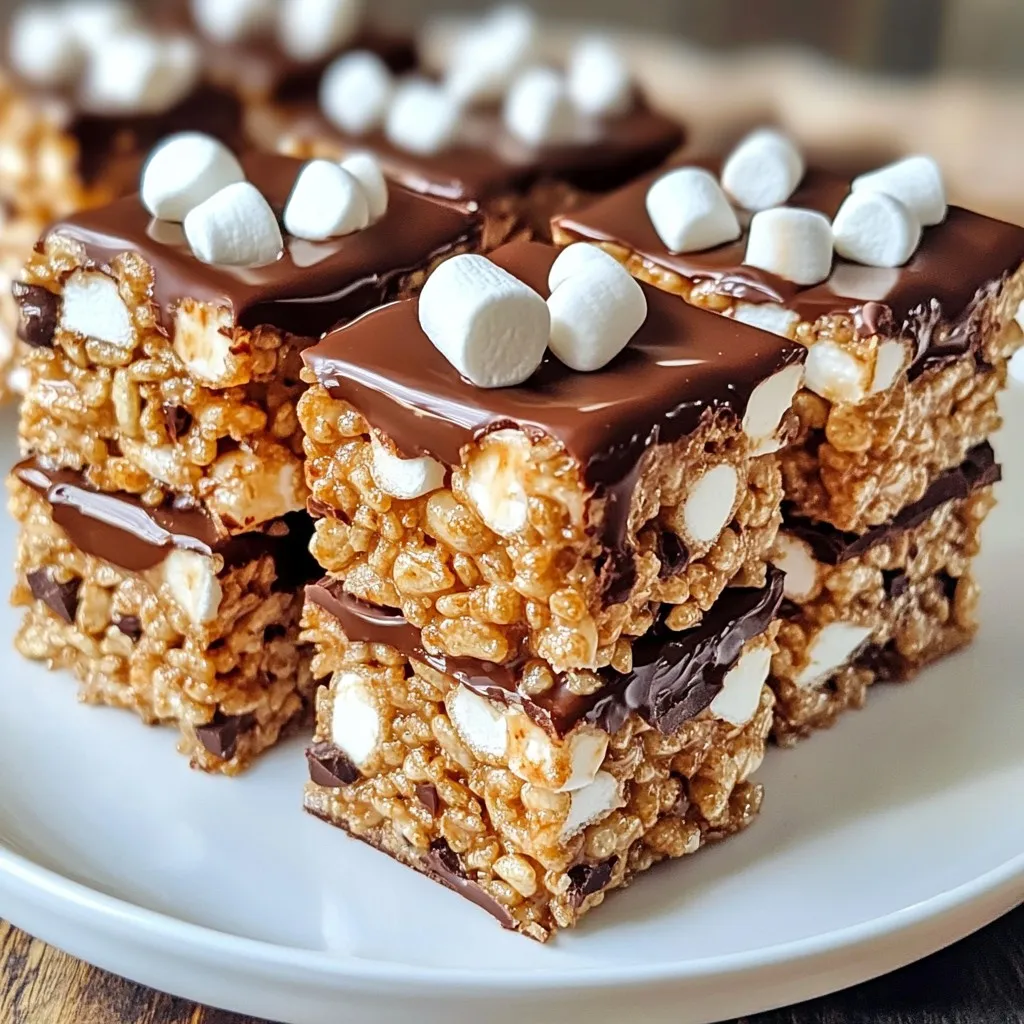
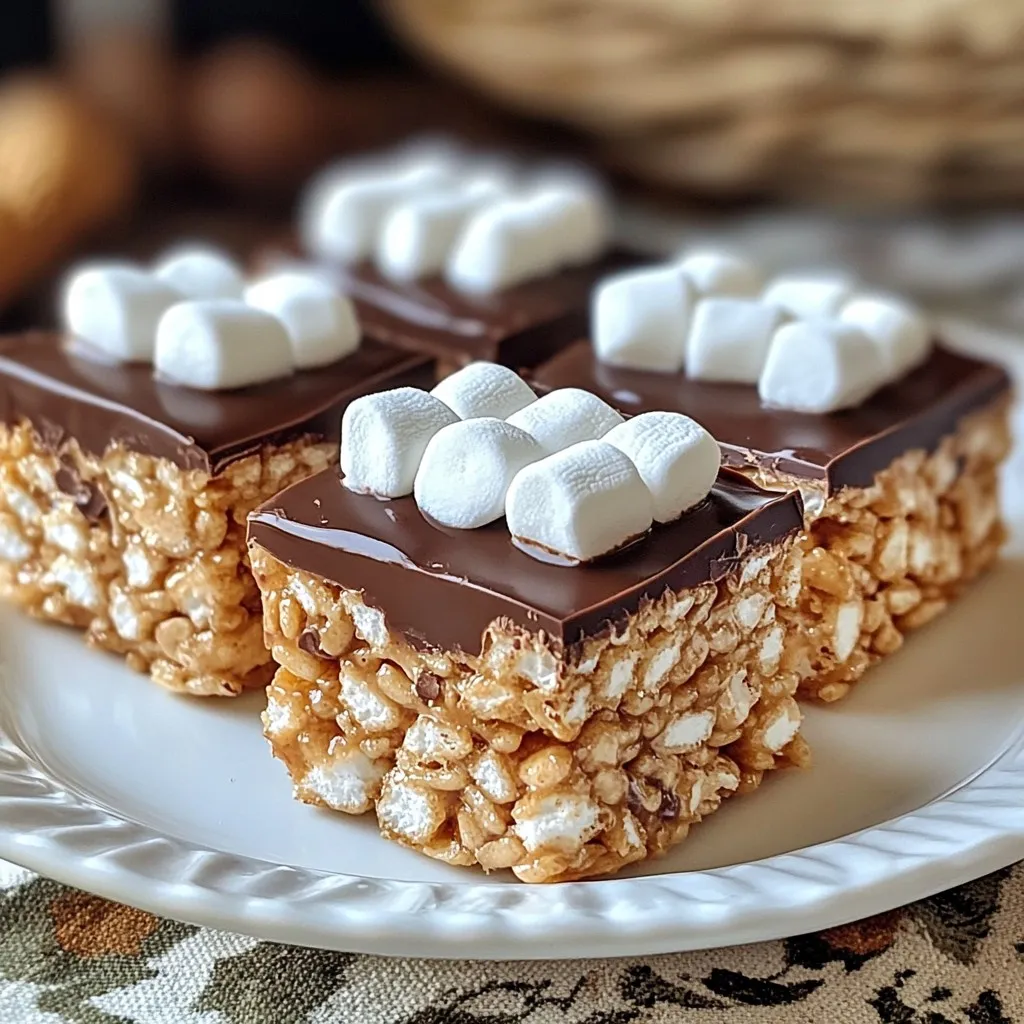
Welcome to a sweet adventure! In this post, you’ll discover the joy of making Chocolate Peanut Butter Rice Krispie Treats.
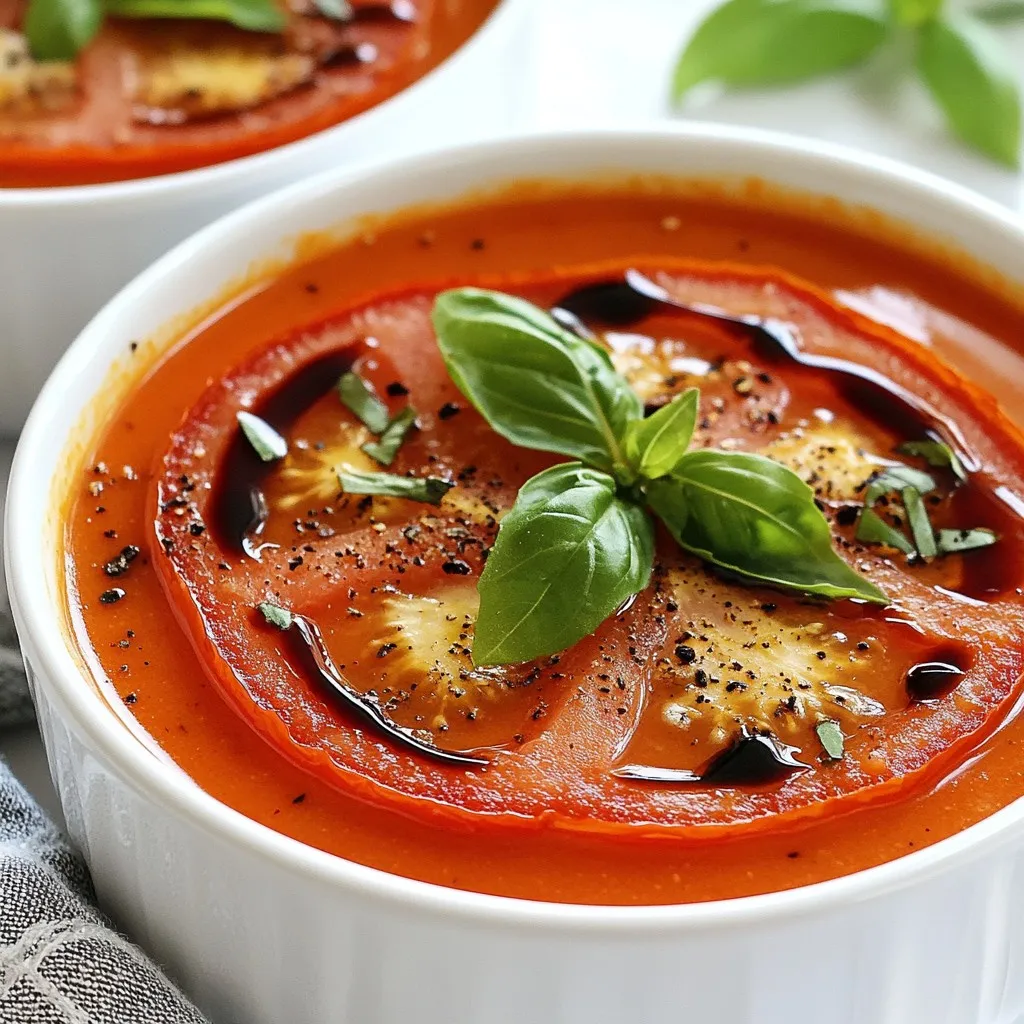
If you crave a warm, comforting meal, let me introduce you to roasted garlic tomato soup. With ripe tomatoes, sweet
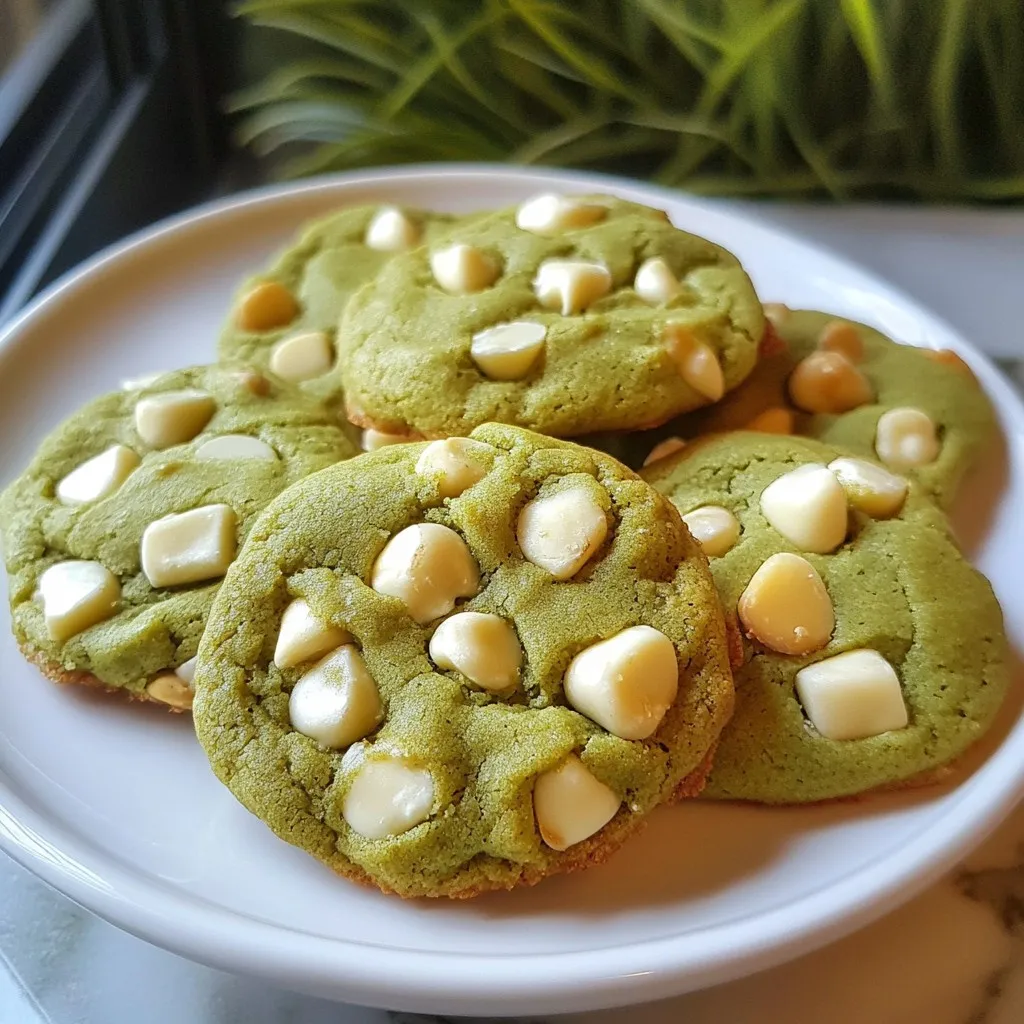
If you’re searching for a cookie that combines rich flavors and stunning color, look no further! Matcha White Chocolate Cookies
Are you ready for a treat that combines the rich flavors of chocolate and creamy peanut butter with the crunch