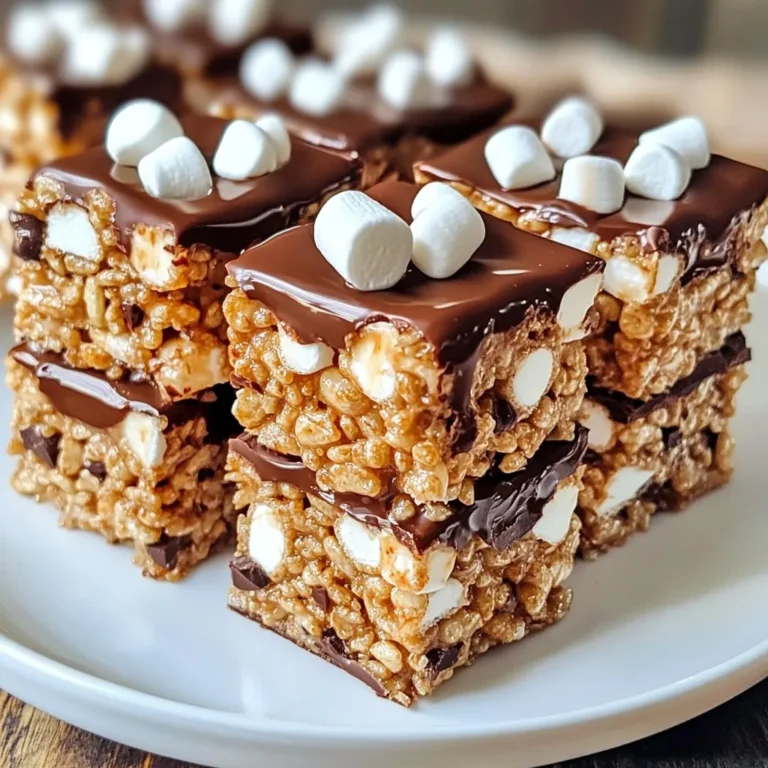
Welcome to a sweet adventure! In this post, you’ll discover the joy of making Chocolate Peanut Butter Rice Krispie Treats. This classic snack gets a fun twist that everyone loves. I’ll guide you step-by-step, share tips, and offer tasty variations. Whether you’re a kitchen newbie or a pro, this treat is easy to make and hard to resist. Let’s dive in and create a delightful, crunchy snack together!
Why I Love This Recipe
- Decadent Flavor: The combination of chocolate and peanut butter creates an irresistible taste that satisfies any sweet tooth.
- Quick and Easy: This recipe comes together in just 15 minutes, making it perfect for last-minute treats or snack cravings.
- Customizable: You can easily modify the recipe by adding nuts, dried fruits, or using different types of chocolate for a personal touch.
- Family-Friendly: Kids and adults alike will love these treats, making them a great option for family gatherings or parties.
Ingredients
Detailed Ingredient List
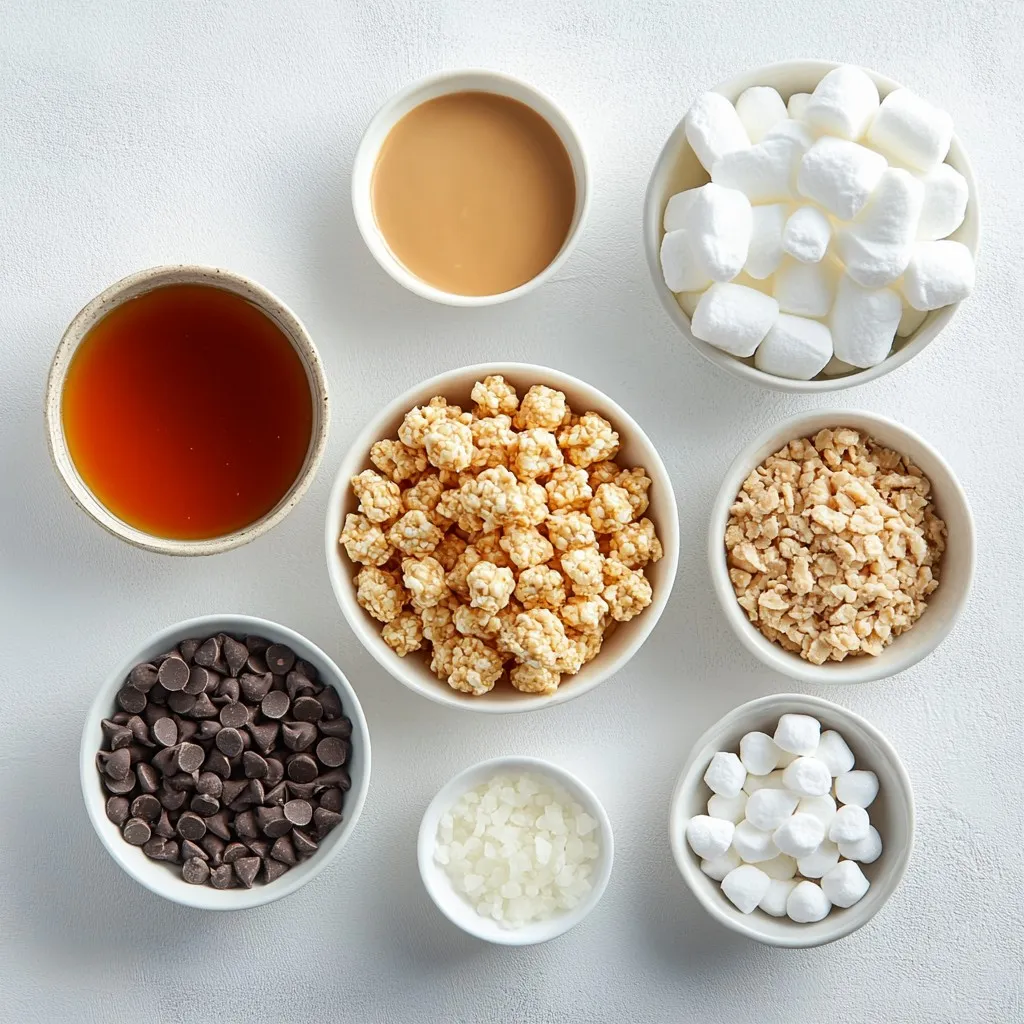
To make Chocolate Peanut Butter Rice Krispie Treats, gather these key ingredients:
- 4 cups Rice Krispies cereal
- 1 cup creamy peanut butter
- 1 ½ cups mini marshmallows
- ½ cup semi-sweet chocolate chips
- ½ cup honey or maple syrup
- 1 teaspoon vanilla extract
- ¼ teaspoon sea salt
- Additional chocolate chips for drizzling (optional)
Each ingredient plays a role in the taste and texture. The Rice Krispies give a nice crunch. The creamy peanut butter adds richness and flavor. Mini marshmallows create a soft, gooey bite. Semi-sweet chocolate chips bring sweetness and a deep chocolate flavor.
Ingredient Substitutions
If you need to make swaps, here are some ideas:
- Use crunchy peanut butter for more texture.
- Swap honey with maple syrup for a vegan option.
- Try almond butter instead of peanut butter for a different taste.
- Use brown rice cereal if you need a gluten-free option.
- Replace mini marshmallows with vegan marshmallows for a plant-based treat.
These changes can still keep your treats tasty and fun.
Notes on Freshness and Quality
Fresh ingredients make a big difference in taste. Check your peanut butter for freshness; it should smell nutty and not rancid. The marshmallows should be soft and not hard or stale. For the best results, use good-quality chocolate chips. They should melt easily and taste rich.
Store your treats in an airtight container to keep them fresh. This way, they will stay soft and delicious for longer.
Step-by-Step Instructions
Preparing the Baking Dish
First, get a 9×13 inch baking dish. You can use cooking spray or line it with parchment paper. This helps the treats come out easily. Make sure to coat the entire bottom and sides. This step is key for easy removal later.
Melting the Peanut Butter and Sweetener
Next, take a medium saucepan and set it on low heat. Add 1 cup of creamy peanut butter and ½ cup of honey or maple syrup. Stir the mixture slowly until it melts and becomes smooth. Remove the saucepan from the heat once it is well mixed. This melting step makes the peanut butter blend well with the sweetener.
Combining Ingredients Efficiently
In a large bowl, add 4 cups of Rice Krispies cereal. Pour the melted peanut butter mixture over the cereal. Mix well until all the Rice Krispies are coated. Then, add 1 ½ cups of mini marshmallows, 1 teaspoon of vanilla extract, and ¼ teaspoon of sea salt. Stir until the marshmallows melt and blend with the cereal. This combination gives the treats their chewy texture.
Pressing and Cooling Techniques
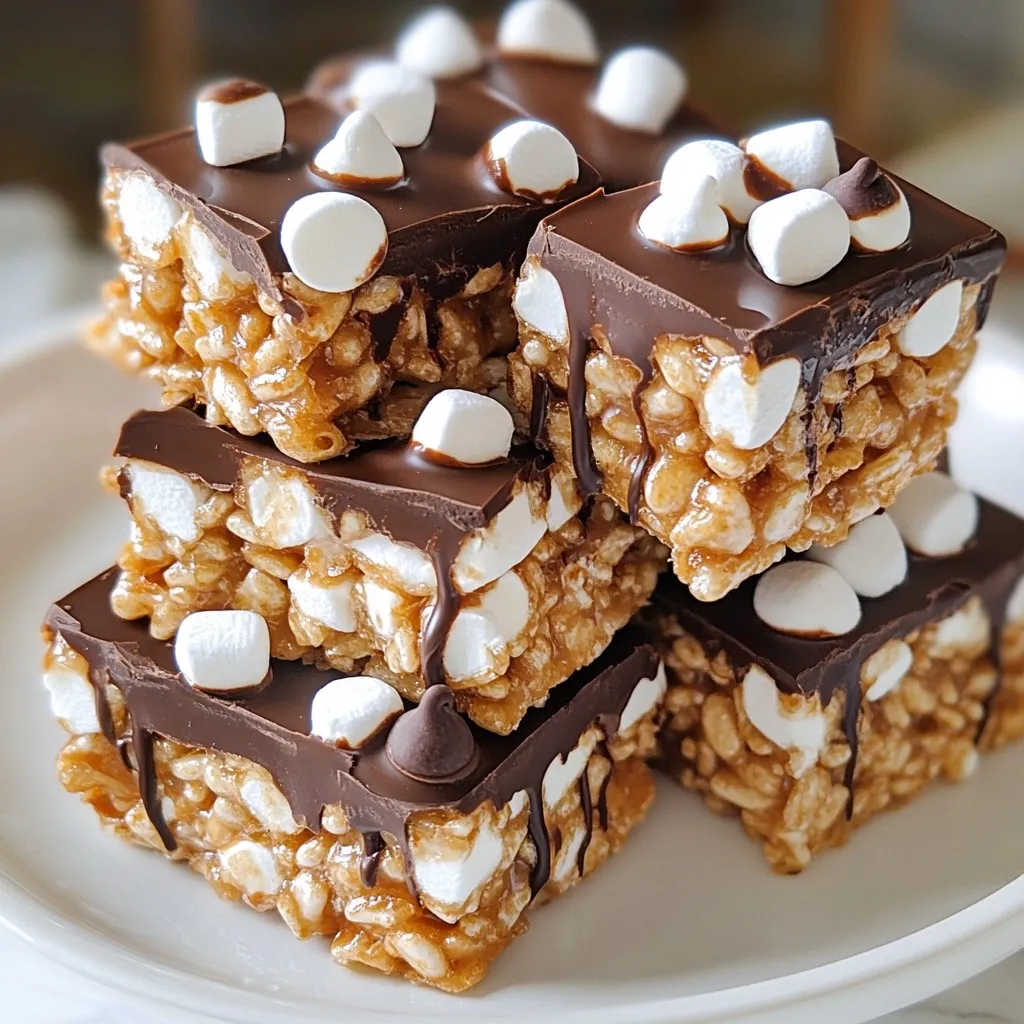
Now, transfer the mixture into the prepared baking dish. Use a spatula or your hands to press it down firmly. If you wet your hands, it helps keep the mixture from sticking. Smooth the top to make it even. If you want more chocolate, melt some extra chips and drizzle them on top. Let the treats cool at room temperature for about 30 minutes. This cooling time helps them set before you cut them.
Tips & Tricks
Ensuring Perfect Texture
To get the best texture, make sure to use fresh mini marshmallows. Old marshmallows can become hard and lose their gooeyness. When melting, keep the heat low. This prevents burning and keeps the mix smooth. Stir often to blend well. Press the mixture firmly into the pan. This helps the treats hold their shape.
Common Mistakes to Avoid
One common mistake is not greasing the pan. If you skip this step, the treats will stick. Another mistake is overcooking the marshmallows. This can make them tough and chewy. Always measure ingredients carefully. Too much peanut butter can make the mix too oily. If the mixture feels dry, add a splash of honey or syrup.
Best Practices for Melting Chocolate
For melting chocolate, use a microwave-safe bowl. Heat in short bursts, stirring in between. This keeps the chocolate from burning. If you prefer, use a double boiler on low heat. Stir until melted and smooth. If you want a drizzle, let the chocolate cool slightly before using. This way, it won’t run off the treats.
Pro Tips
- Use Fresh Ingredients: Always check that your marshmallows and chocolate chips are fresh for the best flavor and texture.
- Experiment with Sweeteners: Feel free to substitute honey with agave syrup or maple syrup for different flavor profiles.
- Chill for Better Cutting: If you find the treats too sticky to cut, refrigerate them for about 15 minutes to firm them up.
- Customize with Mix-Ins: Add nuts, dried fruit, or even pretzels to the mix for extra crunch and flavor variations.
Variations
Dietary-Friendly Substitutions
You can easily make these treats friendly for different diets. If you need them gluten-free, check the Rice Krispies label. Some brands make gluten-free options. For a nut-free version, swap peanut butter for sun butter. This keeps the taste great without nuts. You can also use maple syrup instead of honey for a vegan treat.
Flavor Additions
Want to jazz up your treats? Add some mix-ins! Chopped nuts add crunch. Almonds or walnuts work well. Dried fruit like cranberries or raisins brings a nice chew. You can also use shredded coconut for a tropical twist. Feel free to get creative!
Chocolate vs. White Chocolate Chips
Using chocolate chips is classic and tasty. Semi-sweet chips balance the sweetness of the treats. If you like sweeter treats, try white chocolate chips. They melt well and give a creamy taste. You can also mix both types for a fun look and flavor.
Storage Information
Best Storage Practices
To keep your Chocolate Peanut Butter Rice Krispie Treats fresh, store them in an airtight container. This helps keep them soft and chewy. If you stack the treats, place parchment paper between layers to prevent sticking. Always keep them at room temperature. Avoid placing them in the fridge, as cold can make them hard.
How Long Do They Last?
When stored properly, these treats can last up to one week. After a few days, they might lose some softness. If you notice they are getting stale, you can still enjoy them in recipes like ice cream toppings or dessert bars.
Freezing Instructions
If you want to keep them longer, freezing is a great option. Cut the treats into squares and wrap each piece in plastic wrap. Then, place them in a freezer-safe bag or container. They can stay in the freezer for up to three months. When you’re ready to eat them, just thaw at room temperature for about 30 minutes. Enjoy them fresh and tasty!
FAQs
What can I use instead of Rice Krispies?
You can use other cereals like Cornflakes or Crispy Rice. Both give a great crunch. If gluten-free is a need, use gluten-free options. You can even try puffed quinoa for a nutty flavor. Experimenting can lead to fun new treats!
Can I make these treats vegan?
Yes, you can! Use maple syrup instead of honey. Choose dairy-free chocolate chips for the mix. Make sure your marshmallows are vegan too. Many brands now offer vegan marshmallows. This way, everyone can enjoy the deliciousness!
How do I prevent them from getting stale?
Store your treats in an airtight container. Keep them in a cool, dry place. You can also wrap them tightly with plastic wrap for extra freshness. If they do get a bit hard, try microwaving for a few seconds. This can help soften them right up!
This article covers all you need for perfect treats. We started with a detailed ingredient list, including substitutions for freshness. You learned step-by-step instructions, making the process easy. I shared tips to avoid mistakes and ensure great texture. We also explored tasty variations and smart storage tips.
These will help your treats stay fresh longer. Enjoy experimenting with flavors and ingredients! The right approach makes delicious results easy. Remember, practice improves your skills in the kitchen. Happy bakin

Chocolate Peanut Butter Rice Krispie Treats
Ingredients
- 4 cups Rice Krispies cereal
- 1 cup creamy peanut butter
- 1.5 cups mini marshmallows
- 0.5 cup semi-sweet chocolate chips
- 0.5 cup honey or maple syrup
- 1 teaspoon vanilla extract
- 0.25 teaspoon sea salt
- to taste additional chocolate chips for drizzling (optional)
Instructions
- Prepare the Pan: Grease a 9x13 inch baking dish with cooking spray or line it with parchment paper for easy removal.
- Melt the Peanut Butter and Sweetener: In a medium saucepan over low heat, combine the creamy peanut butter and honey (or maple syrup). Stir until melted and smooth. Remove from heat.
- Add Marshmallows: Stir in the mini marshmallows, vanilla extract, and sea salt, mixing until the marshmallows are fully melted and incorporated into the peanut butter mixture.
- Combine with Cereal: In a large mixing bowl, add the Rice Krispies cereal. Pour the melted peanut butter and marshmallow mixture over the cereal. Stir well until all the Rice Krispies are evenly coated.
- Add Chocolate Chips: Gently fold in semi-sweet chocolate chips to the mixture until evenly distributed.
- Press into Pan: Transfer the mixture into the prepared baking dish. Firmly press it down into an even layer using a spatula or your hands (damp hands work well to avoid sticking).
- Drizzle Extra Chocolate (Optional): If desired, melt some extra chocolate chips in the microwave and drizzle over the top for an extra chocolatey layer.
- Cool: Allow the treats to cool at room temperature for about 30 minutes or until set.
- Cut and Serve: Once cooled, cut into squares or rectangles and serve immediately or store in an airtight container.