
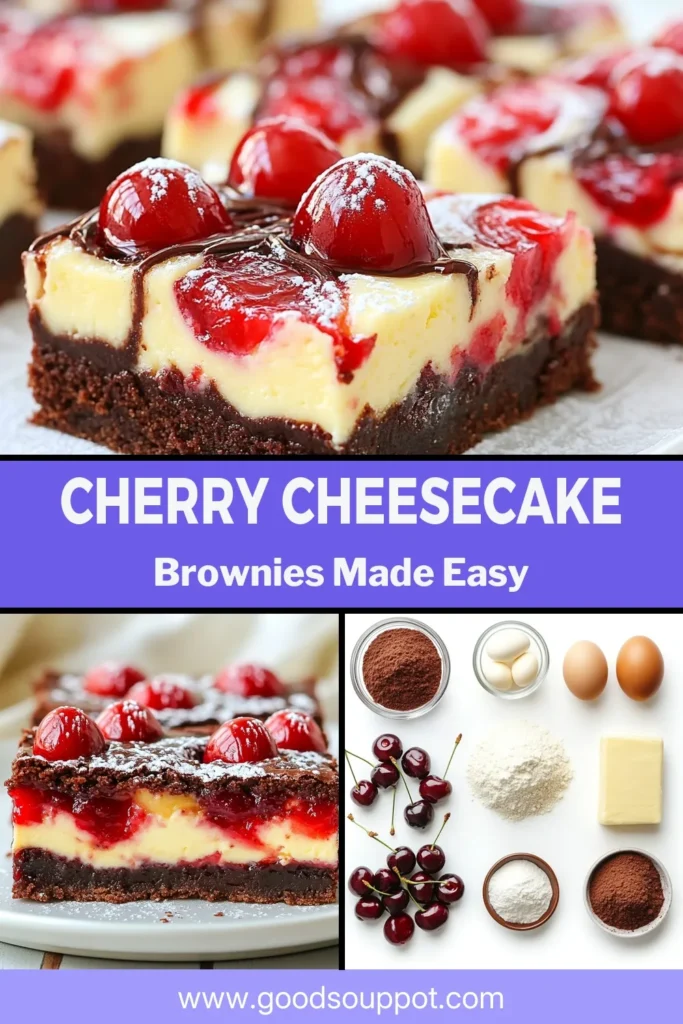
Get ready to indulge in a sweet treat that combines two favorites: brownie and cheesecake! My Cherry Cheesecake Brownie Bars are rich, creamy, and bursting with cherry flavor. Whether you’re baking for a party or just craving something delicious, this recipe is sure to impress. Let’s dive into the simple ingredients and easy steps that will make your kitchen the best place to be. Trust me; you won’t want to miss this!
Why I Love This Recipe
- Decadent Flavor: The rich chocolate brownie layer combined with the creamy cheesecake and tart cherries creates a perfect balance of flavors that is truly indulgent.
- Easy to Make: This recipe is straightforward and requires minimal ingredients, making it a quick and simple dessert option for any occasion.
- Perfect for Sharing: These bars are cut into squares, making them easy to serve at parties, picnics, or family gatherings, ensuring everyone gets a delightful treat.
- Beautiful Presentation: The marbled effect with cherry pie filling not only tastes fantastic but also makes for an appealing dessert that looks as good as it tastes.
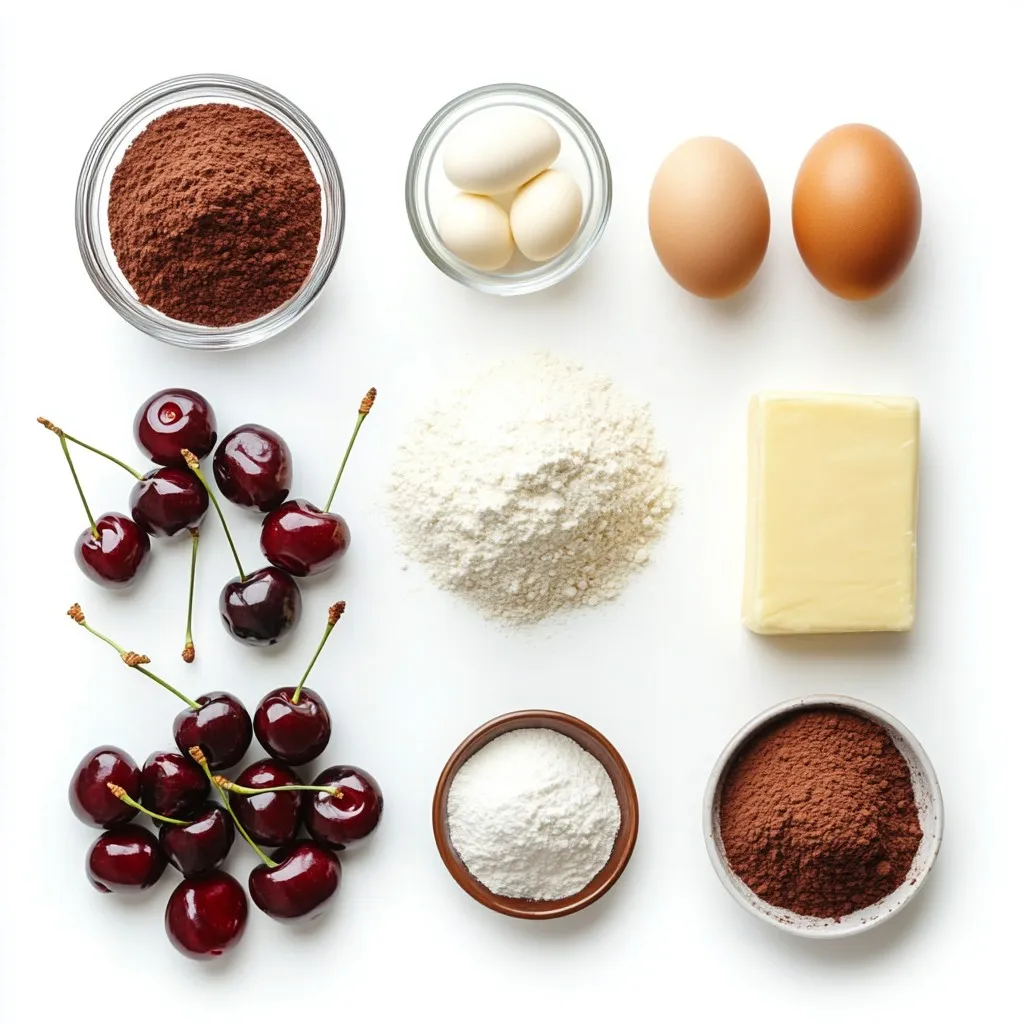
Ingredients
Brownie Layer Ingredients
- 1 cup unsalted butter (2 sticks)
- 2 cups granulated sugar
- 4 large eggs
- 1 teaspoon vanilla extract
- 1 cup all-purpose flour
- 1 cup unsweetened cocoa powder
- 1/2 teaspoon salt
Cheesecake Layer Ingredients
- 8 oz cream cheese, softened
- 1/2 cup granulated sugar
- 1 large egg
- 1 teaspoon vanilla extract
- 1 cup cherry pie filling (or fresh pitted cherries)
To create these delicious bars, you need the right ingredients. Start with the brownie layer. The butter provides moisture and richness. Sugar adds sweetness. Eggs give structure and help the brownies rise. Vanilla extract makes everything taste better. Flour and cocoa create the base, while salt enhances flavor.
For the cheesecake layer, cream cheese gives that smooth and creamy texture. Sugar adds sweetness, while the egg binds the mixture. Vanilla extract again adds depth. Finally, the cherry pie filling gives a fruity burst. You can use fresh cherries if you prefer a fresh flavor.
Each ingredient plays a key role. Use high-quality items for the best taste. This will make your cherry cheesecake brownie bars truly stand out.
Step-by-Step Instructions
Preheat and Prepare
First, I preheat my oven to 350°F (175°C). This step is key for even baking. Next, I grease a 9×13 inch baking pan with cooking spray. If you want to make it easier to remove the bars later, I recommend lining the pan with parchment paper.
Making the Brownie Batter
In a medium saucepan, I melt 1 cup of unsalted butter over low heat. Once the butter melts, I take it off the heat. I then stir in 2 cups of granulated sugar, 4 large eggs, and 1 teaspoon of vanilla extract. I mix until everything is combined.
Next, I sift in 1 cup of all-purpose flour, 1 cup of unsweetened cocoa powder, and 1/2 teaspoon of salt. I mix these dry ingredients gently. I avoid overmixing to keep the brownies fudgy.
Assembling the Layers
I pour the brownie batter into the prepared baking pan. I use a spatula to spread it evenly across the bottom. Then, I prepare the cheesecake layer. In a large mixing bowl, I beat 8 oz of softened cream cheese until smooth. I add 1/2 cup of granulated sugar, 1 large egg, and 1 teaspoon of vanilla extract. I mix until it’s creamy and well combined.
Next, I spoon the cheesecake mixture over the brownie layer. I spread it gently to cover the brownies. I then drop spoonfuls of 1 cup of cherry pie filling across the cheesecake layer. To create a marbled effect, I use a toothpick to swirl the cherries into the cheesecake.
Baking and Cooling
I place the pan in the preheated oven and bake for 30-35 minutes. I know it’s done when the edges are set and a toothpick comes out mostly clean from the center. Once baked, I remove it from the oven and let it cool in the pan on a wire rack. After cooling, I refrigerate the bars for at least 2 hours. This step makes slicing easier and enhances the flavors.
Tips & Tricks
Perfecting the Brownie Layer
To make the best brownie layer, avoid overmixing. Mix just until the flour and cocoa blend in. Overmixing can make brownies tough and dry.
For a fudgy texture, melt the butter slowly. Mix in sugar, eggs, and vanilla well. This helps create a moist base. When you add dry ingredients, stir gently. A little lumpiness is okay.
Cheesecake Layer Tips
For the cheesecake layer, start with softened cream cheese. This makes it easy to mix. Beat it until smooth before adding sugar, egg, and vanilla.
To achieve a smooth consistency, mix well but don’t overdo it. Gently spread the cheesecake mixture over the brownie layer.
Swirling techniques add a nice touch. Drop spoonfuls of cherry filling on top. Use a toothpick to swirl in the filling. This creates a beautiful marbled effect.
Serving Suggestions
When serving, presentation matters. Use a decorative plate to show off the bars. Dust them with powdered sugar for a sweet touch. Top with fresh cherries to add color.
To elevate the dish, pair with whipped cream or vanilla ice cream. A scoop of ice cream adds a creamy contrast. Enjoy these bars chilled or at room temp for the best taste.
Pro Tips
- Use Room Temperature Ingredients: Allow your cream cheese and eggs to come to room temperature before mixing. This helps create a smoother cheesecake batter without lumps.
- Don’t Overmix the Brownie Batter: When combining the dry ingredients with the wet, mix until just combined to keep the brownies fudgy and moist.
- Swirl with Care: When adding the cherry pie filling, use a gentle motion to swirl it into the cheesecake layer. This creates a beautiful marbled effect without overmixing.
- Chill for the Best Texture: For the best flavor and texture, make sure to chill the bars for at least 2 hours before serving. This allows the cheesecake layer to set properly.

Variations
Flavor Variations
You can change the fruit to mix things up. Strawberries or blueberries work great too. They add a fresh taste to the dessert. You can also try flavored extracts like almond or lemon in the cheesecake. These flavors can give your bars a unique twist.
Brownie Variations
The brownie layer can also change based on your taste. You might use dark chocolate for a richer flavor. Milk chocolate adds sweetness, while white chocolate gives a creamy touch. If you want to cut down on sugar, try alternative sweeteners like honey or coconut sugar. These can make your brownies a bit healthier.
Dietary Adjustments
For those avoiding gluten, use gluten-free flour. Many brands offer great options that work well in brownies. If you need a dairy-free version, swap the cream cheese for a dairy-free cream cheese. Also, use a dairy-free butter substitute in the brownie layer. These changes make the bars friendly for more diets.
Storage Info
Short-Term Storage
For the best taste, store your cherry cheesecake brownie bars in the fridge. Place them in an airtight container. This keeps them moist and fresh. You can also cover the top with plastic wrap. Make sure each bar is well protected. They will stay yummy this way for about a week.
Long-Term Storage
If you want to save some bars for later, freezing is a great option. Wrap each bar tightly in plastic wrap. Then, place them in a freezer-safe bag. This protects them from freezer burn. You can freeze these bars for up to three months. When you’re ready to eat, thaw them in the fridge overnight.
Shelf Life
In the fridge, these cherry cheesecake brownie bars last about one week. If stored well in the freezer, they can last up to three months. Just remember to enjoy them within these time frames for the best taste!
FAQs
Can I use fresh cherries instead of cherry pie filling?
Yes, you can use fresh cherries. Just pit and chop them first. This gives a fresh taste. Select ripe cherries for the best flavor. Add them to the cheesecake layer in the same way as the pie filling. Swirl them in gently. This keeps their shape and flavor intact.
Can I make this recipe ahead of time?
You can prepare these bars ahead of time. Bake the bars and let them cool completely. Once cooled, cover them tightly with plastic wrap. Store them in the fridge for up to three days. This allows the flavors to blend nicely. For longer storage, freeze them for up to three months. Just thaw them in the fridge before serving.
What should I do if my brownie edges are overcooked?
If the edges are overcooked, trim them off. This helps keep the bars soft and tasty. You can also check the baking time. Every oven is different, so your bars may need less time. Use a toothpick to check for doneness. Insert it into the center; it should come out mostly clean. This way, you won’t overbake them next time.
How can I make these bars more chocolatey?
To enhance the chocolate flavor, add chocolate chips. Sprinkle them on top of the brownie layer before adding the cheesecake. You can also use dark cocoa powder instead of regular cocoa. This will deepen the chocolate taste. Another option is to drizzle melted chocolate on top after baking. This adds a rich finish.
This recipe combines rich brownies and creamy cheesecake for a delightful treat. You learned about the key ingredients, step-by-step instructions, and useful tips. Consider trying different flavors or storing them for later. Also, you can adjust the recipe for dietary needs. Remember, follow the instructions closely for the best results. Enjoy making these bars and impressing your friends with your baking skills. Happy bakin

Cherry Cheesecake Brownie Bars
Ingredients
- 1 cup unsalted butter
- 2 cups granulated sugar
- 4 large eggs
- 1 teaspoon vanilla extract
- 1 cup all-purpose flour
- 1 cup unsweetened cocoa powder
- 1/2 teaspoon salt
- 8 oz cream cheese, softened
- 1/2 cup granulated sugar
- 1 large egg
- 1 teaspoon vanilla extract
- 1 cup cherry pie filling or fresh pitted cherries
Instructions
- Preheat your oven to 350°F (175°C). Grease a 9x13 inch baking pan with cooking spray or line it with parchment paper for easy removal.
- In a medium saucepan, melt the butter over low heat. Once melted, remove from heat and stir in sugar, eggs, and vanilla until combined.
- Sift in the flour, cocoa powder, and salt. Stir until just combined; be careful not to overmix.
- Pour the brownie batter into the bottom of the prepared baking pan and use a spatula to smooth it out evenly.
- In a large mixing bowl, beat the softened cream cheese with a hand mixer until smooth. Add sugar, egg, and vanilla, mixing until creamy and well-combined.
- Spoon the cheesecake mixture over the brownie layer, gently spreading it to cover as evenly as possible.
- Drop spoonfuls of cherry pie filling across the cheesecake layer. Use a toothpick or knife to swirl the cherries into the cheesecake for an elegant marbled effect.
- Place in the preheated oven and bake for 30-35 minutes, or until the edges are set and a toothpick inserted into the center comes out mostly clean.
- Once baked, remove from the oven and let it cool in the pan on a wire rack. Once cooled, refrigerate for at least 2 hours before slicing into bars.
- Cut into squares and serve chilled or at room temperature.