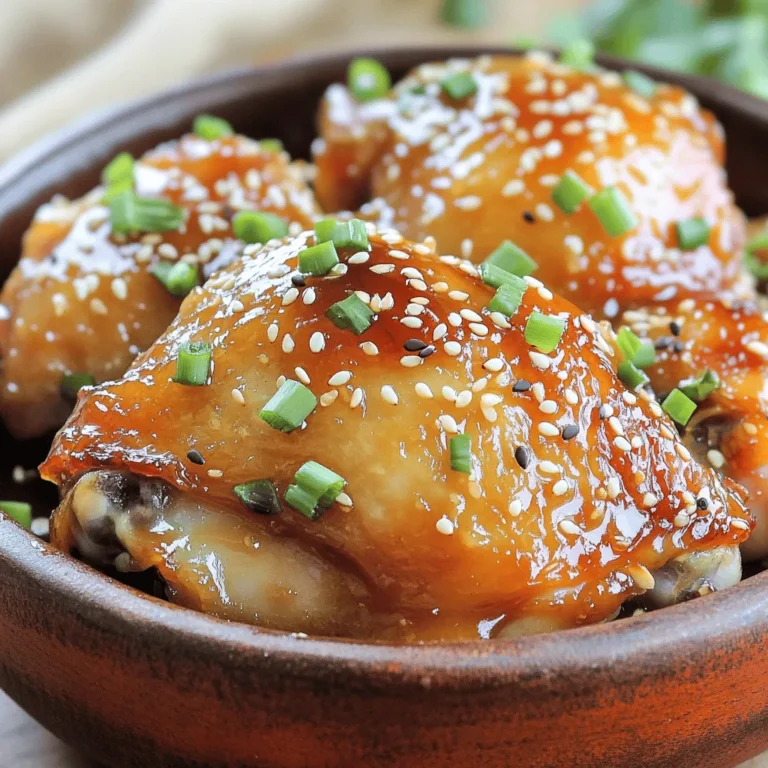
Are you craving a quick, tasty meal that’ll impress your family? Look no further! My Instant Pot Honey Garlic Chicken is not only easy to make; it’s a crowd-pleaser. With just a handful of simple ingredients and a few easy steps, you’ll have a delicious dish on the table in no time. Let’s dive into this mouthwatering recipe that makes dinner a breeze!
Ingredients
Main Ingredients
- 2 pounds boneless, skinless chicken thighs
- 1/2 cup honey
- 1/4 cup low sodium soy sauce
- 4 cloves garlic, minced
Additional Ingredients
- 2 tablespoons rice vinegar
- 1 tablespoon sesame oil
- 1 teaspoon ground ginger
- 1/4 teaspoon red pepper flakes (optional)
Garnishes and Optional Ingredients
- Salt and pepper to taste
- 1 tablespoon cornstarch (for thickening, optional)
- 2 tablespoons sesame seeds for garnish
- Chopped green onions for garnish
When I cook, I love to use fresh ingredients. For this honey garlic chicken, you need chicken thighs. They are juicy and tender. I use boneless, skinless thighs for easy cooking. Honey adds a sweet touch. Soy sauce gives a savory depth. Minced garlic brings a strong flavor.
You can add rice vinegar for tang. Sesame oil adds a rich taste. Ground ginger gives warmth. Red pepper flakes can spice things up if you like heat.
For garnishes, use salt and pepper to your taste. If you want a thicker sauce, consider cornstarch. Sesame seeds and green onions make the dish look pretty. They also add a nice crunch.
With these ingredients, you can make a tasty meal in no time. Enjoy the process of cooking!
Step-by-Step Instructions
Sautéing the Chicken
- Set Instant Pot to Sauté mode.
- Season chicken thighs with salt and pepper.
- Brown chicken for 2-3 minutes on both sides.
Sautéing adds flavor. The chicken gets nice and golden. This step is simple and quick.
Making the Honey Garlic Sauce
- Whisk together honey, soy sauce, garlic, rice vinegar, ginger, and red pepper flakes.
This sauce brings sweet and savory together. It will coat the chicken with a delicious glaze.
Pressure Cooking the Chicken
- Return chicken to pot and pour sauce over it.
- Set Instant Pot to Manual mode for 10 minutes.
Now, the magic happens! The chicken absorbs all the great flavors.
Natural Pressure Release
- Allow natural release for 10 minutes.
- Perform quick release and open the lid cautiously.
Safety first! Wait for the steam to go down. This helps keep the chicken juicy.
Thickening the Sauce (optional)
- Remove chicken, set Instant Pot back to Sauté.
- Mix cornstarch with water and stir into sauce.
If you like a thicker sauce, this step is for you. It adds a nice finish to your dish.
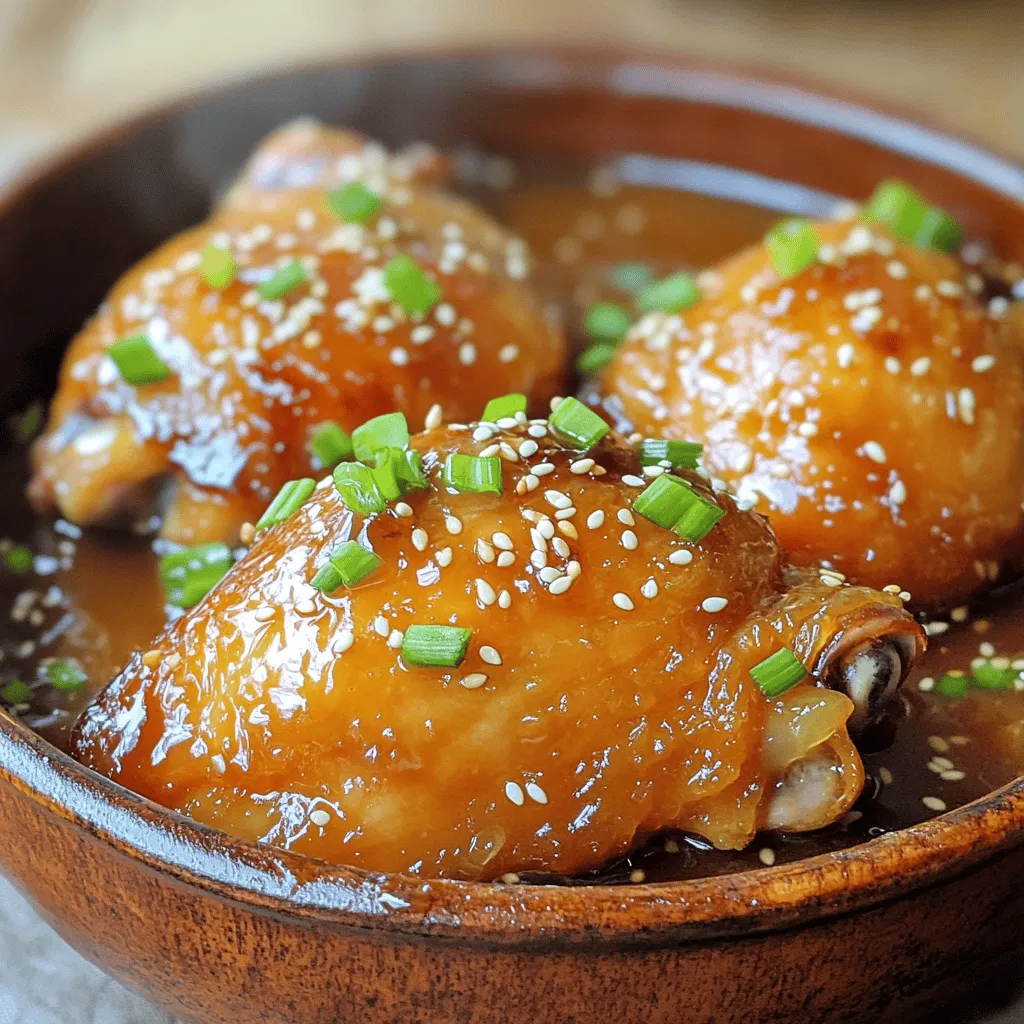
Serving the Dish
- Return chicken to pot and coat with sauce.
- Serve hot, garnished with sesame seeds and green onions.
Garnishing makes your meal look beautiful. It also adds a nice crunch and fresh flavor. Enjoy your tasty meal!
Tips & Tricks
Best Practices for Cooking Chicken
- Use boneless, skinless thighs for optimal tenderness. They stay juicy and cook well in the Instant Pot.
- It is important to season the chicken before sautéing. A sprinkle of salt and pepper adds great flavor.
Achieving the Perfect Sauce Consistency
- To adjust sauce thickness, use cornstarch. Mix it with water to form a slurry.
- Timing is key when adding the cornstarch slurry. Stir it in during the last few minutes of cooking for best results.
Enhancing Flavor
- You can add extra spices or vegetables. Try adding bell peppers or broccoli for a colorful twist.
- Substituting ingredients is easy for dietary needs. Use tamari instead of soy sauce for gluten-free options.
Variations
Alternative Proteins
You can swap chicken thighs for chicken breasts in this recipe. Chicken breasts are leaner and cook a bit faster. Adjust the cooking time to about 8 minutes to avoid dryness.
If you want a plant-based option, try tofu. Firm tofu works best. Press it to remove extra water, then cube it. Cook it until golden before adding the sauce. Shrimp is another great choice! Use peeled, deveined shrimp and cook for just 3-4 minutes. They cook quickly and soak up the honey garlic flavor nicely.
Flavor Customizations
Want to spice things up? Add jalapeños or sriracha to the sauce. Start with a small amount, like a teaspoon, and taste as you go. You can always add more heat!
For a twist on sweetness, use maple syrup or agave instead of honey. These options add a unique flavor. Adjust the amount based on your taste. You can mix and match until it’s just right!
Serving Suggestions
Pair your honey garlic chicken with rice or noodles for a filling meal. White rice, brown rice, or even cauliflower rice works well. If you prefer noodles, try udon or rice noodles.
You can also create a honey garlic chicken bowl. Add your favorite vegetables, like steamed broccoli or snap peas. Top it with sesame seeds and green onions for a nice crunch. This makes for a great lunch or dinner option!
Storage Info
Proper Storage Techniques
To keep your honey garlic chicken fresh, store it in the fridge. Use airtight containers to avoid air exposure. This keeps the chicken moist and tasty. Make sure to cool the dish before sealing it. Leftovers can last up to four days in the fridge.
Freezing the Dish
You can freeze honey garlic chicken for later use. Place it in a freezer-safe container. Make sure to remove as much air as you can. This helps prevent freezer burn. The chicken can stay good for up to three months. To thaw, move it to the fridge overnight. This slow thawing gives the best results.
Reheating Guidelines
When reheating, use a microwave or skillet. In the microwave, heat in short bursts. Stir often to keep the sauce from splattering. If you use a skillet, add a splash of water to help steam. This keeps the sauce intact and prevents drying out. Enjoy your meal warm and full of flavor!
FAQs
Can I use frozen chicken in the Instant Pot?
Yes, you can use frozen chicken. Just add 5-10 extra minutes to the cooking time. For best results, make sure the chicken pieces are separated. This helps them cook evenly. Remember to check that the internal temperature reaches 165°F (74°C) for safety.
How to make honey garlic chicken less sweet?
To reduce sweetness, cut down on honey. You can also add a splash of soy sauce or rice vinegar. These ingredients balance the flavors. Adding garlic and ginger helps too, giving depth to the dish. Try adding a pinch of salt for extra flavor.
What can I serve with honey garlic chicken?
Honey garlic chicken pairs well with:
- Steamed rice
- Quinoa
- Stir-fried vegetables
- Noodles
- A fresh salad
Garnishing with sesame seeds and green onions adds some crunch and color.
Can I omit the cornstarch for thickening?
Yes, you can skip the cornstarch. Your sauce will be thinner, but it will still taste great. If you want a punch of flavor, simmer the sauce longer. This helps concentrate the flavors without thickening.
How long can honey garlic chicken be stored?
You can keep honey garlic chicken in the fridge for 3-4 days. For longer storage, freeze it for up to 3 months. Make sure to store it in airtight containers to keep it fresh.
Is this recipe gluten-free?
To make this dish gluten-free, swap regular soy sauce for a gluten-free version. You can use tamari or coconut aminos. For thickening, use arrowroot powder instead of cornstarch. This keeps all the flavors while meeting dietary needs.
This article outlined a simple yet tasty honey garlic chicken recipe using an Instant Pot. You learned the key ingredients needed, helpful cooking tips, and easy variations to suit your tastes. Remember, the right sauces and spices can transform your meal. Try making it your own by adding different proteins or adjusting the flavor. With proper storage and reheating, you can enjoy this dish long after you make it. Enjoy your cooking and let the flavors shine!
